


DE - Produktanleitungen

In diesem Bereich Produktanleitungen finden Sie Schritt für Schritt Anleitungen zu den Produkten von item.
Diese können Sie ganz nach Bedarf vor oder während der Montage z.B. auf einem mobilen Endgerät an der Werkbank öffnen.
Die Bearbeitungszeit pro Modul richtet sich nach dem Produkt und ist unterschiedlich.
Haben Sie Rückfragen, Feedback oder Wünsche für neue interaktive Anleitungen? Wir freuen uns auf Ihre E-Mail an academy@item24.com!
Diese können Sie ganz nach Bedarf vor oder während der Montage z.B. auf einem mobilen Endgerät an der Werkbank öffnen.
Die Bearbeitungszeit pro Modul richtet sich nach dem Produkt und ist unterschiedlich.
Haben Sie Rückfragen, Feedback oder Wünsche für neue interaktive Anleitungen? Wir freuen uns auf Ihre E-Mail an academy@item24.com!
Arbeitsplatzsystem

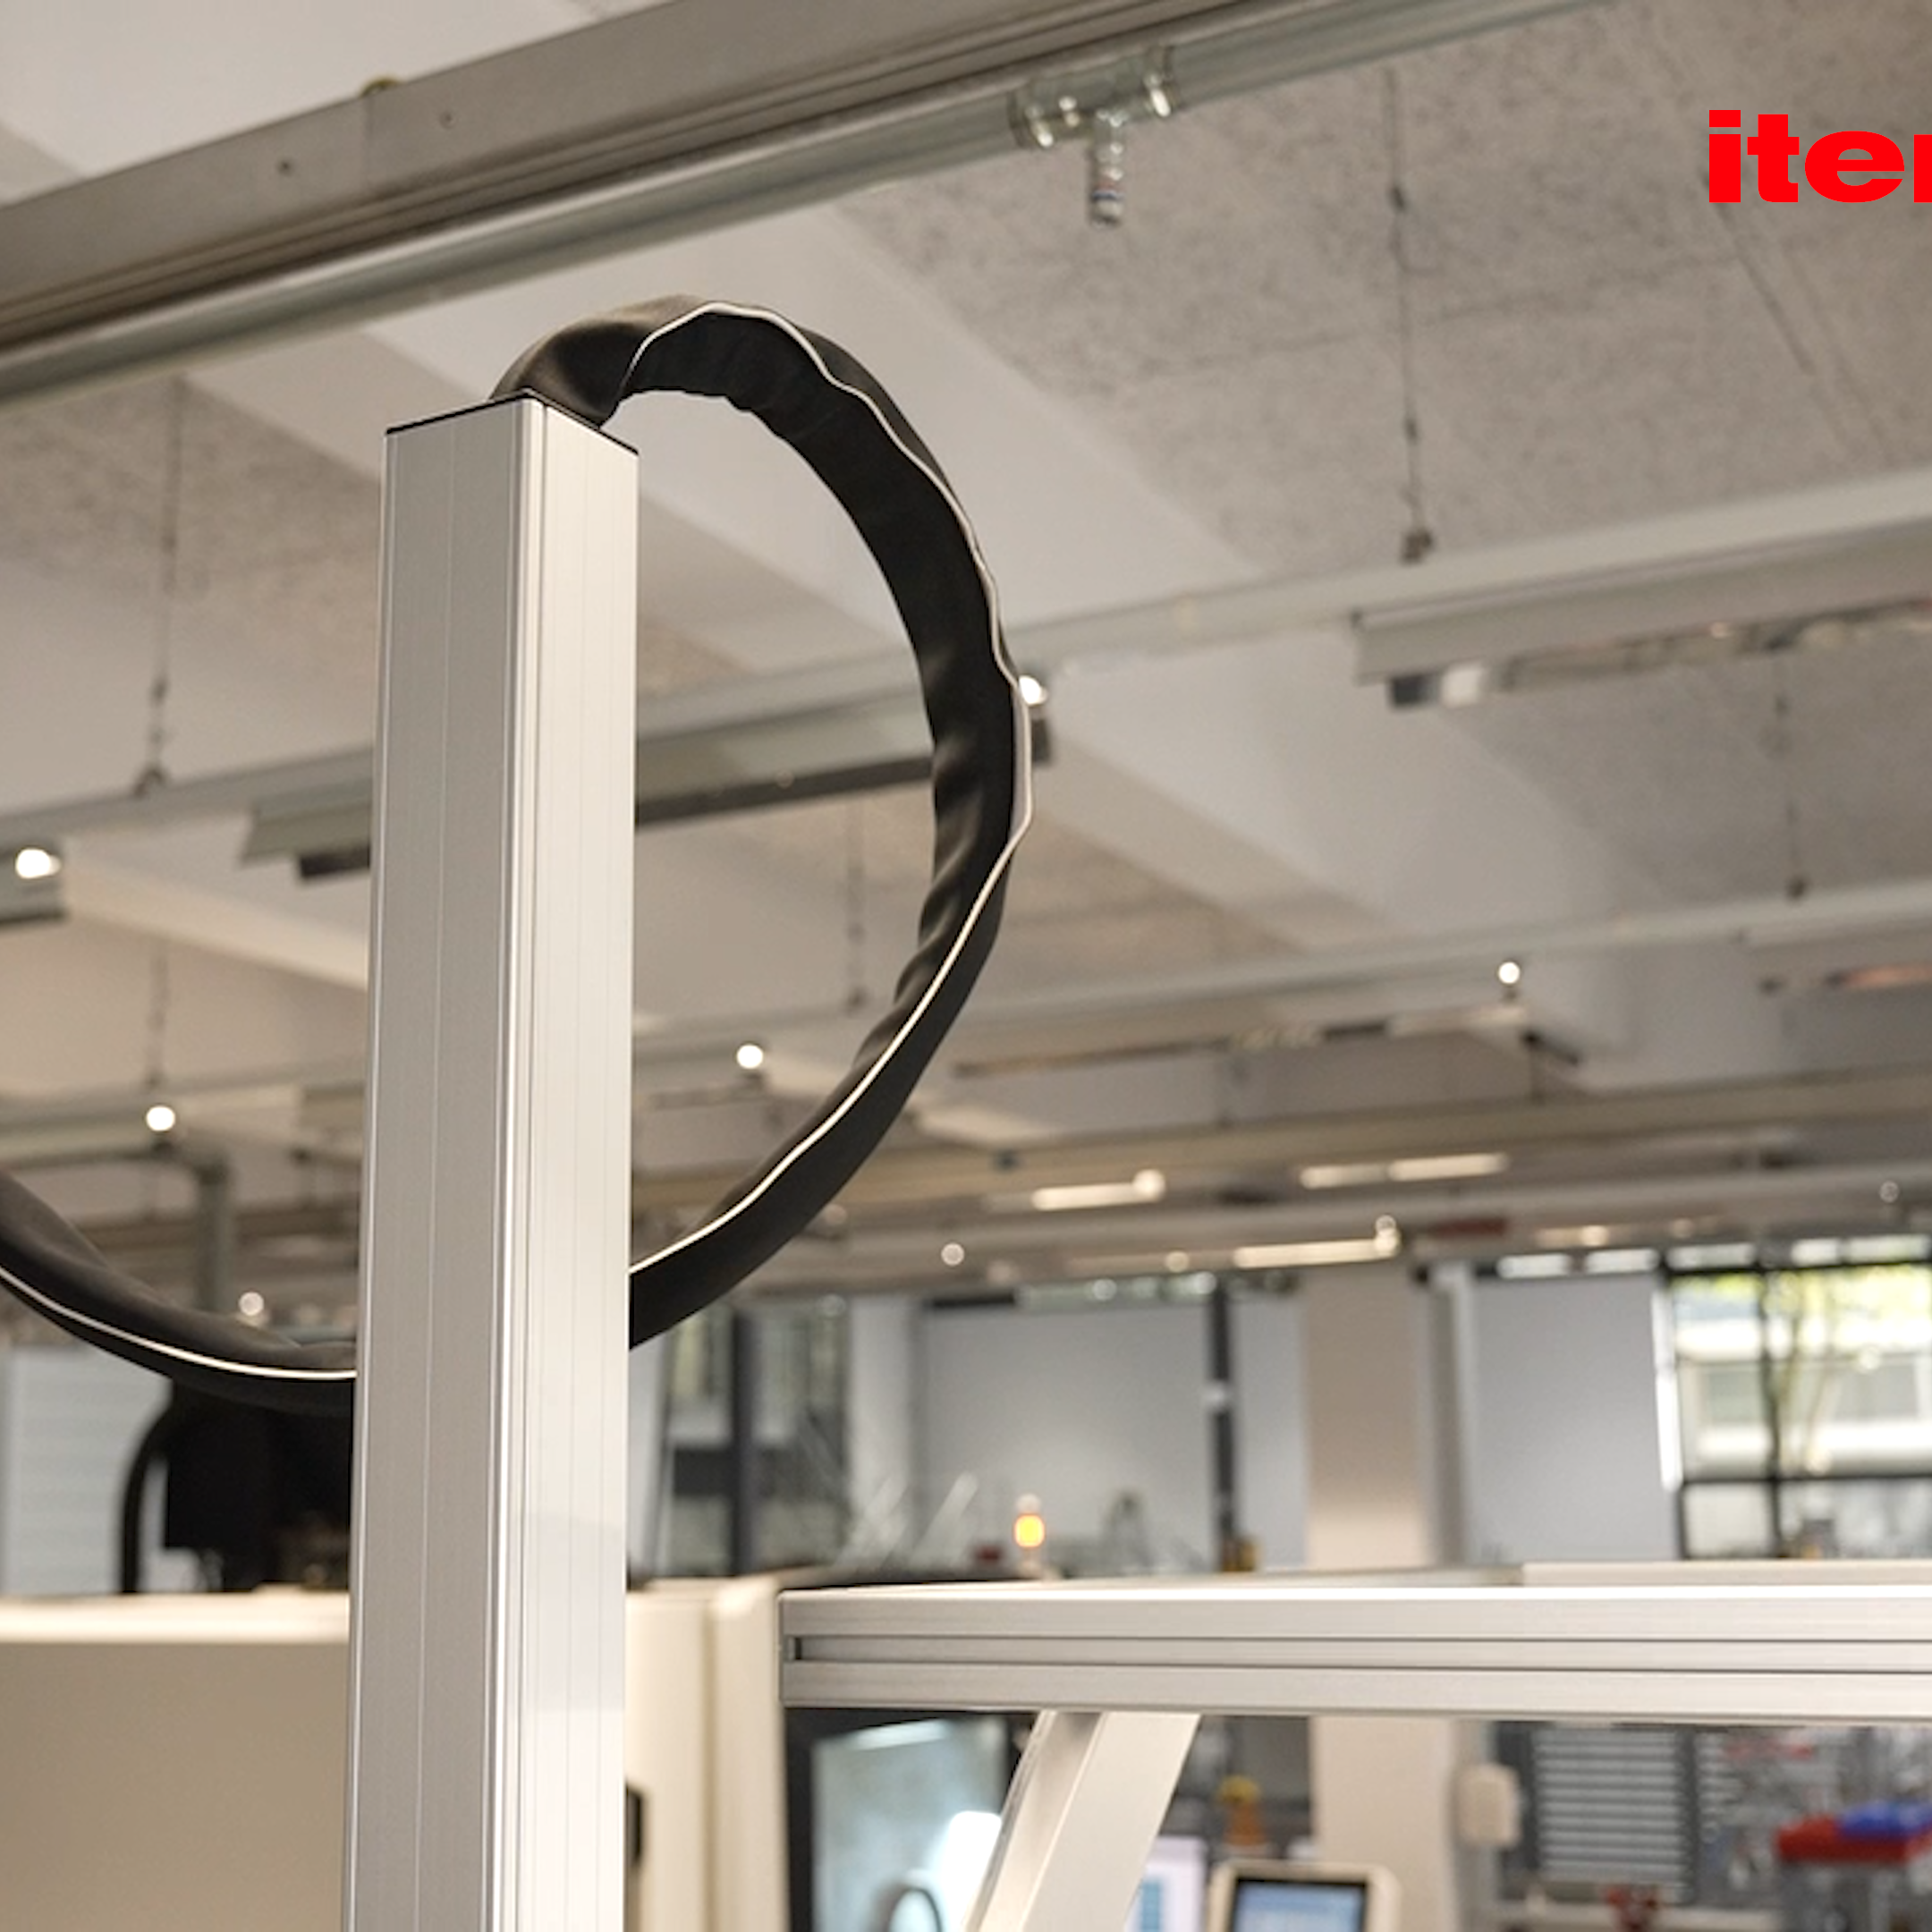
Flexible Conduit Set D40 60x60 is a versatile solution for routing cables in various different ways.
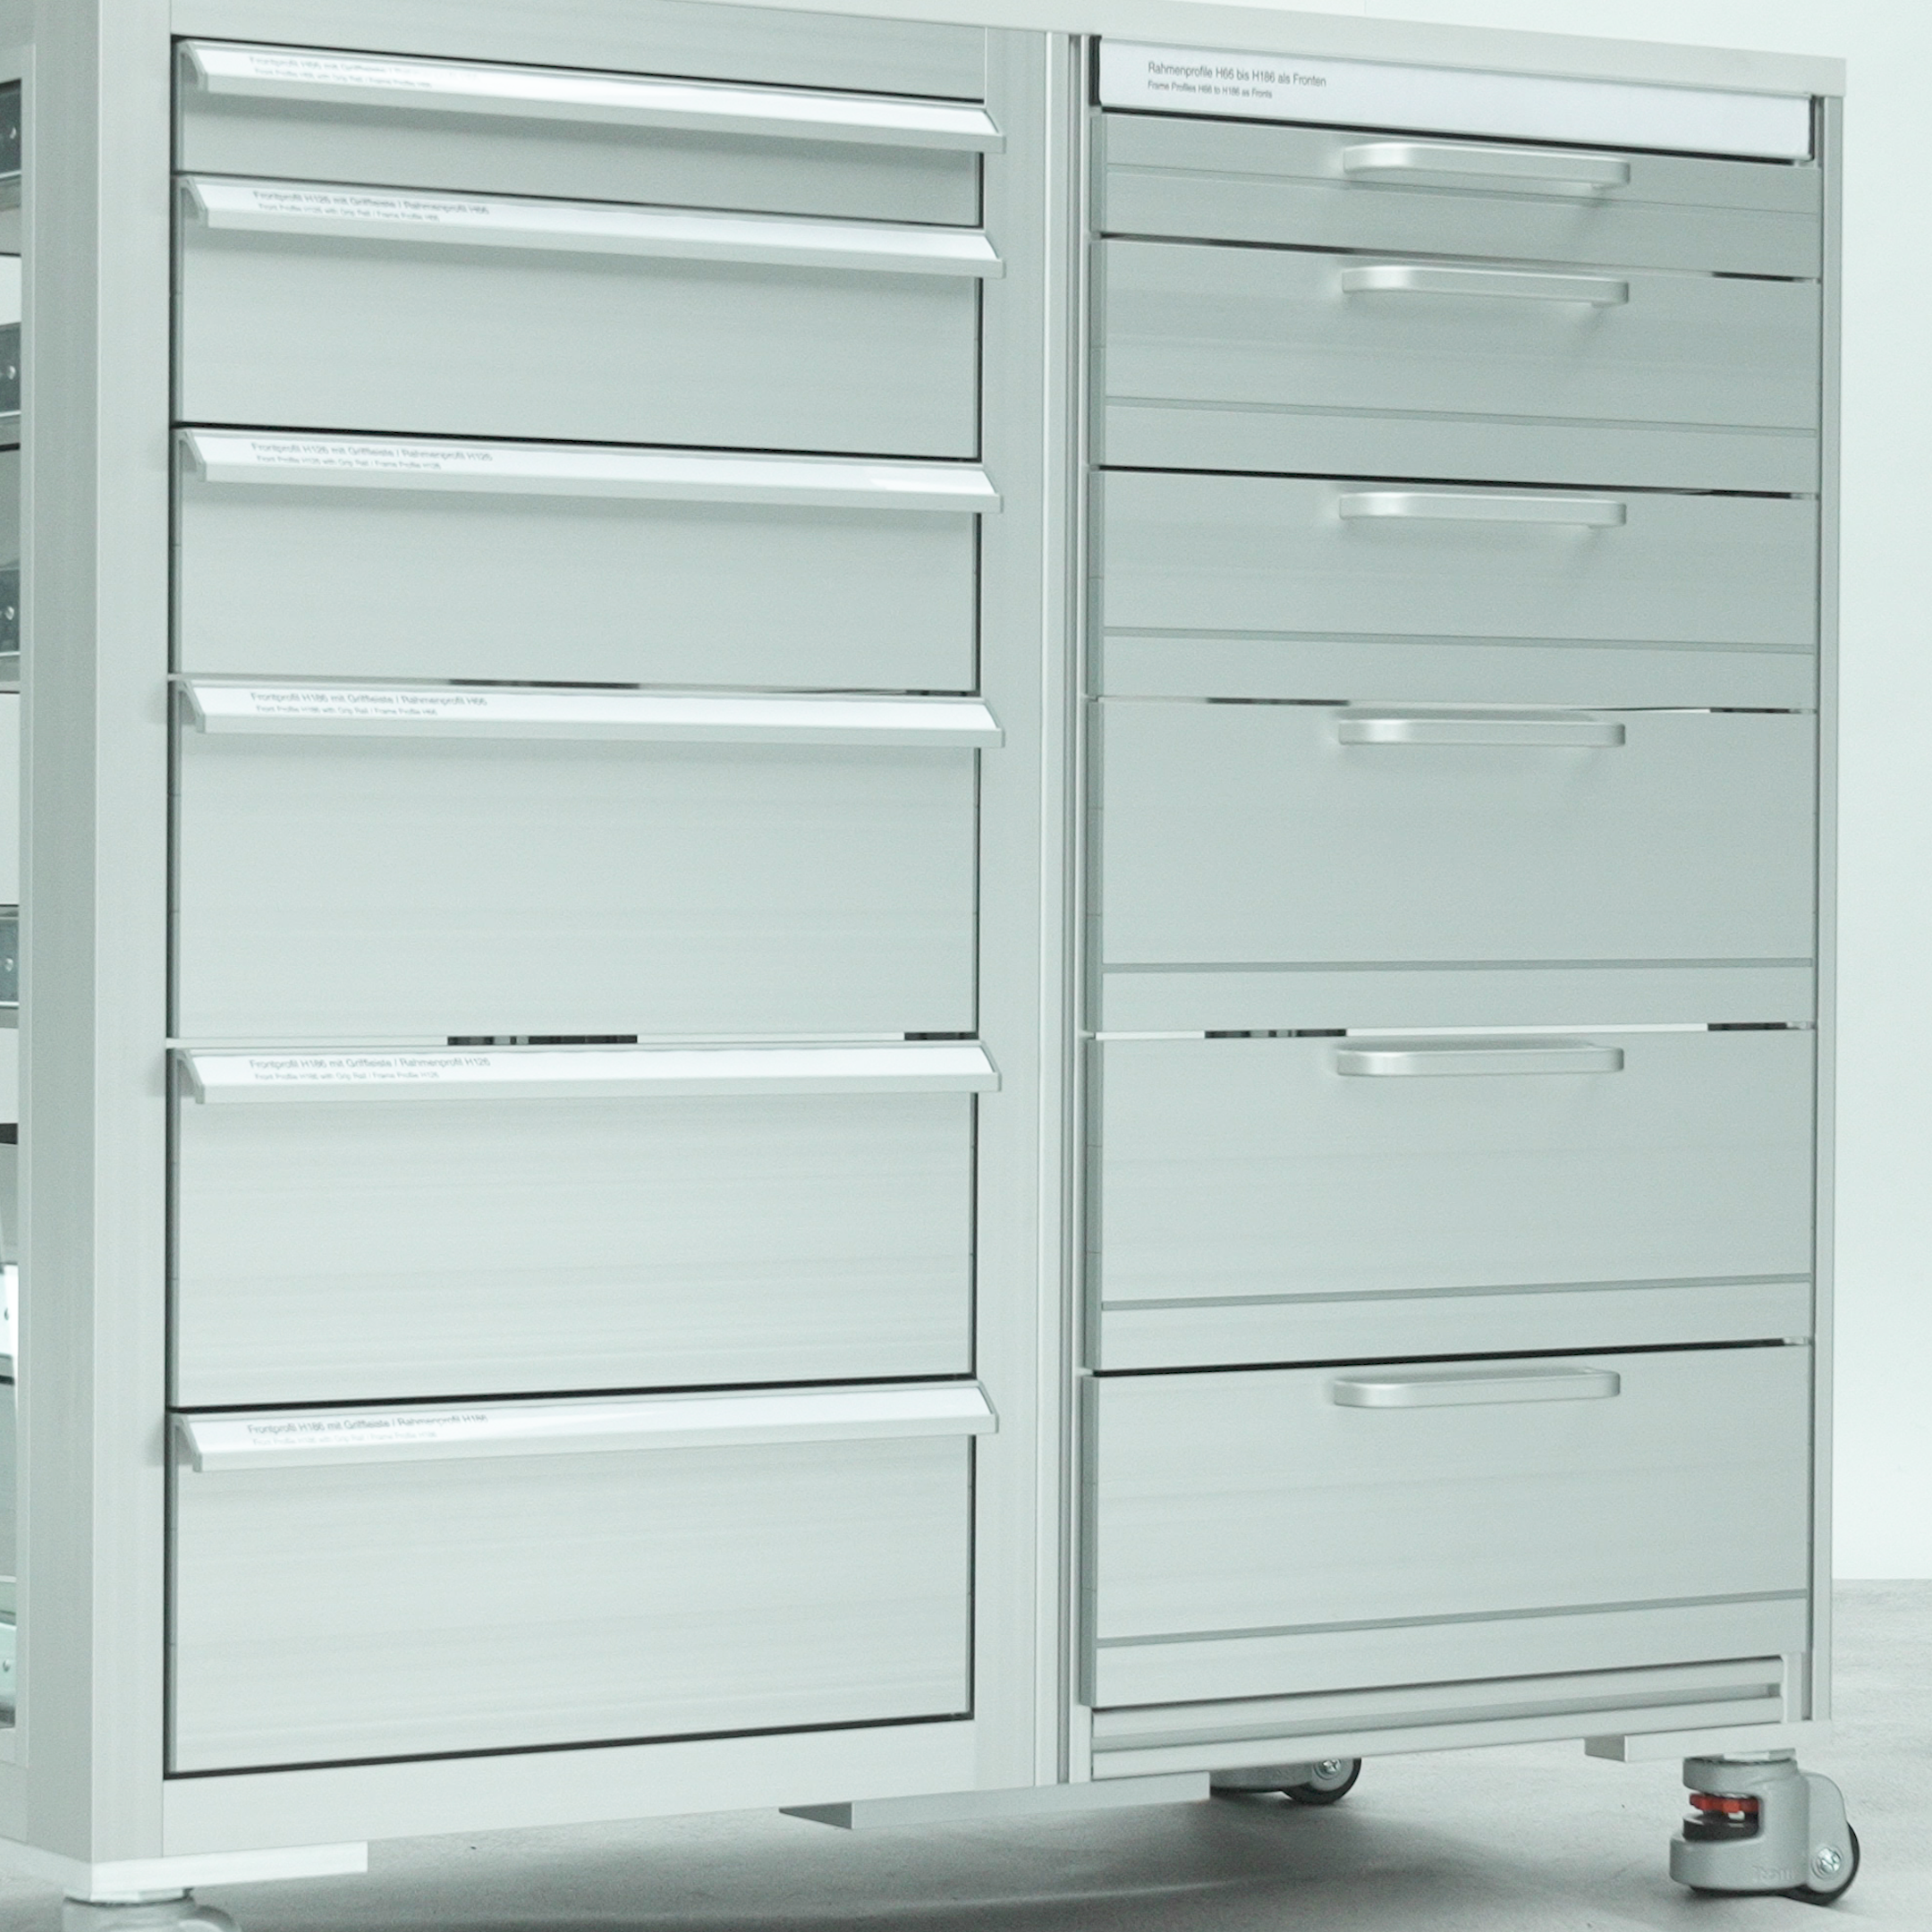
Das neue item Schubladensystem ermöglicht eine schnelle und einfache Montage von Schubladen.

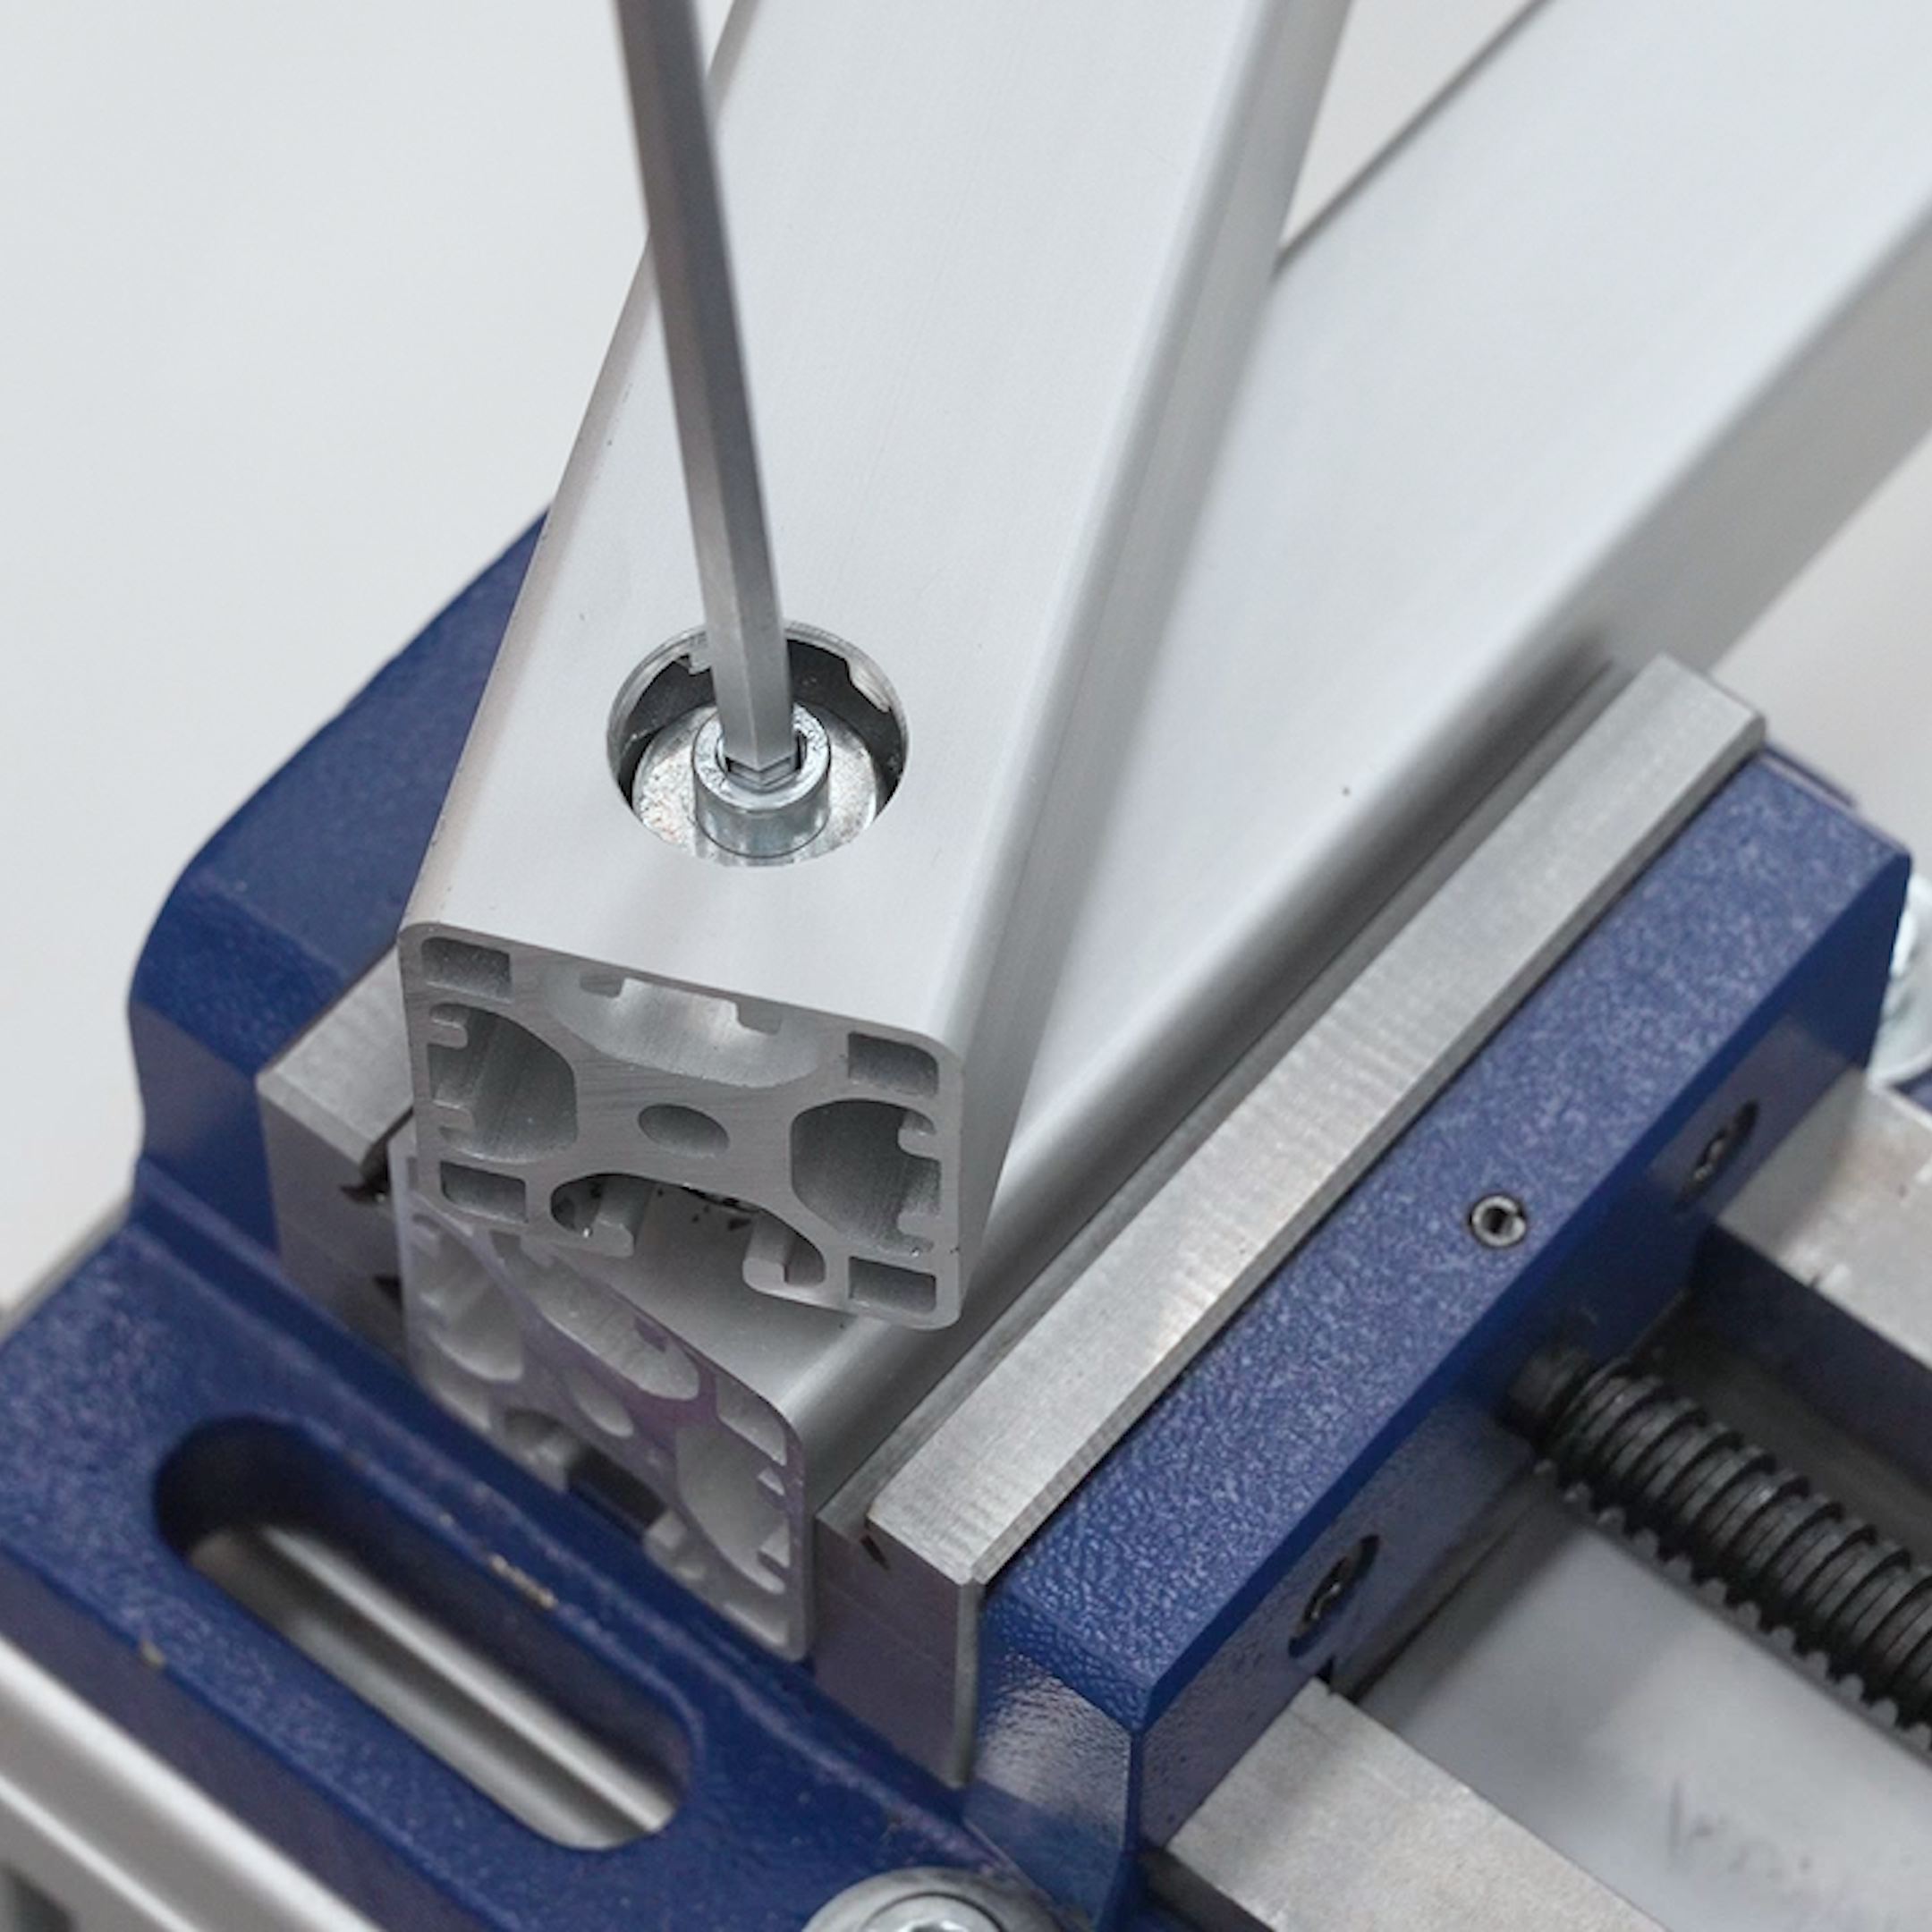
Das Friktionsgelenk 8 E ist eine ökonomische Lösung zur Konstruktion von individuellen Schwenkarmen und schwenkbaren Bedienpanelen.
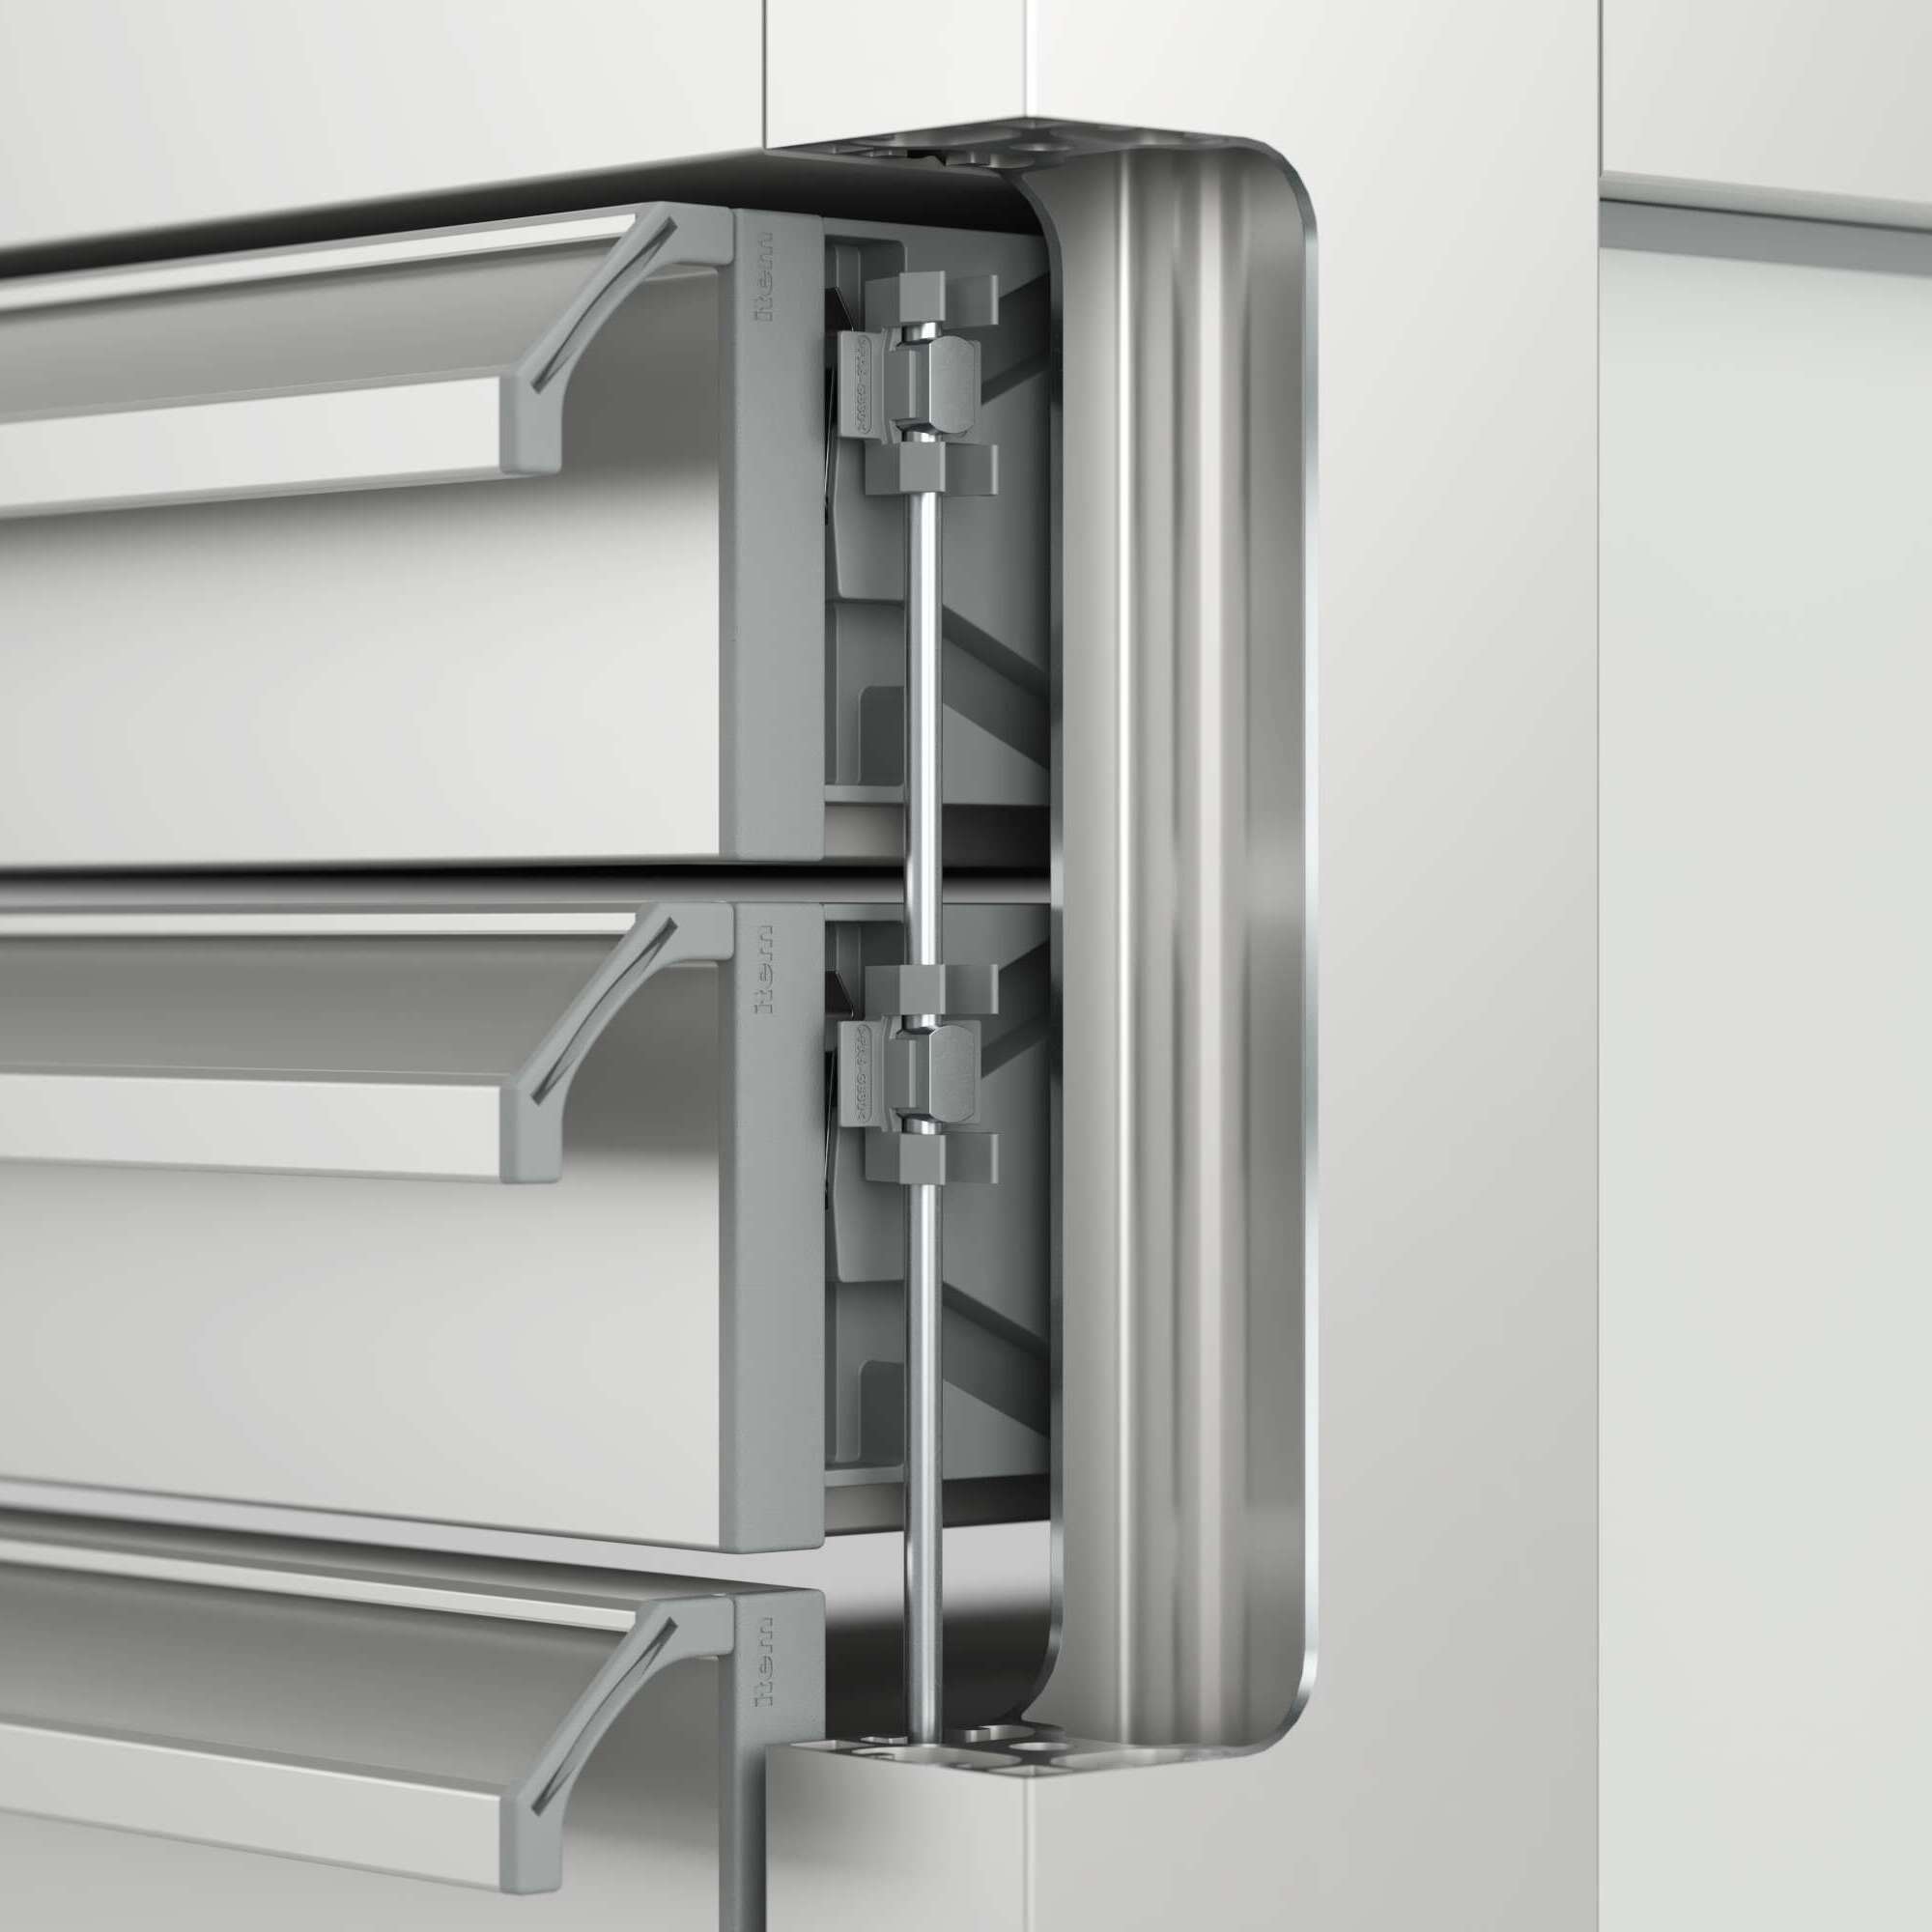
Mit der Interlock-Lösung erhöhen Sie die Arbeitssicherheit von Schubladenschränken und Regalen mit ausziehbaren Tabletts.
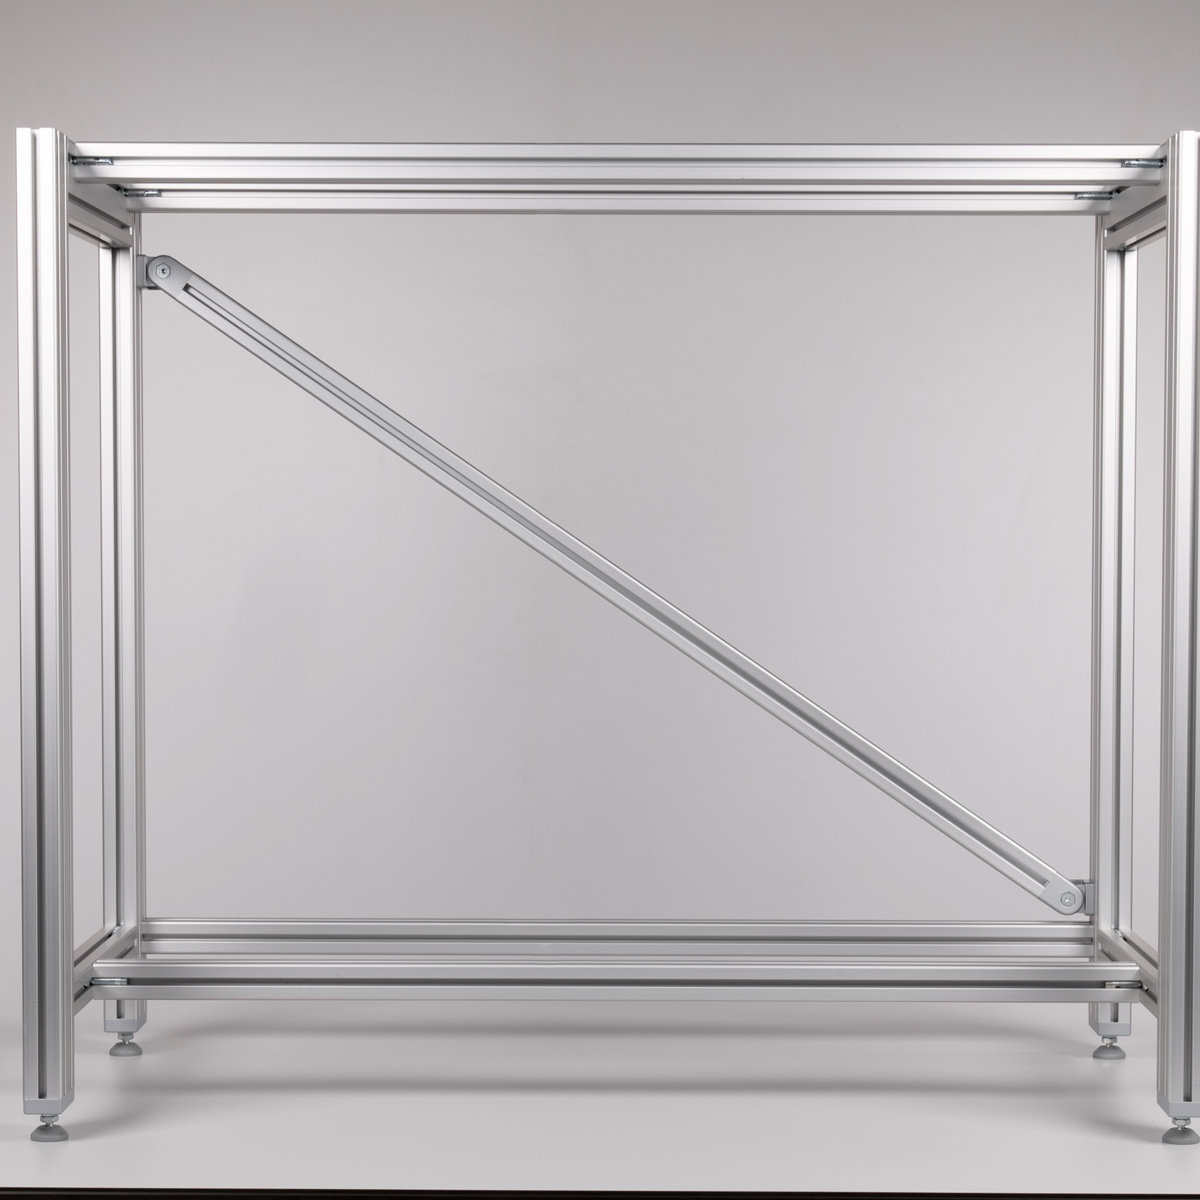
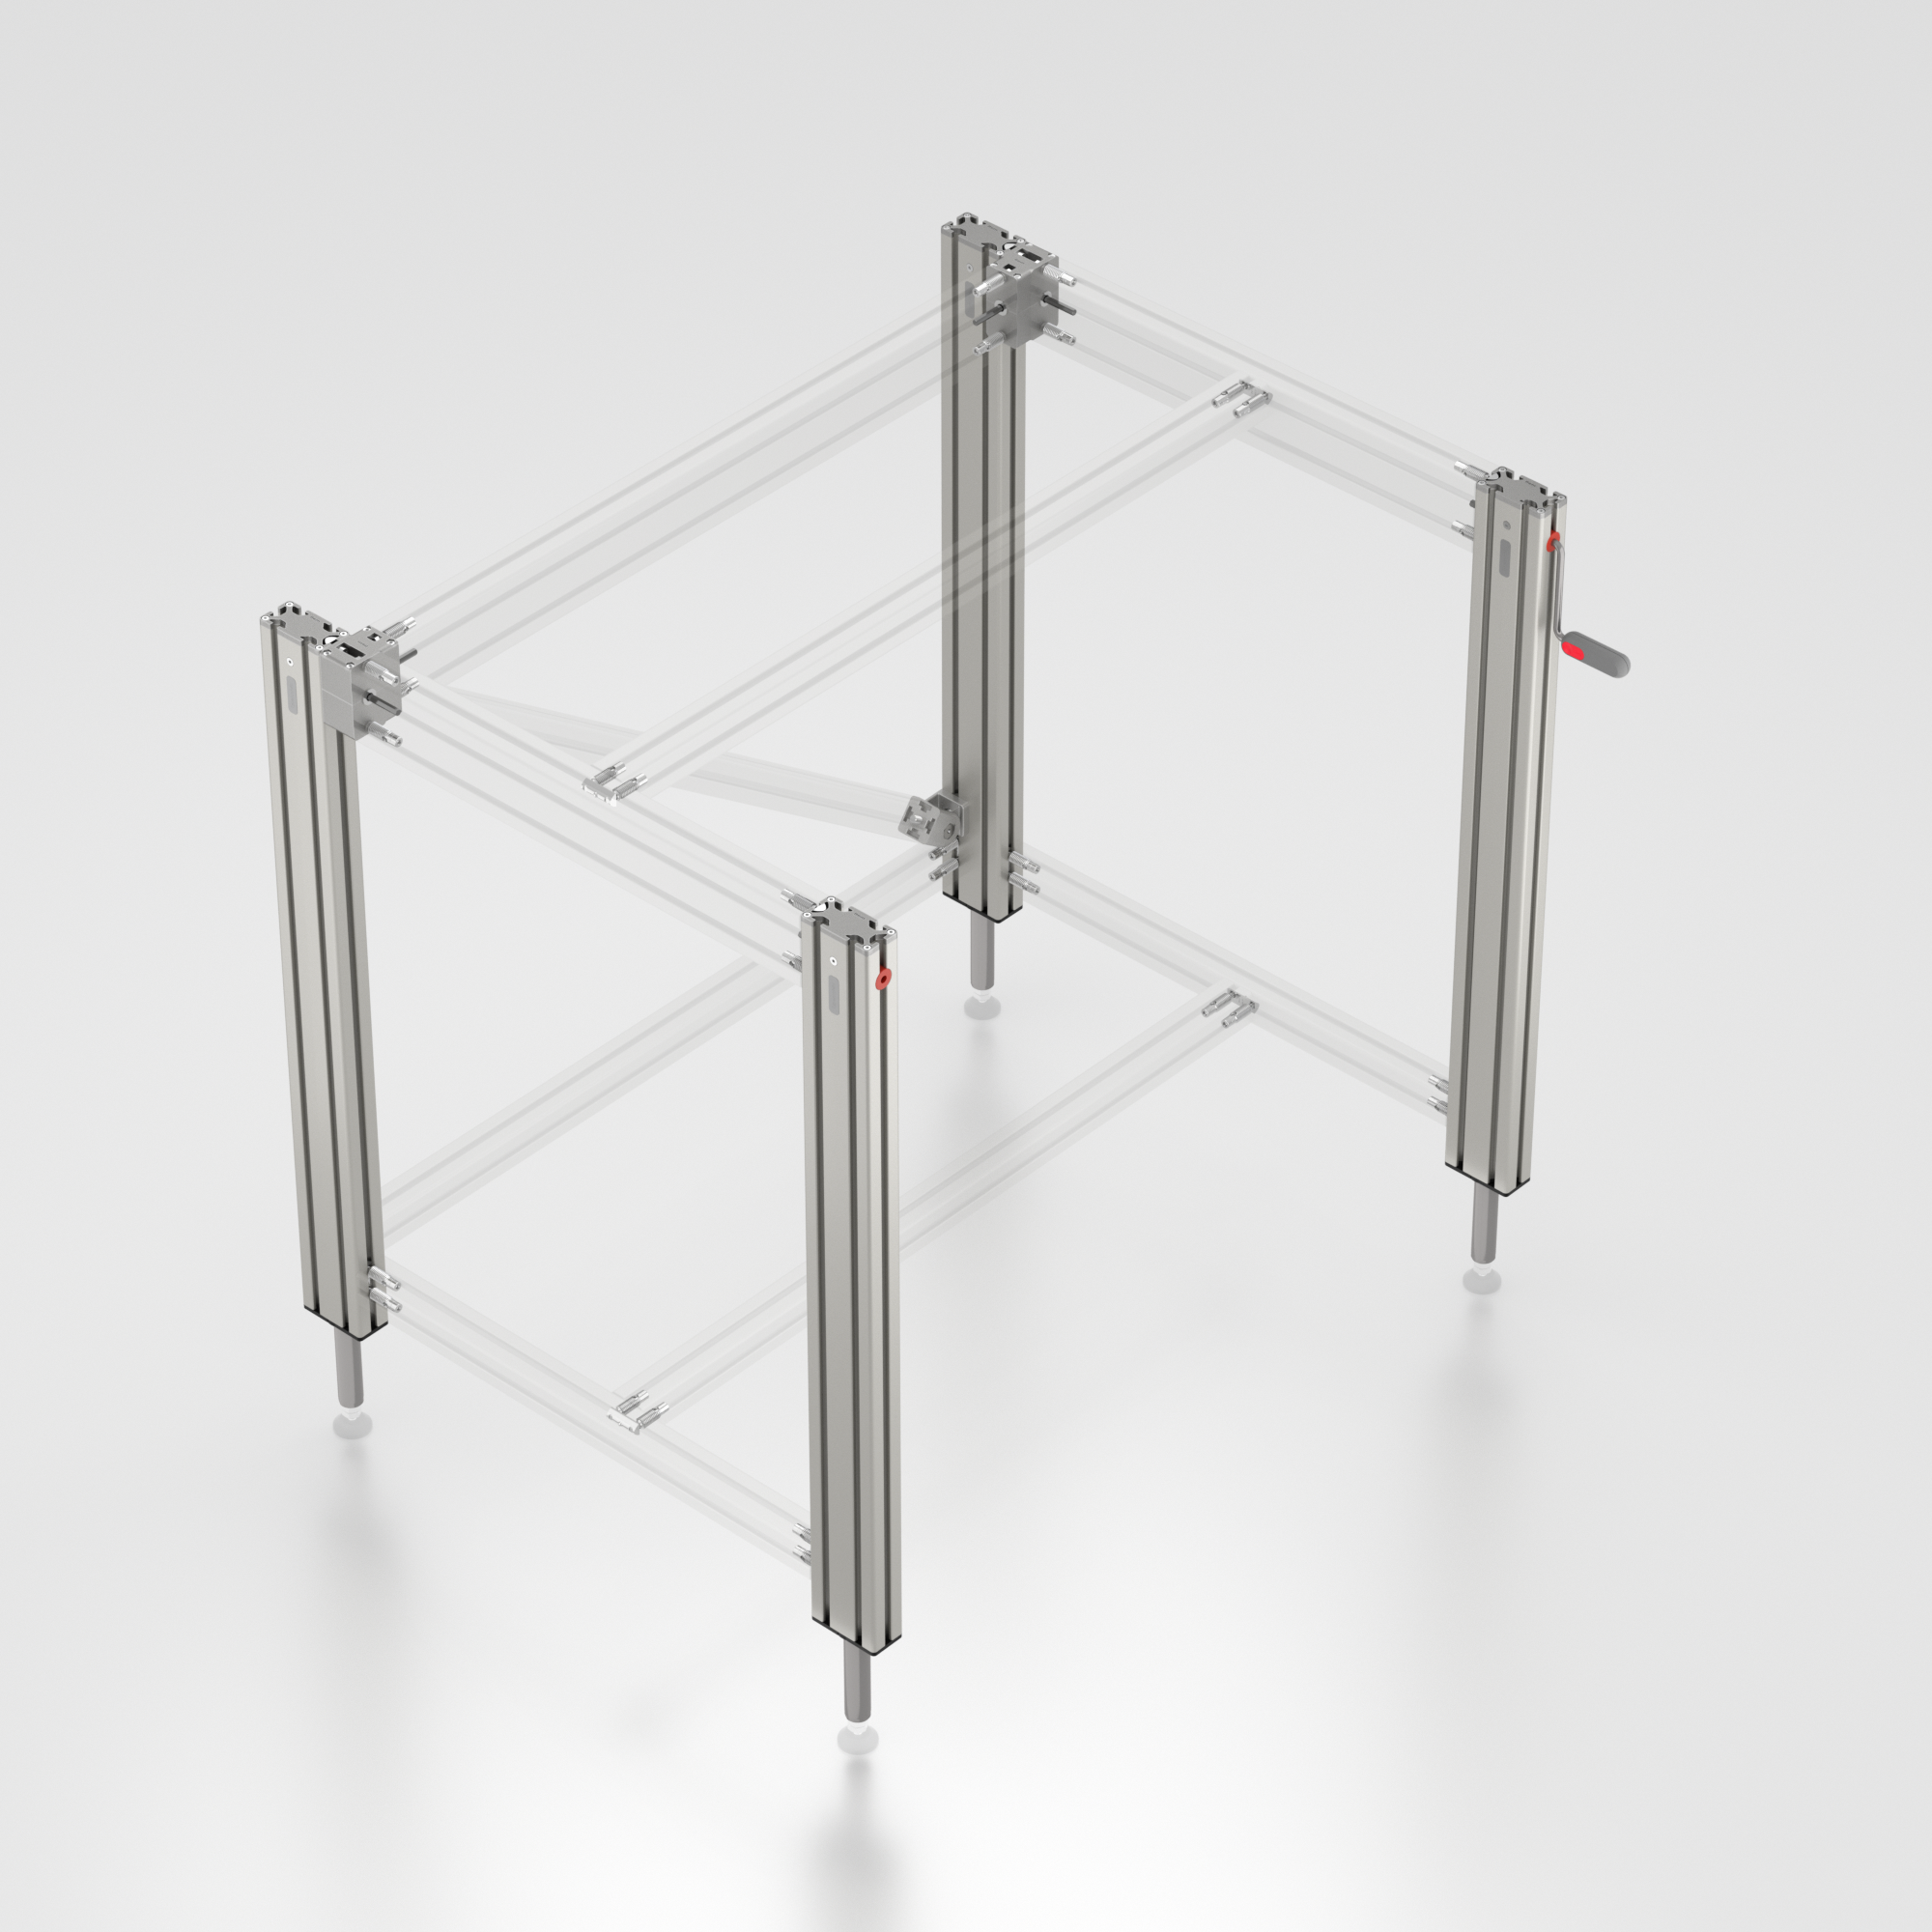
Build a table frame step by step using the table column set 8 80x40 K.
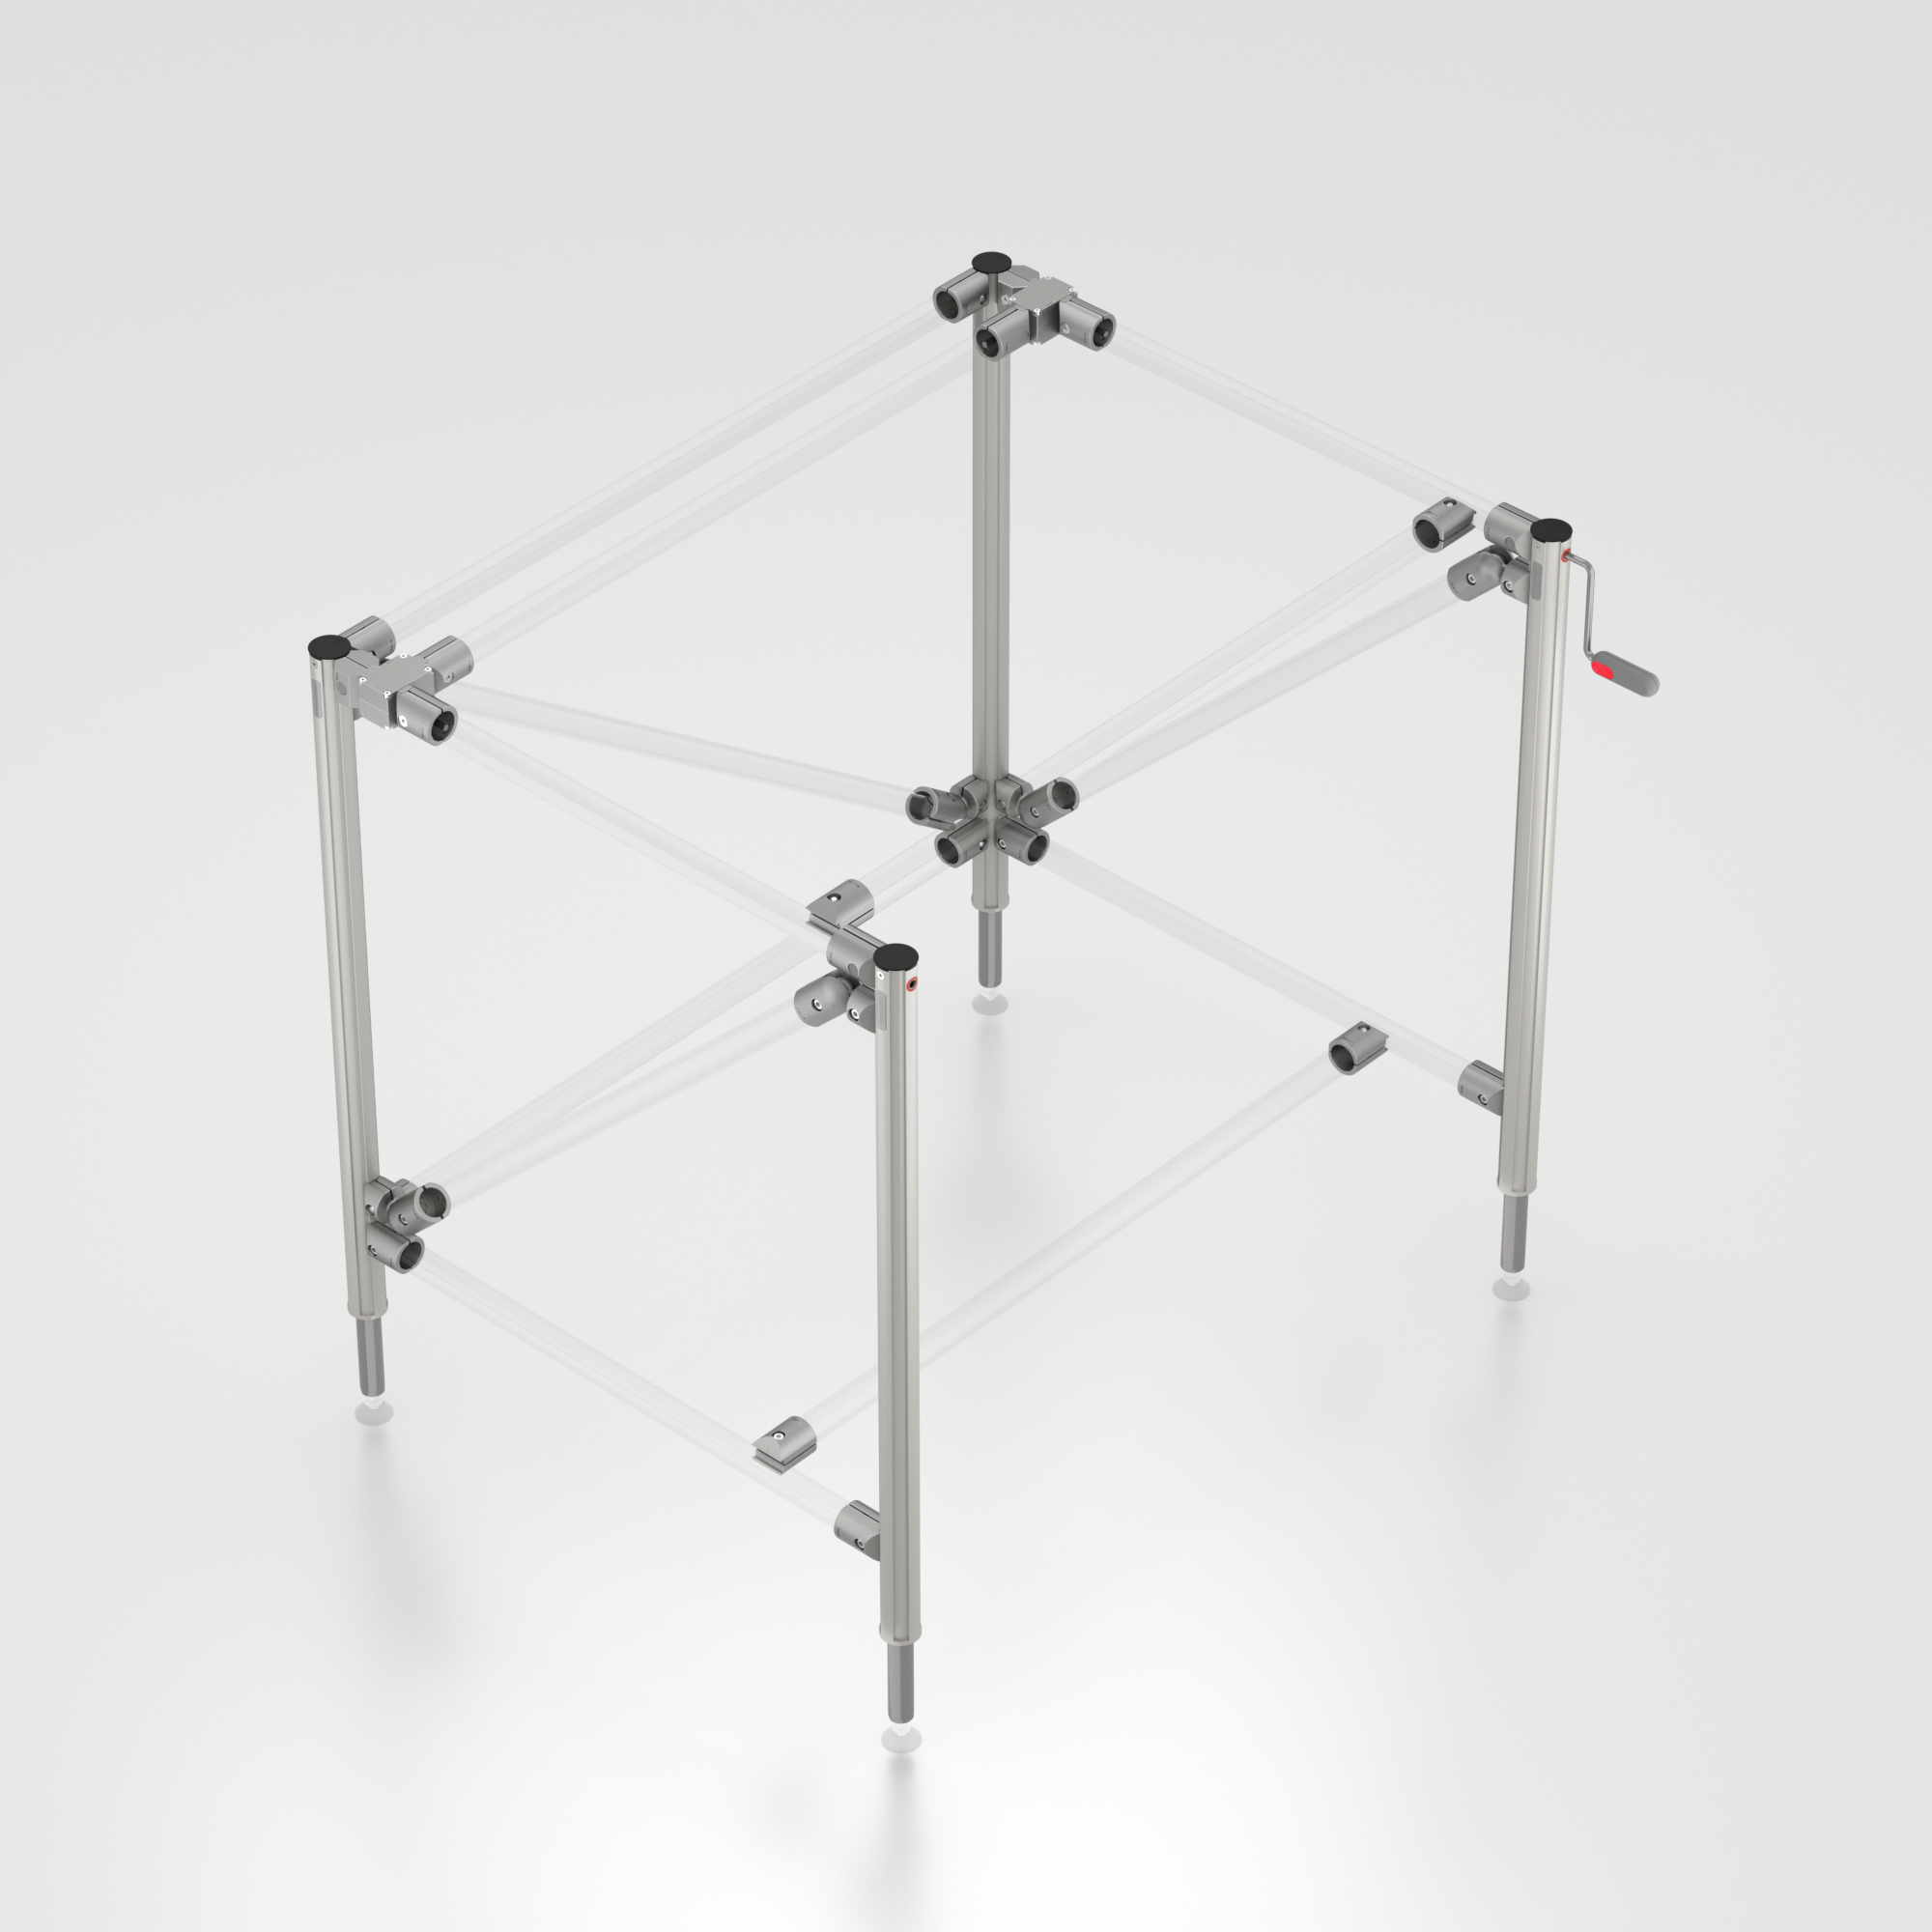
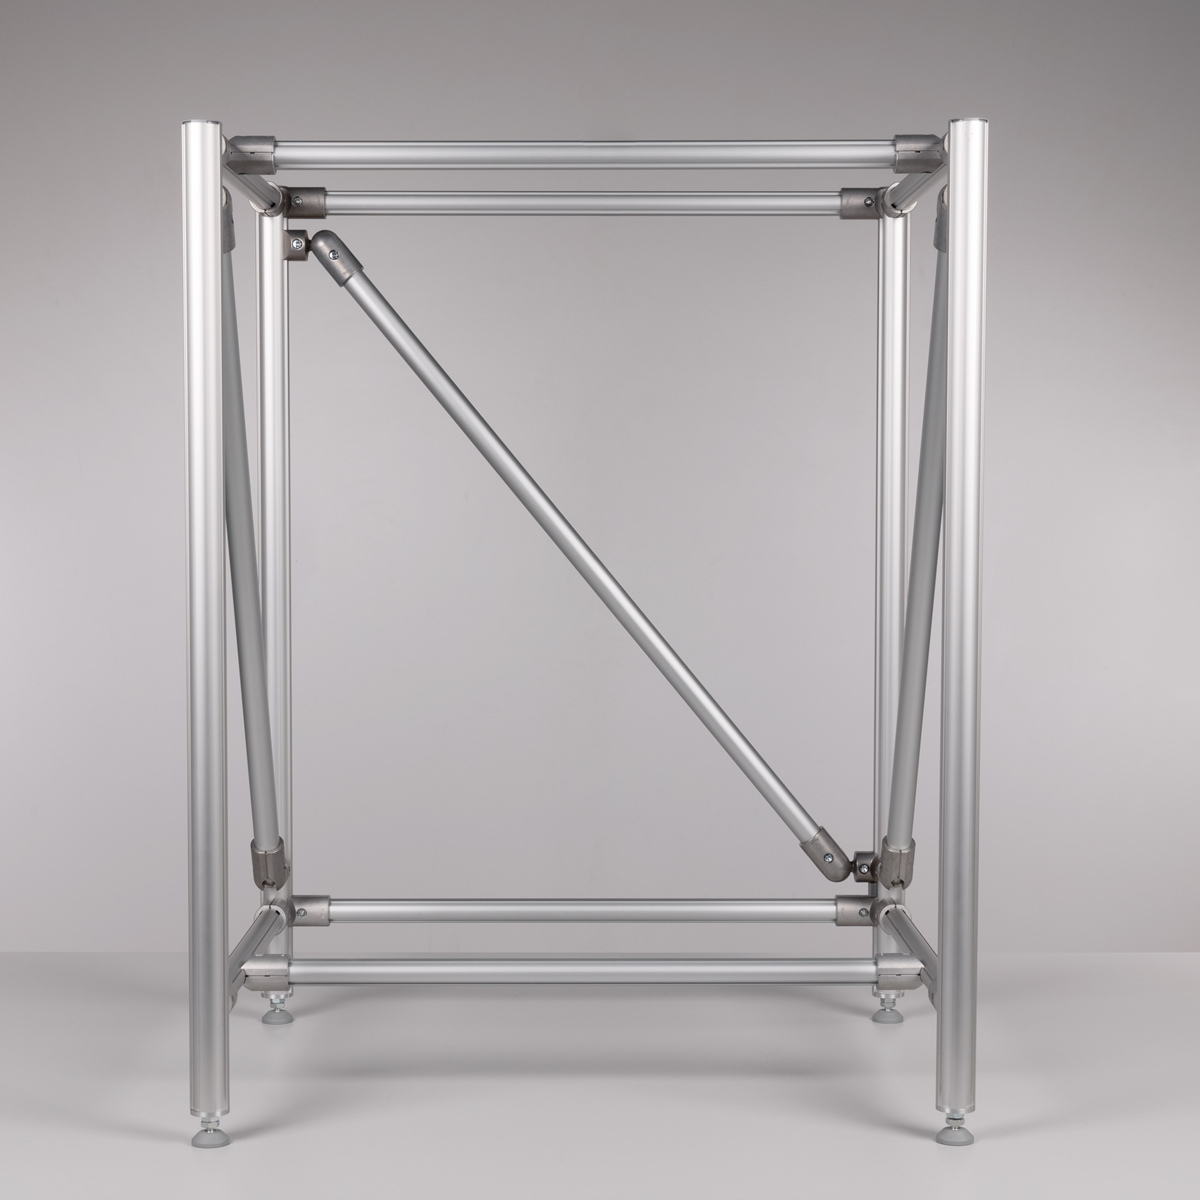
Build a table frame step by step using the table column set D40/D30 K.
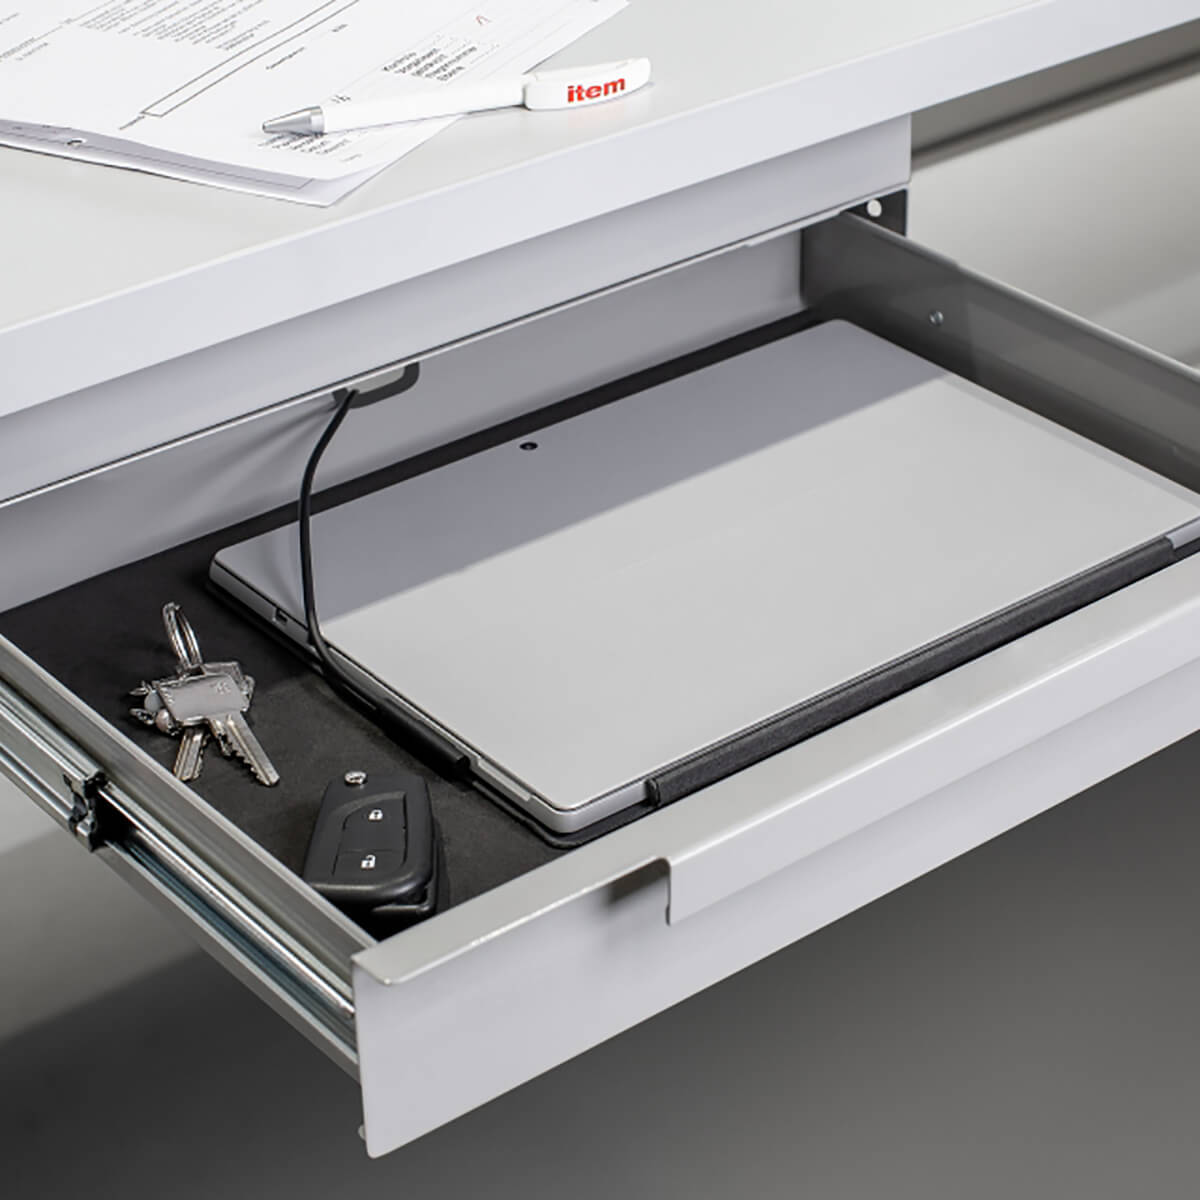
Die abschließbare Schublade S1 H70 lässt sich unter der Tischplatte oder an Profilen befestigen.
Automation
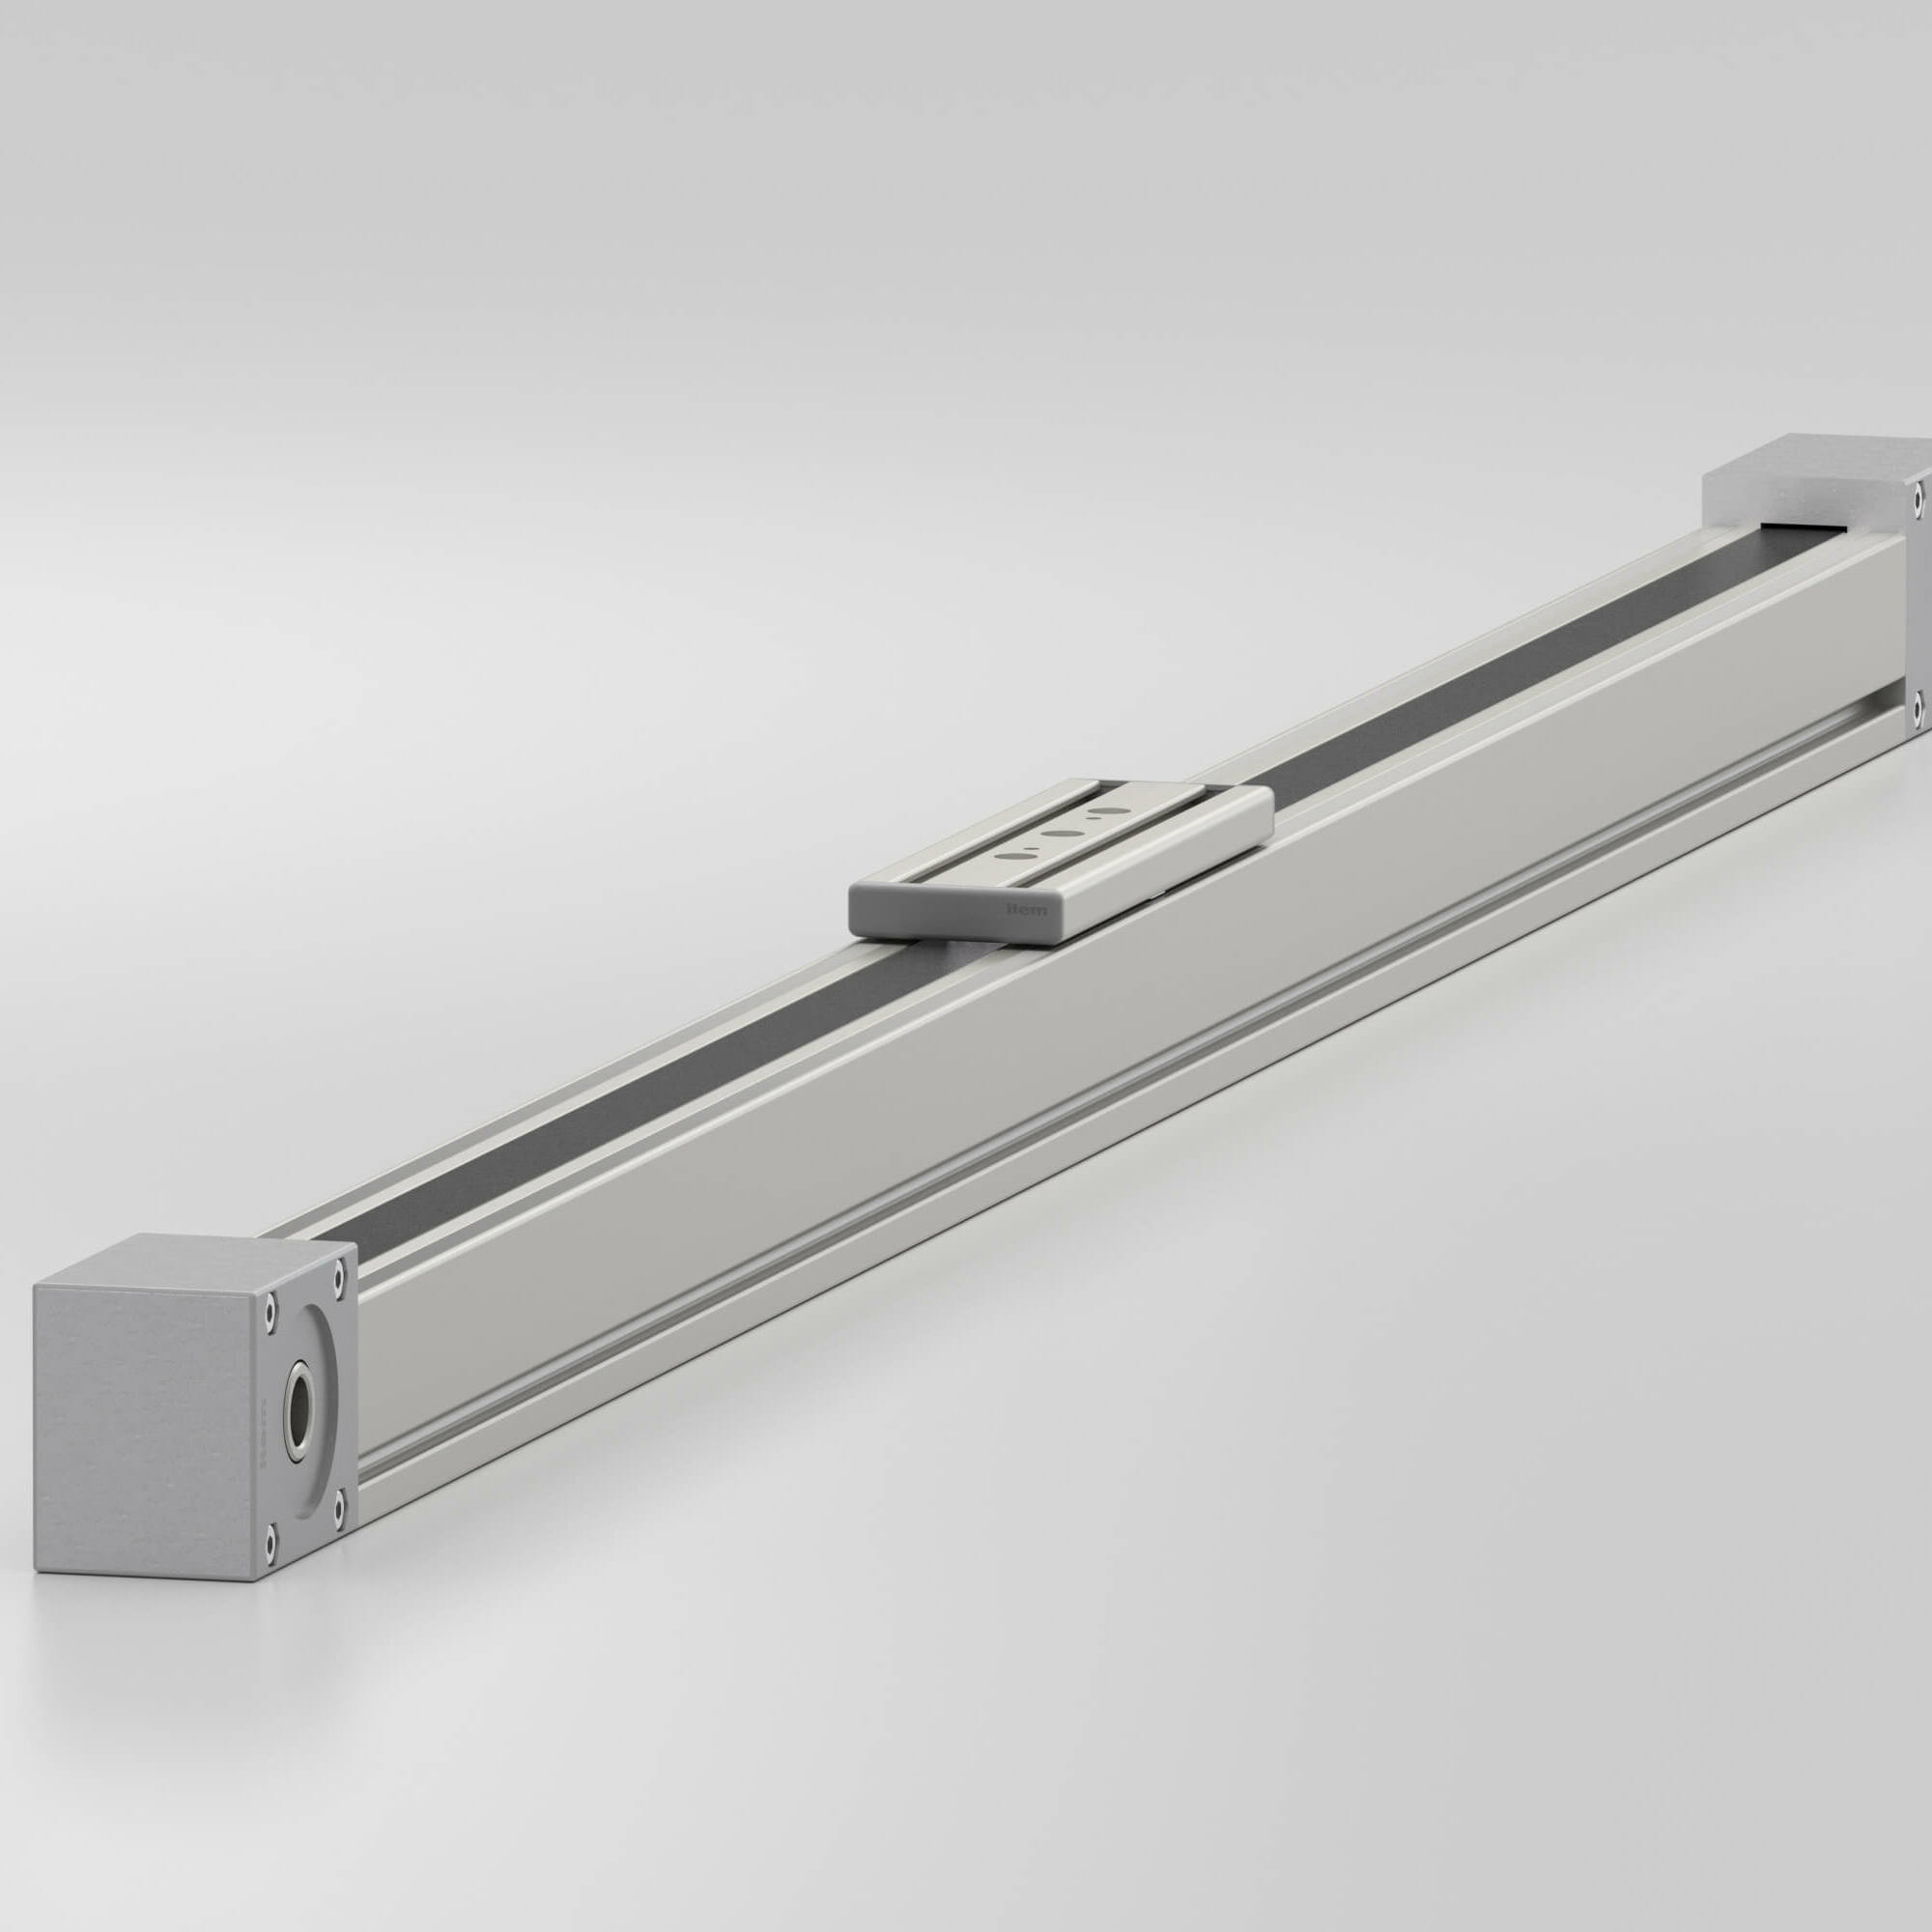
This module shows the step-by-step assembly of the Linear Unit KLE 5 40x40 LR.
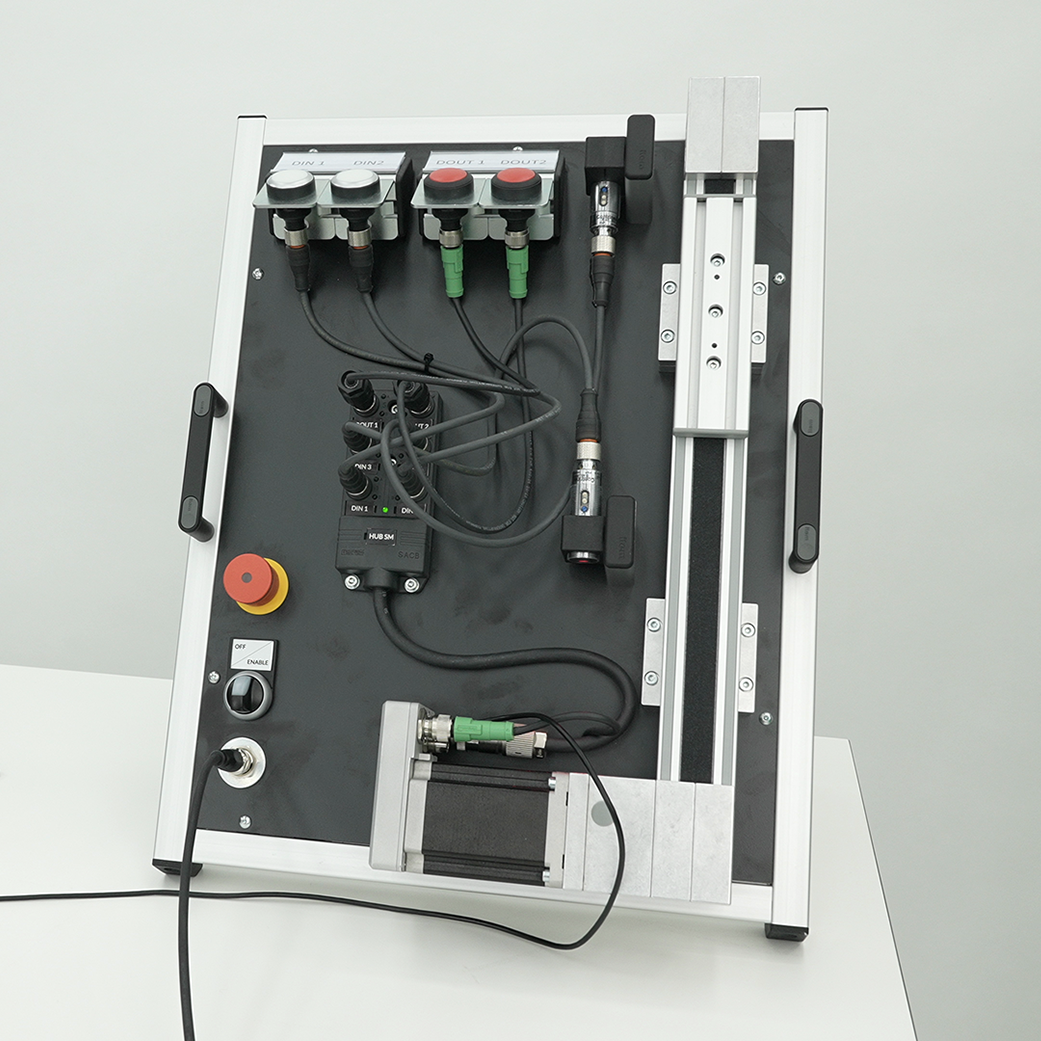
Das Modul zeigt die Montage, Programmierung und Inbetriebnahme des Steppermotors.
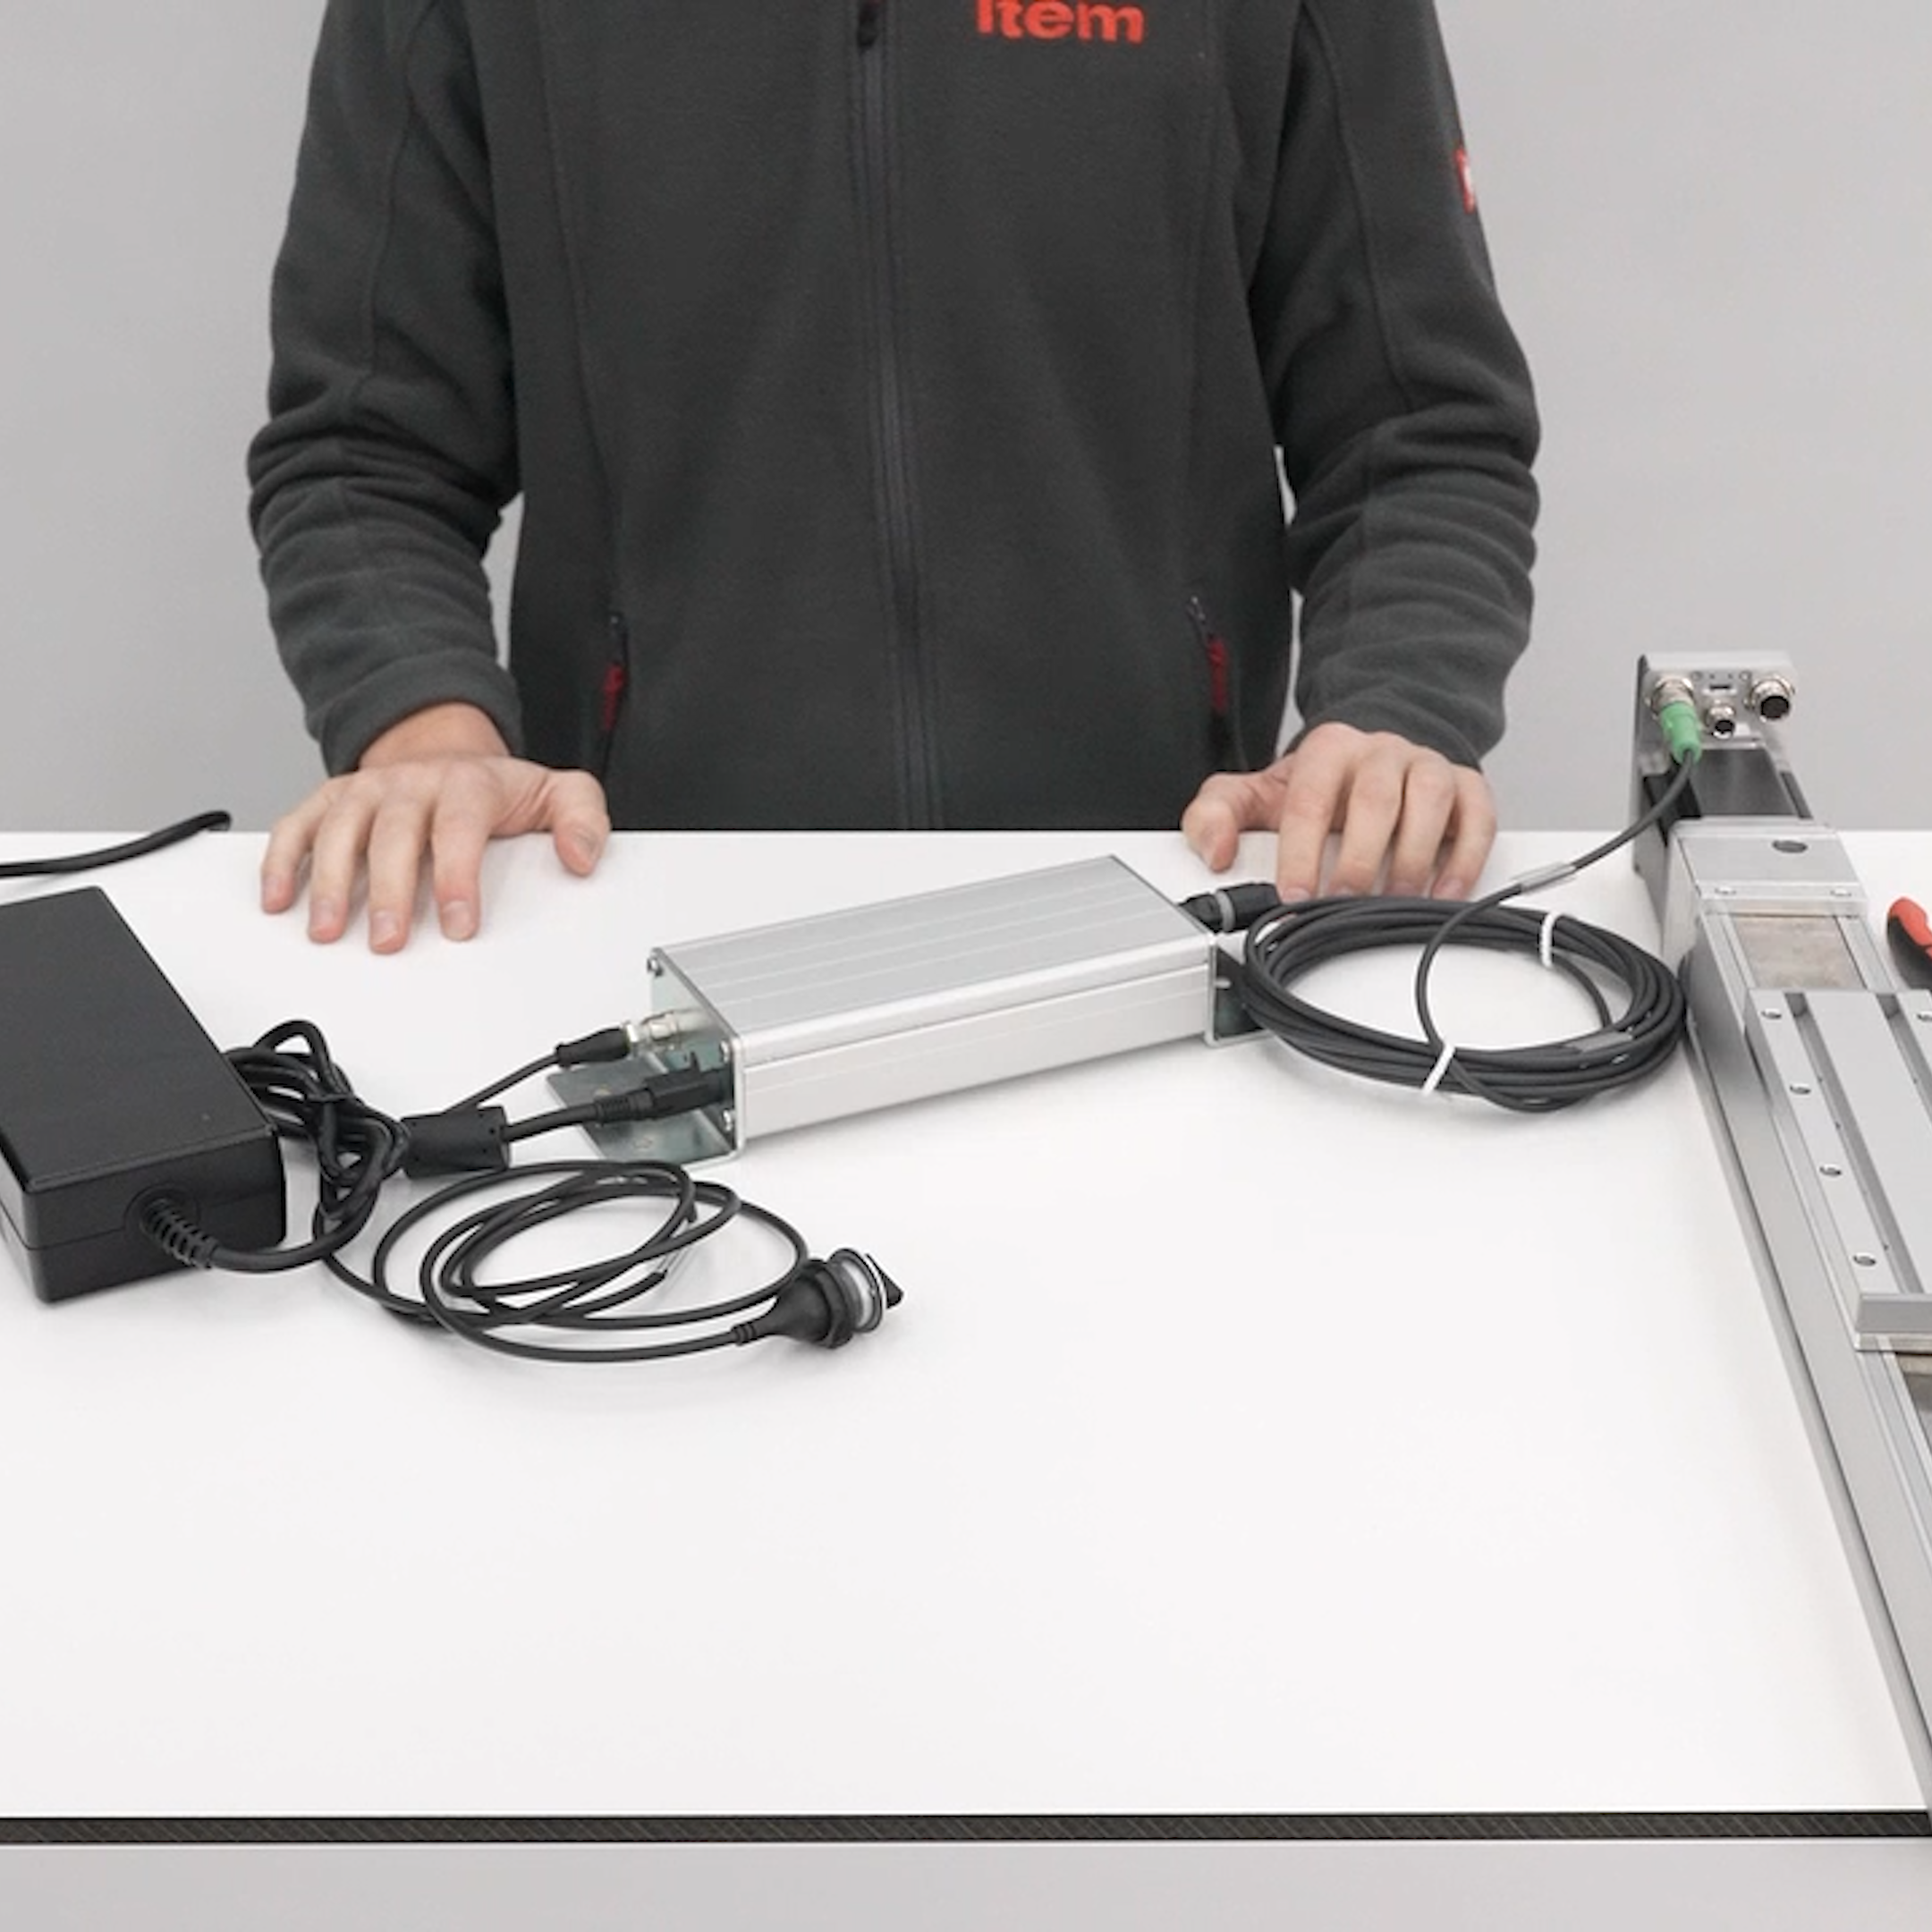
Wie verkabel ich einen Schrittmotor mit dem StarterKit? Dieses Modul zeigt es.
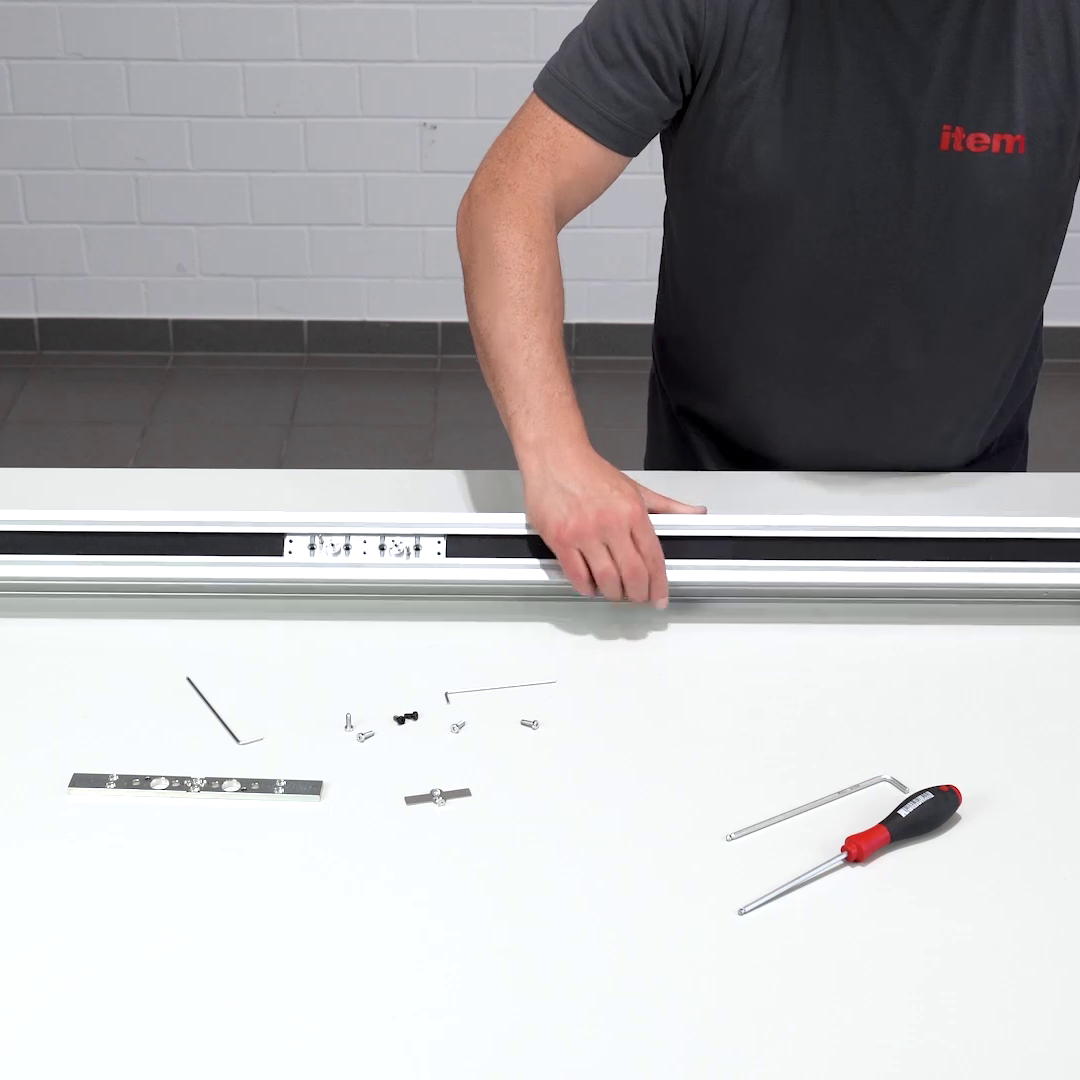
Schritt-für-Schritt Anleitung: Zahnriemen De- und Montage, Einstellen der Zahnriemenvorspannung, Schlitten-Spielfreiheit,...

Dieses Modul zeigt die Wartung der Lineareinheit KRF 8 80x40 ZR.

Schritt-für-Schritt Anleitung: Zahnriemen De- und Montage, sowie Einstellen der Zahnriemenvorspannung.
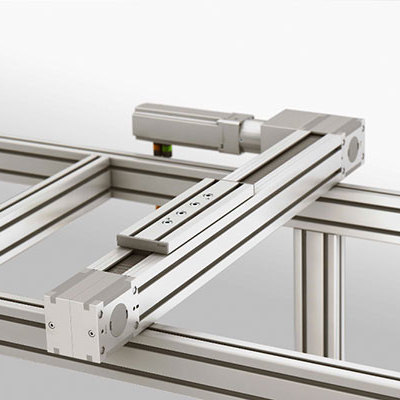
The instructions show the commissioning step by step.
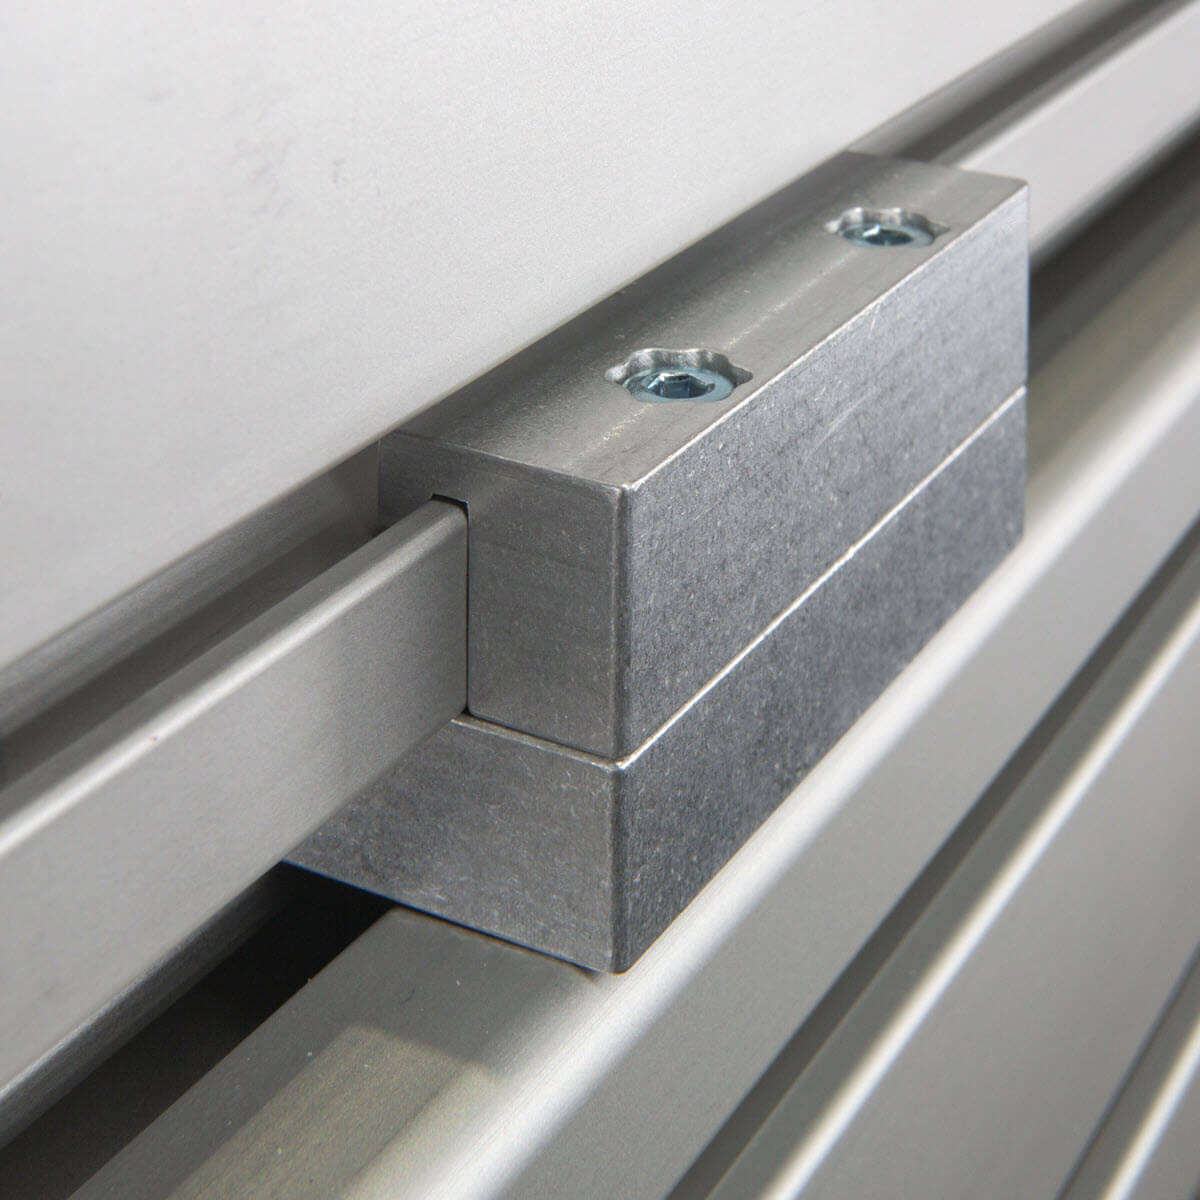
This module shows the step-by-step assembly of the Profile Fastening Set 6/8 80x60

This module will lead you step by step through the installation process of Controller BL1-04/C.
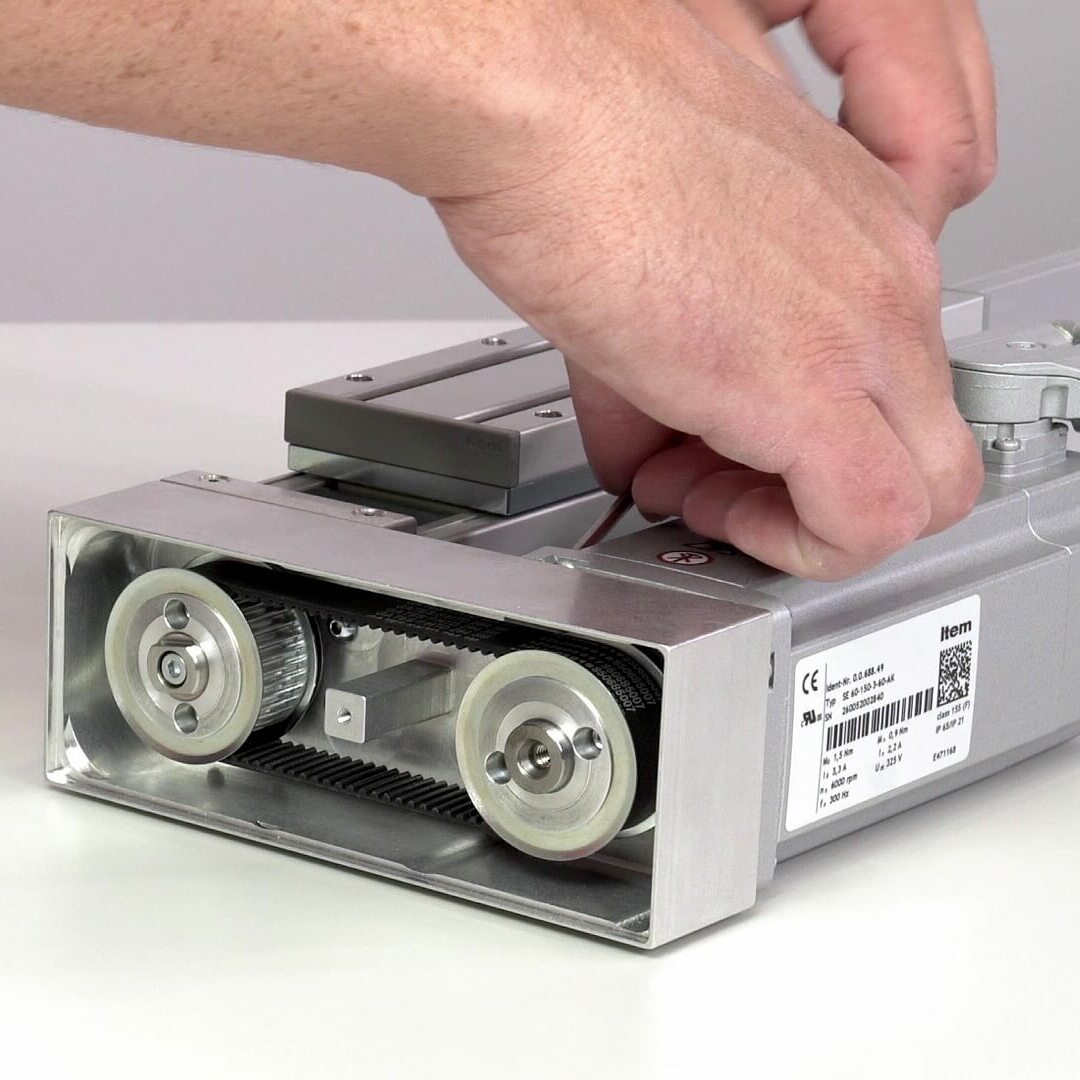
This module shows the step-by-step assembly of the Parallel Drive Set 6 60 D12-1 SE 60.
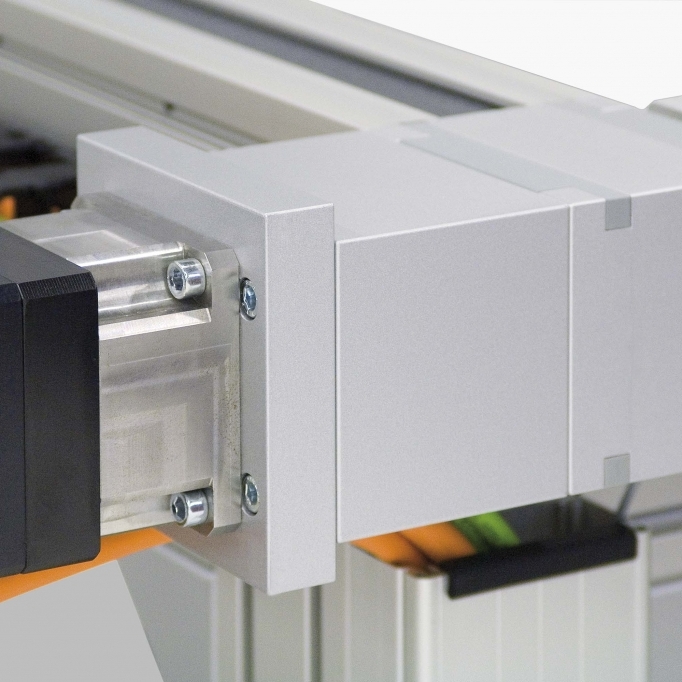
The connection on the motor side must be individually adapted to the motor to be selected. For this purpose, the corresponding components must be machined.
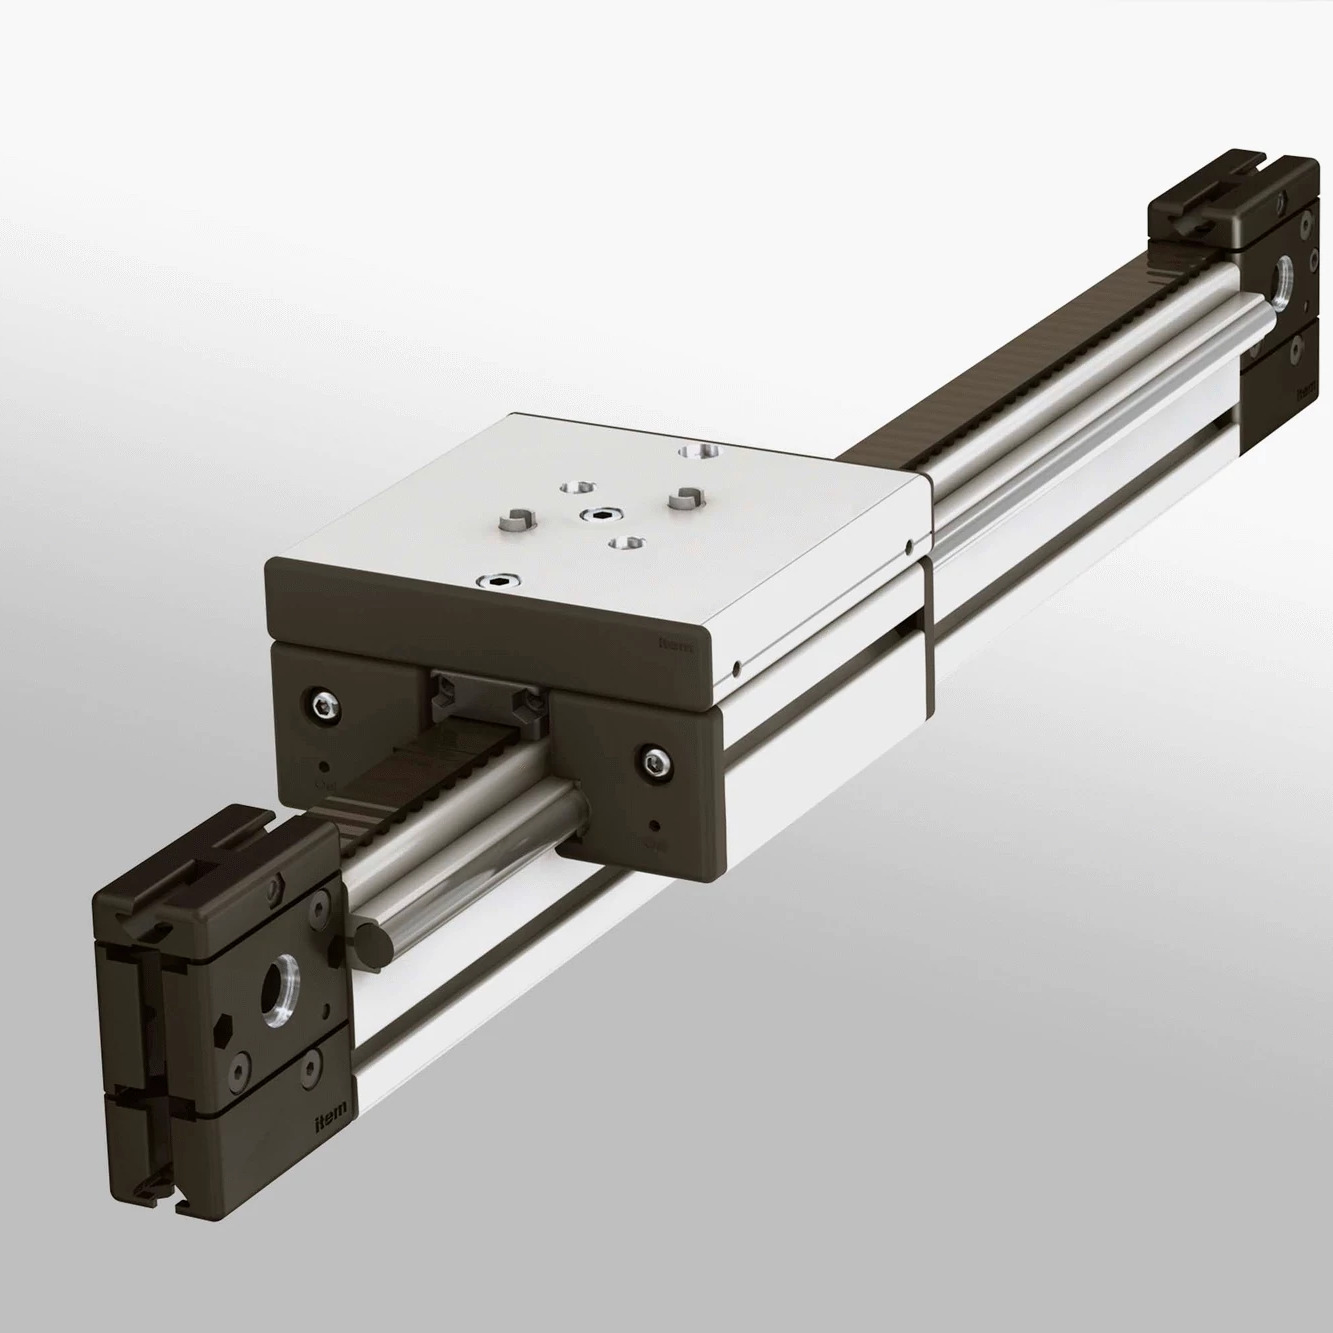
This module shows the step-by-step assembly of the linear unit LRE 8 D14 80x40 ZU 40 R25.
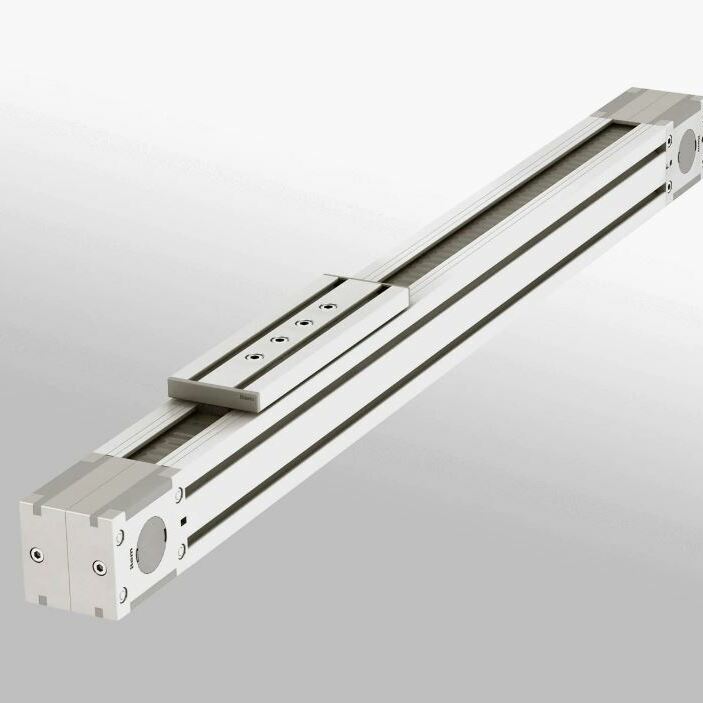
This module shows the step-by-step assembly of the linear unit KLE 6 60x60 LR and KLE 8 80x80 LR.
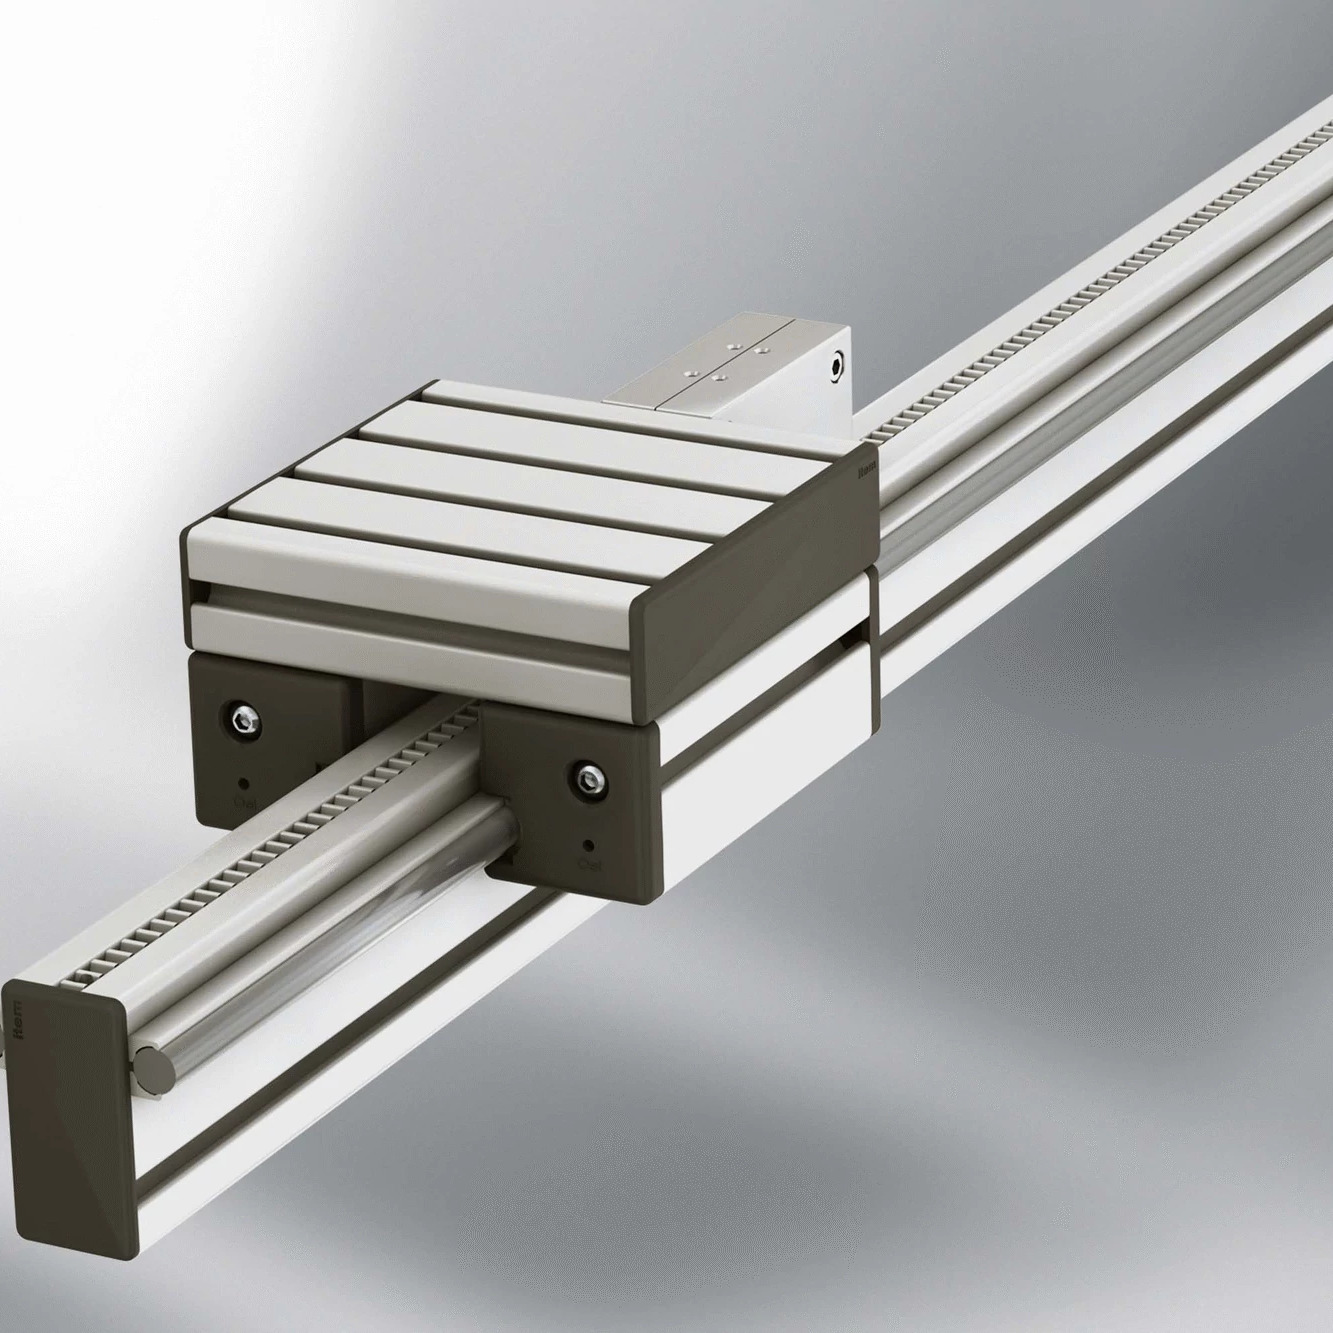
This module shows the step-by-step assembly of the linear unit LRE 8 D14 80x40 ZS.
Fördertechnik
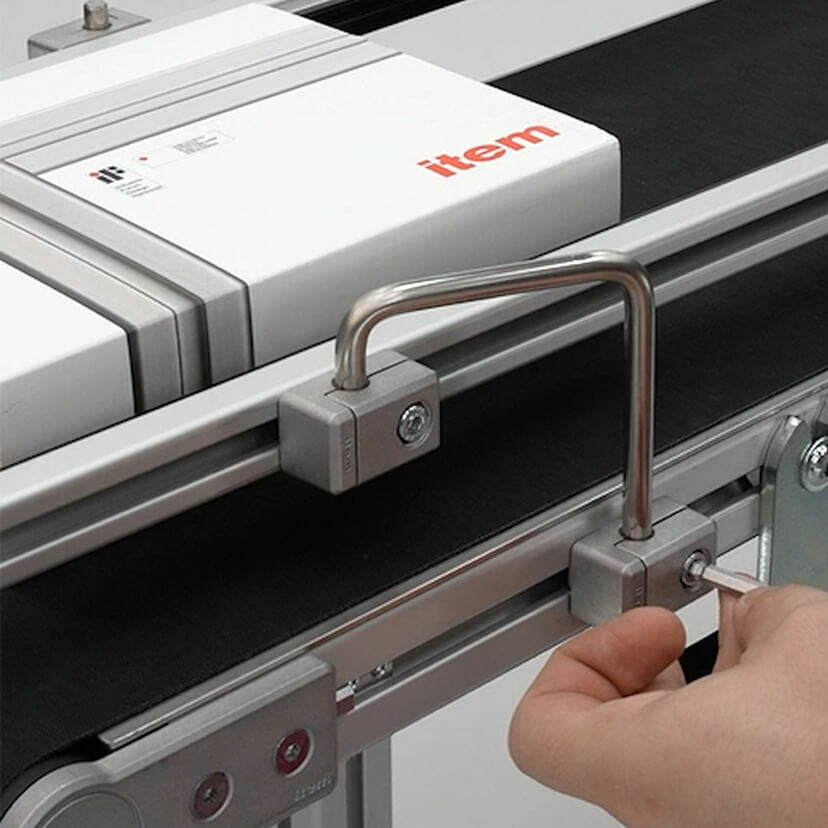
Das item Relingsystem 8 D8 gibt Ihnen die nötige Gestaltungsfreiheit, um Waren aller Art in jeder Situation sicher zu führen.
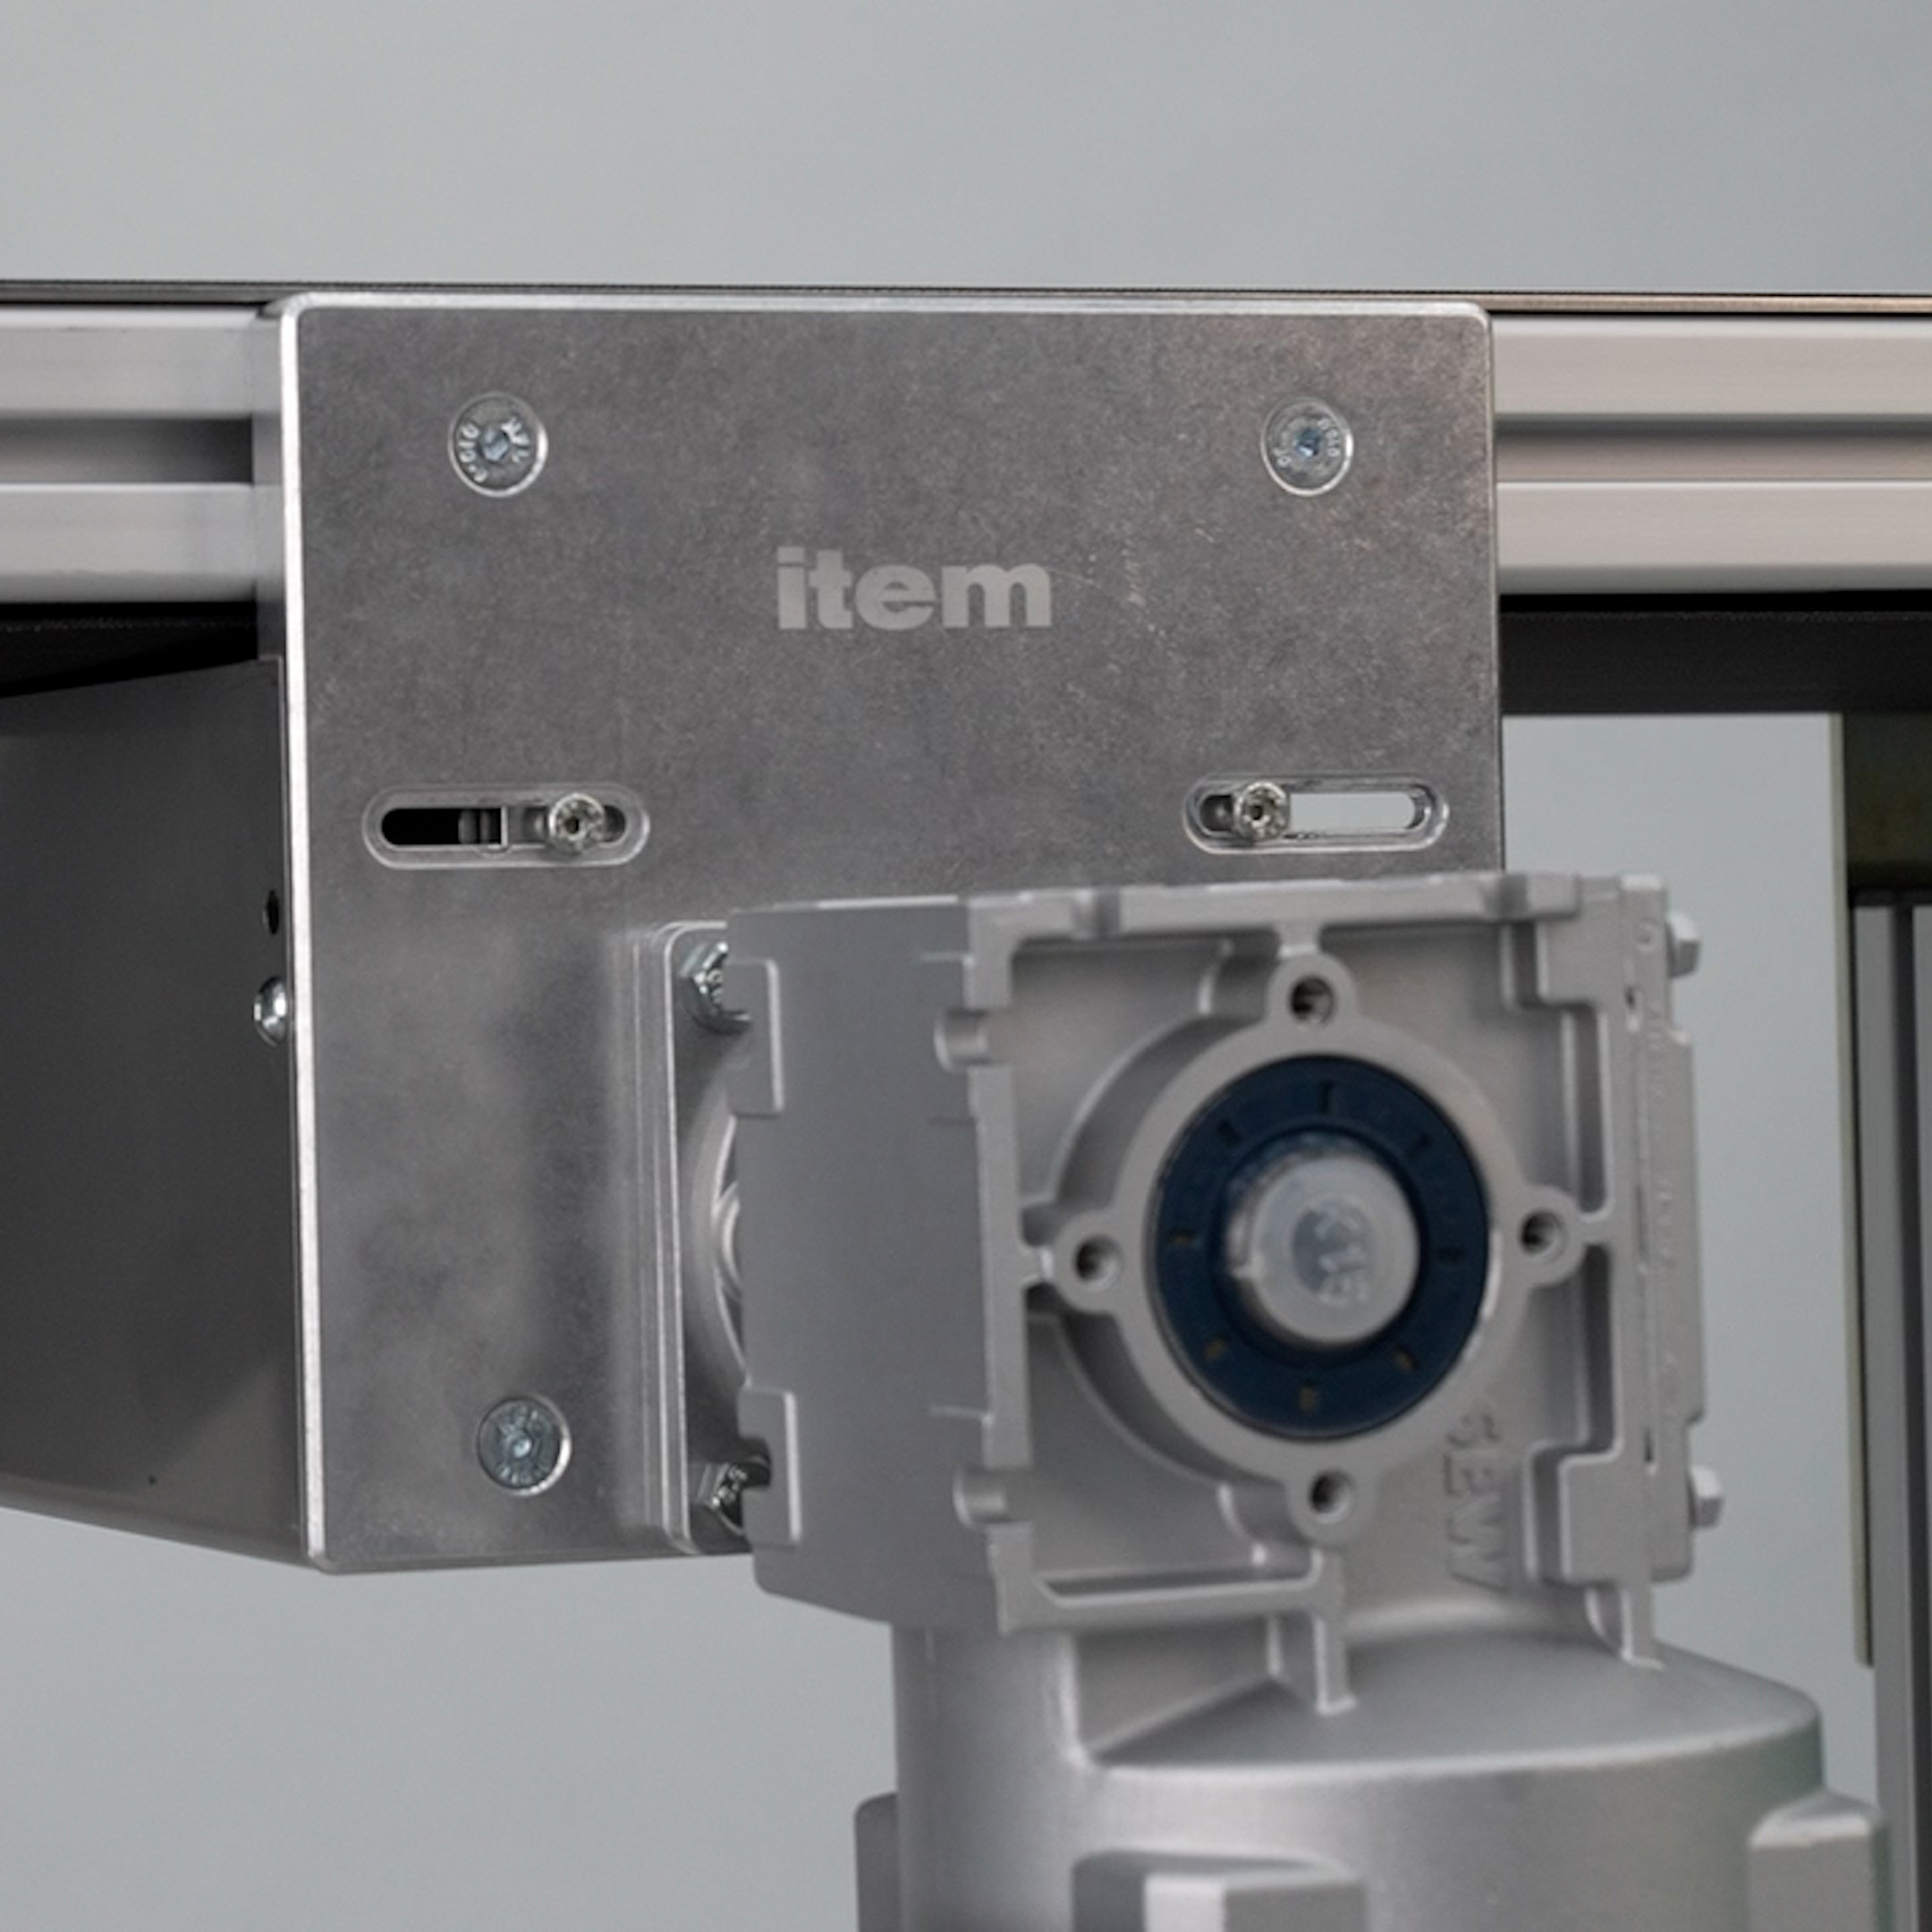
The item centre drive can be used to position the motor underneath the conveyer.
This module shows the step-by-step assembly of the belt conveyor 8 40 D.
This module will lead you step-by-step through the assembly process of the Timing Belt Conveyor 8 40 D.
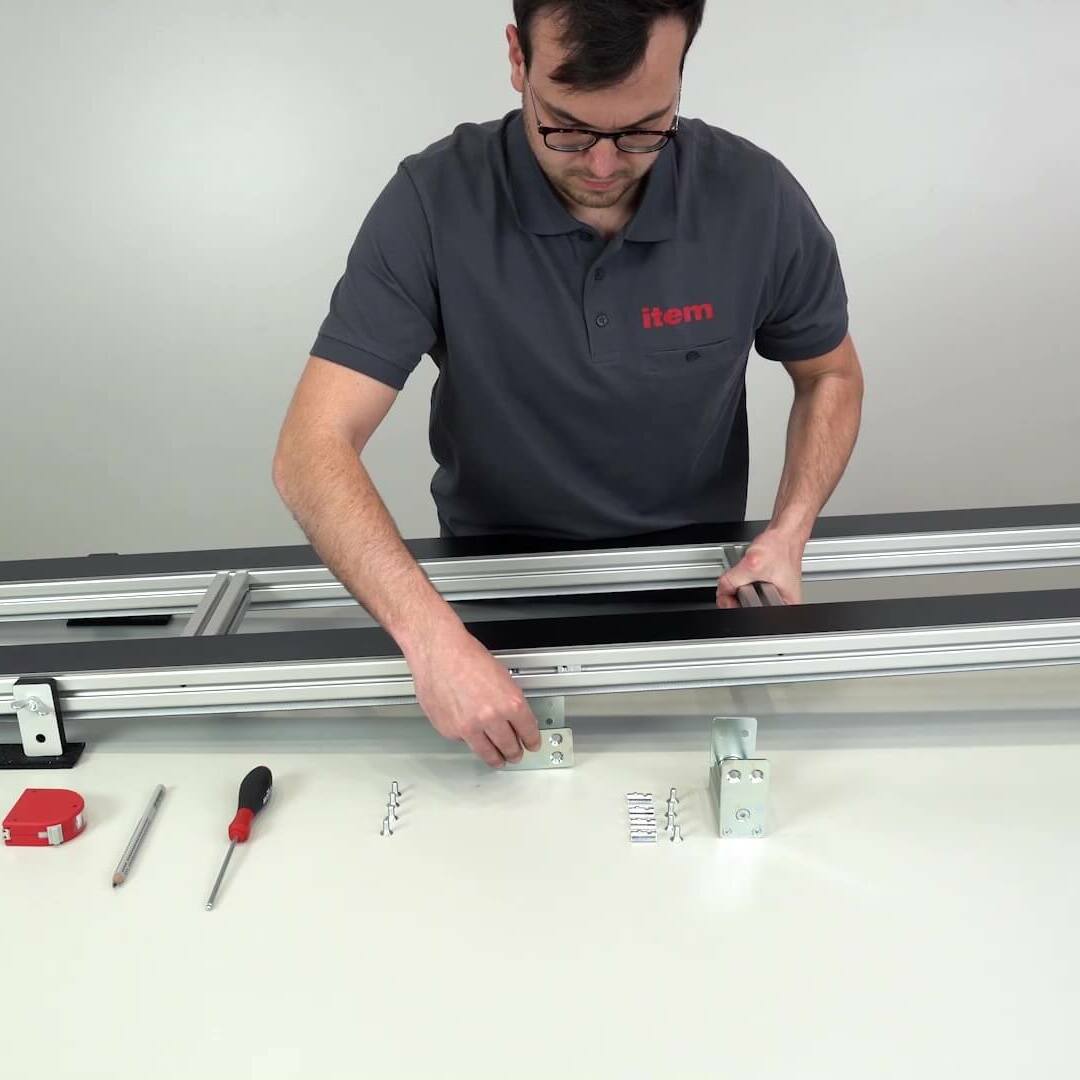
This module shows the step-by-step assembly of the double flat belt conveyor 8 40 D.
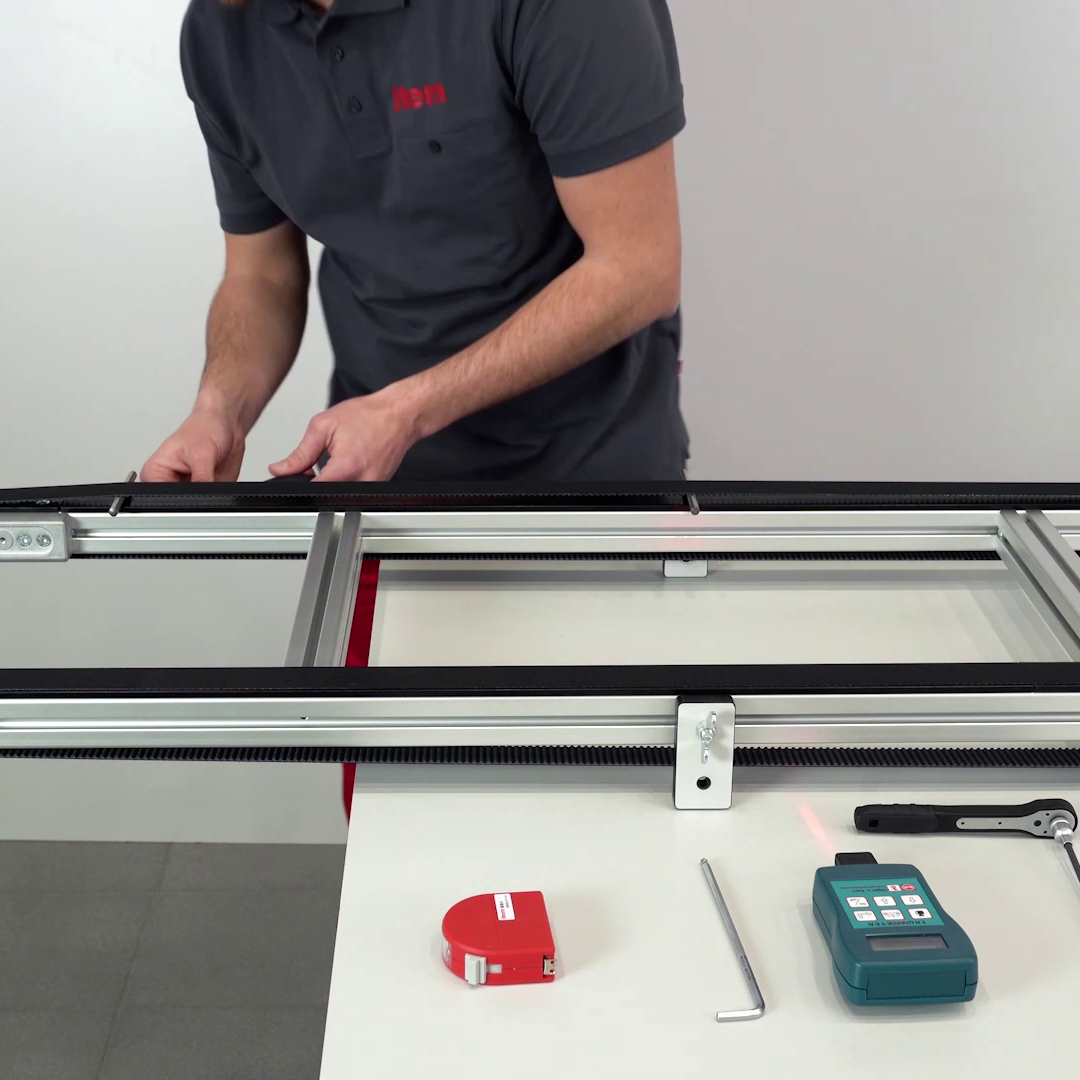
This module will lead you step-by-step through the assembly process of the double timing belt conveyor 8 40 D.
Lean Production Systembaukasten
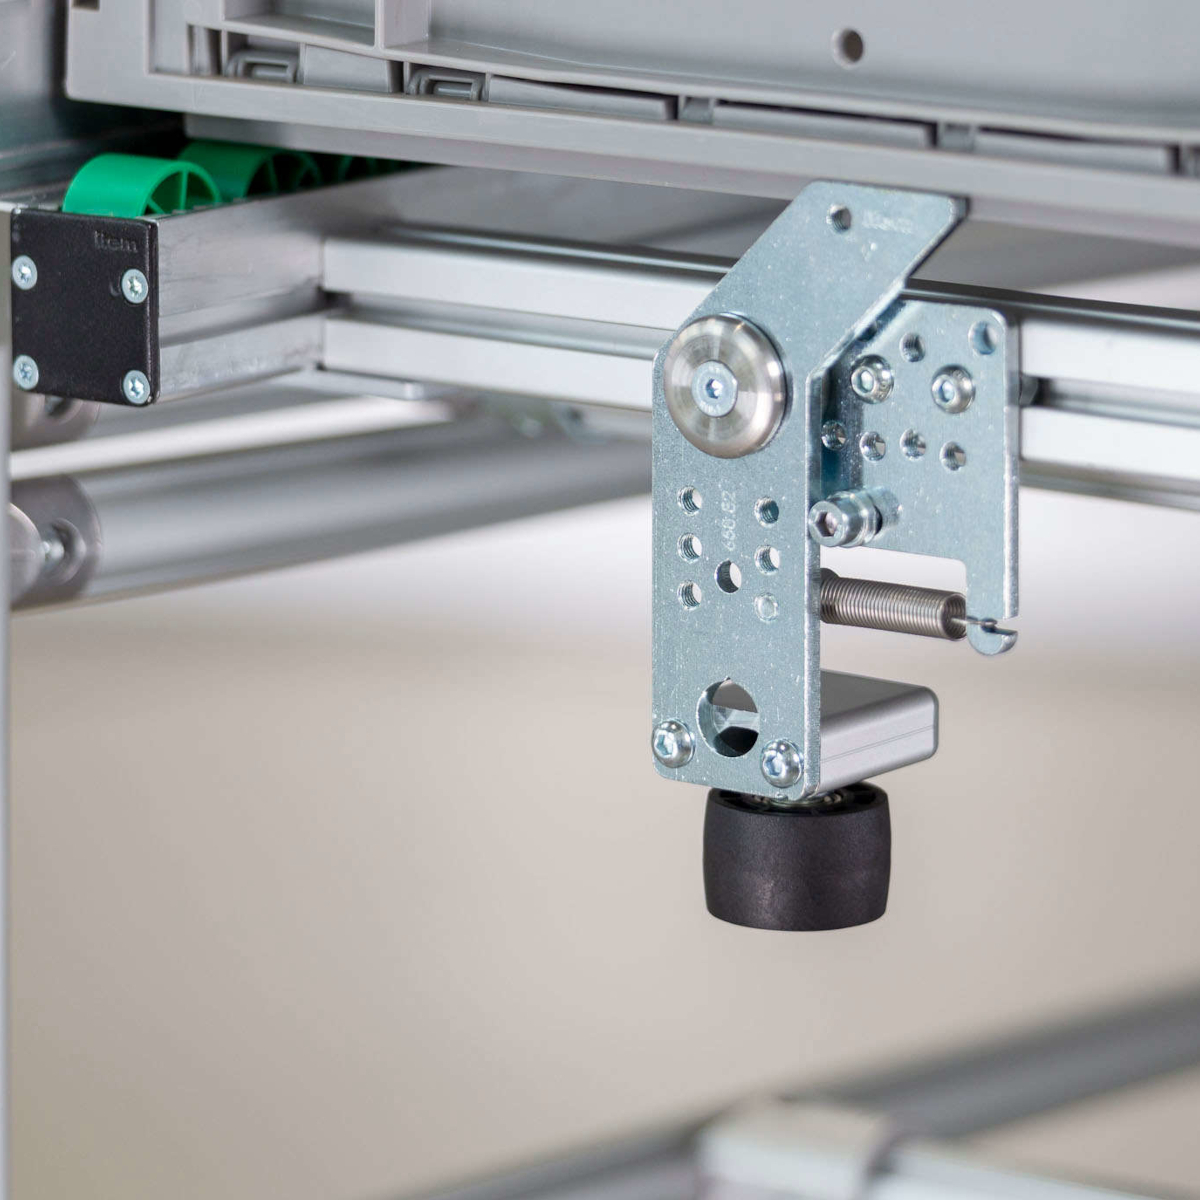
The Release Unit D30 H8 is the ideal partner for front shooters for all item roller conveyor types.
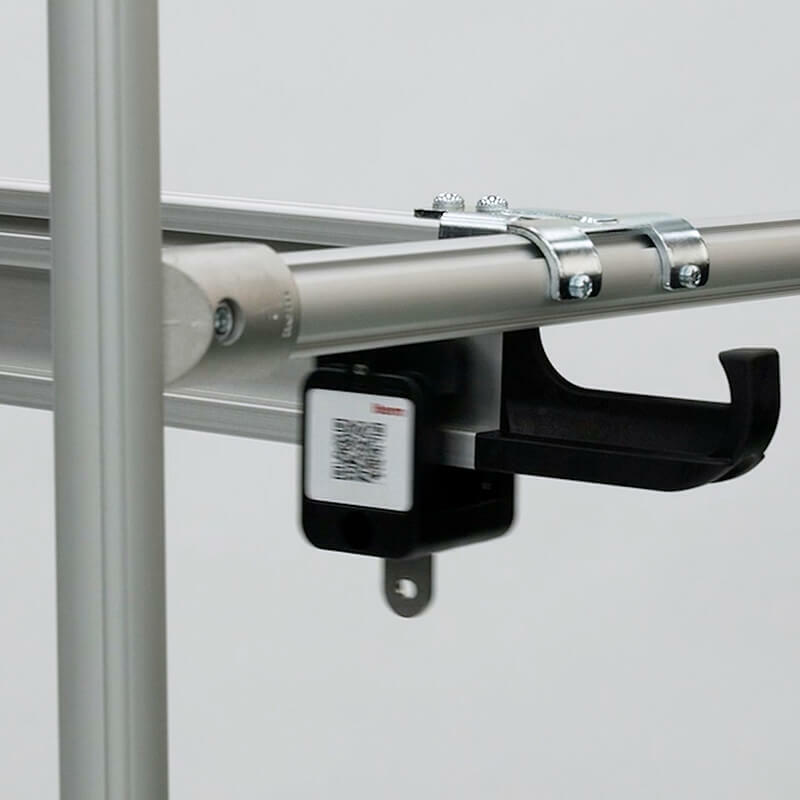
Mit dem Hängefördersystem lassen sich Bauteile, die viel Raum in einem KLT einnehmen, hängend transportieren.
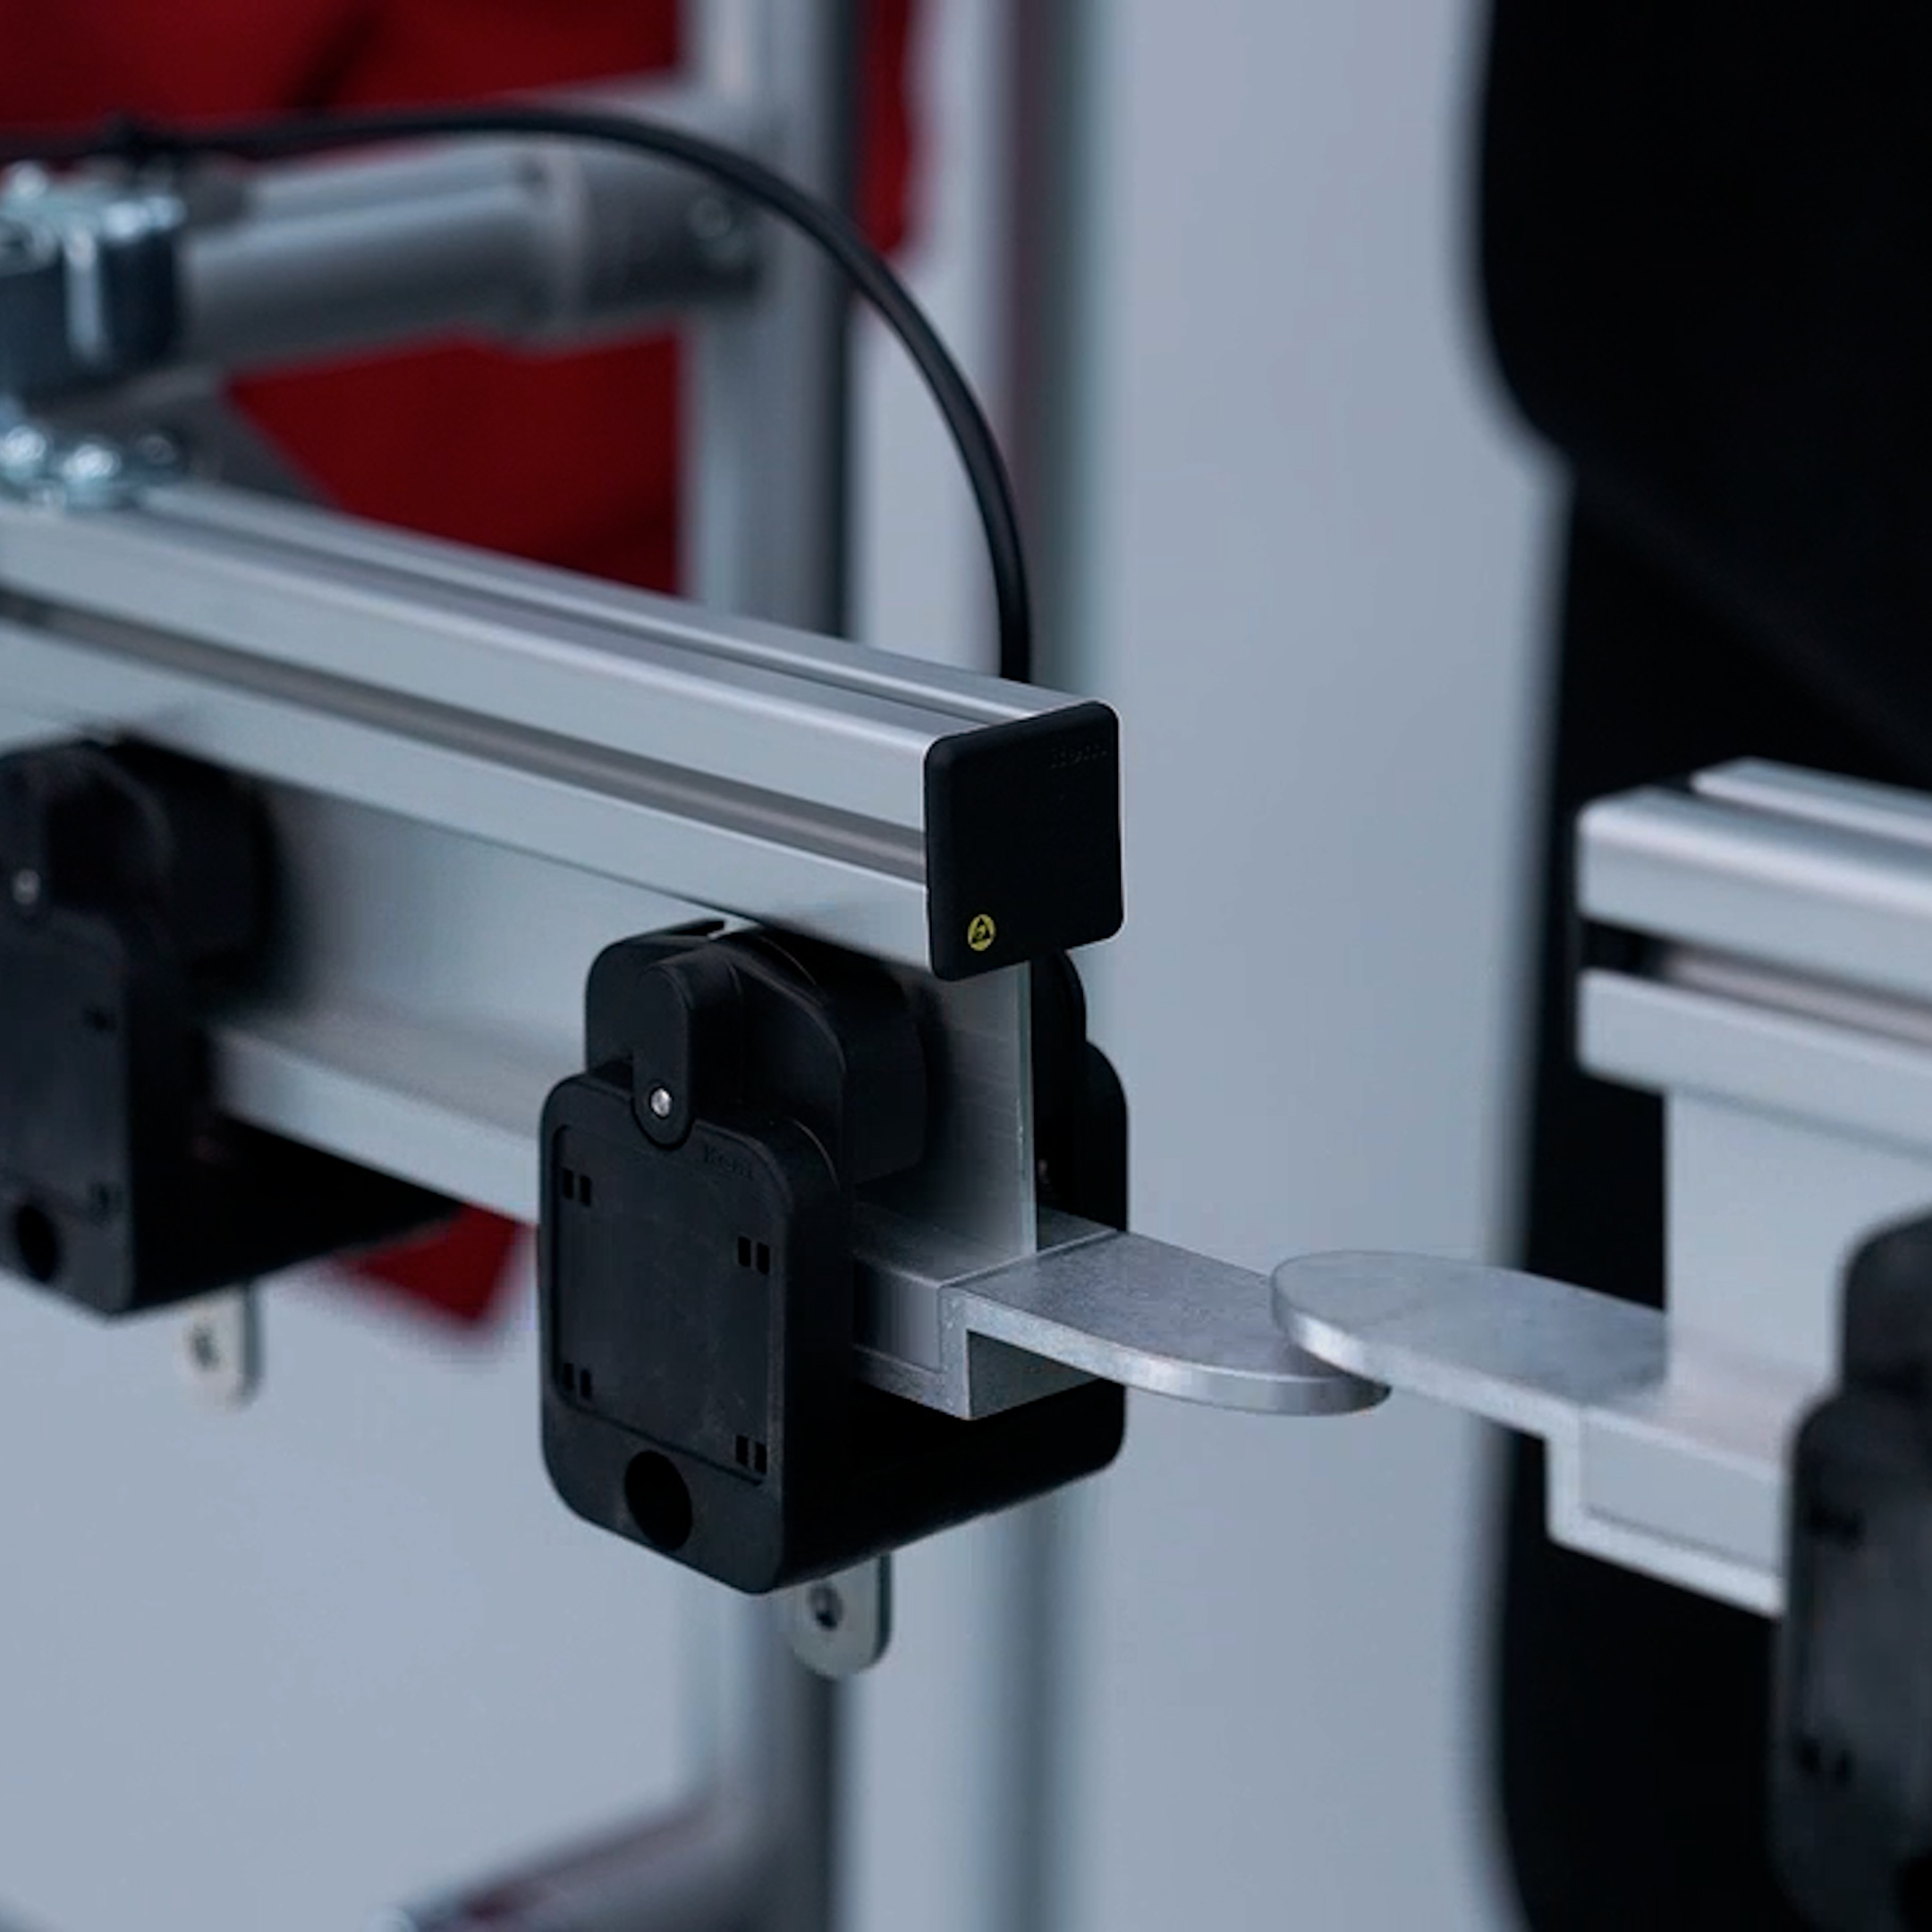
This instructional video shows how the transfer bracket is installed for the item Suspended Conveyor System.
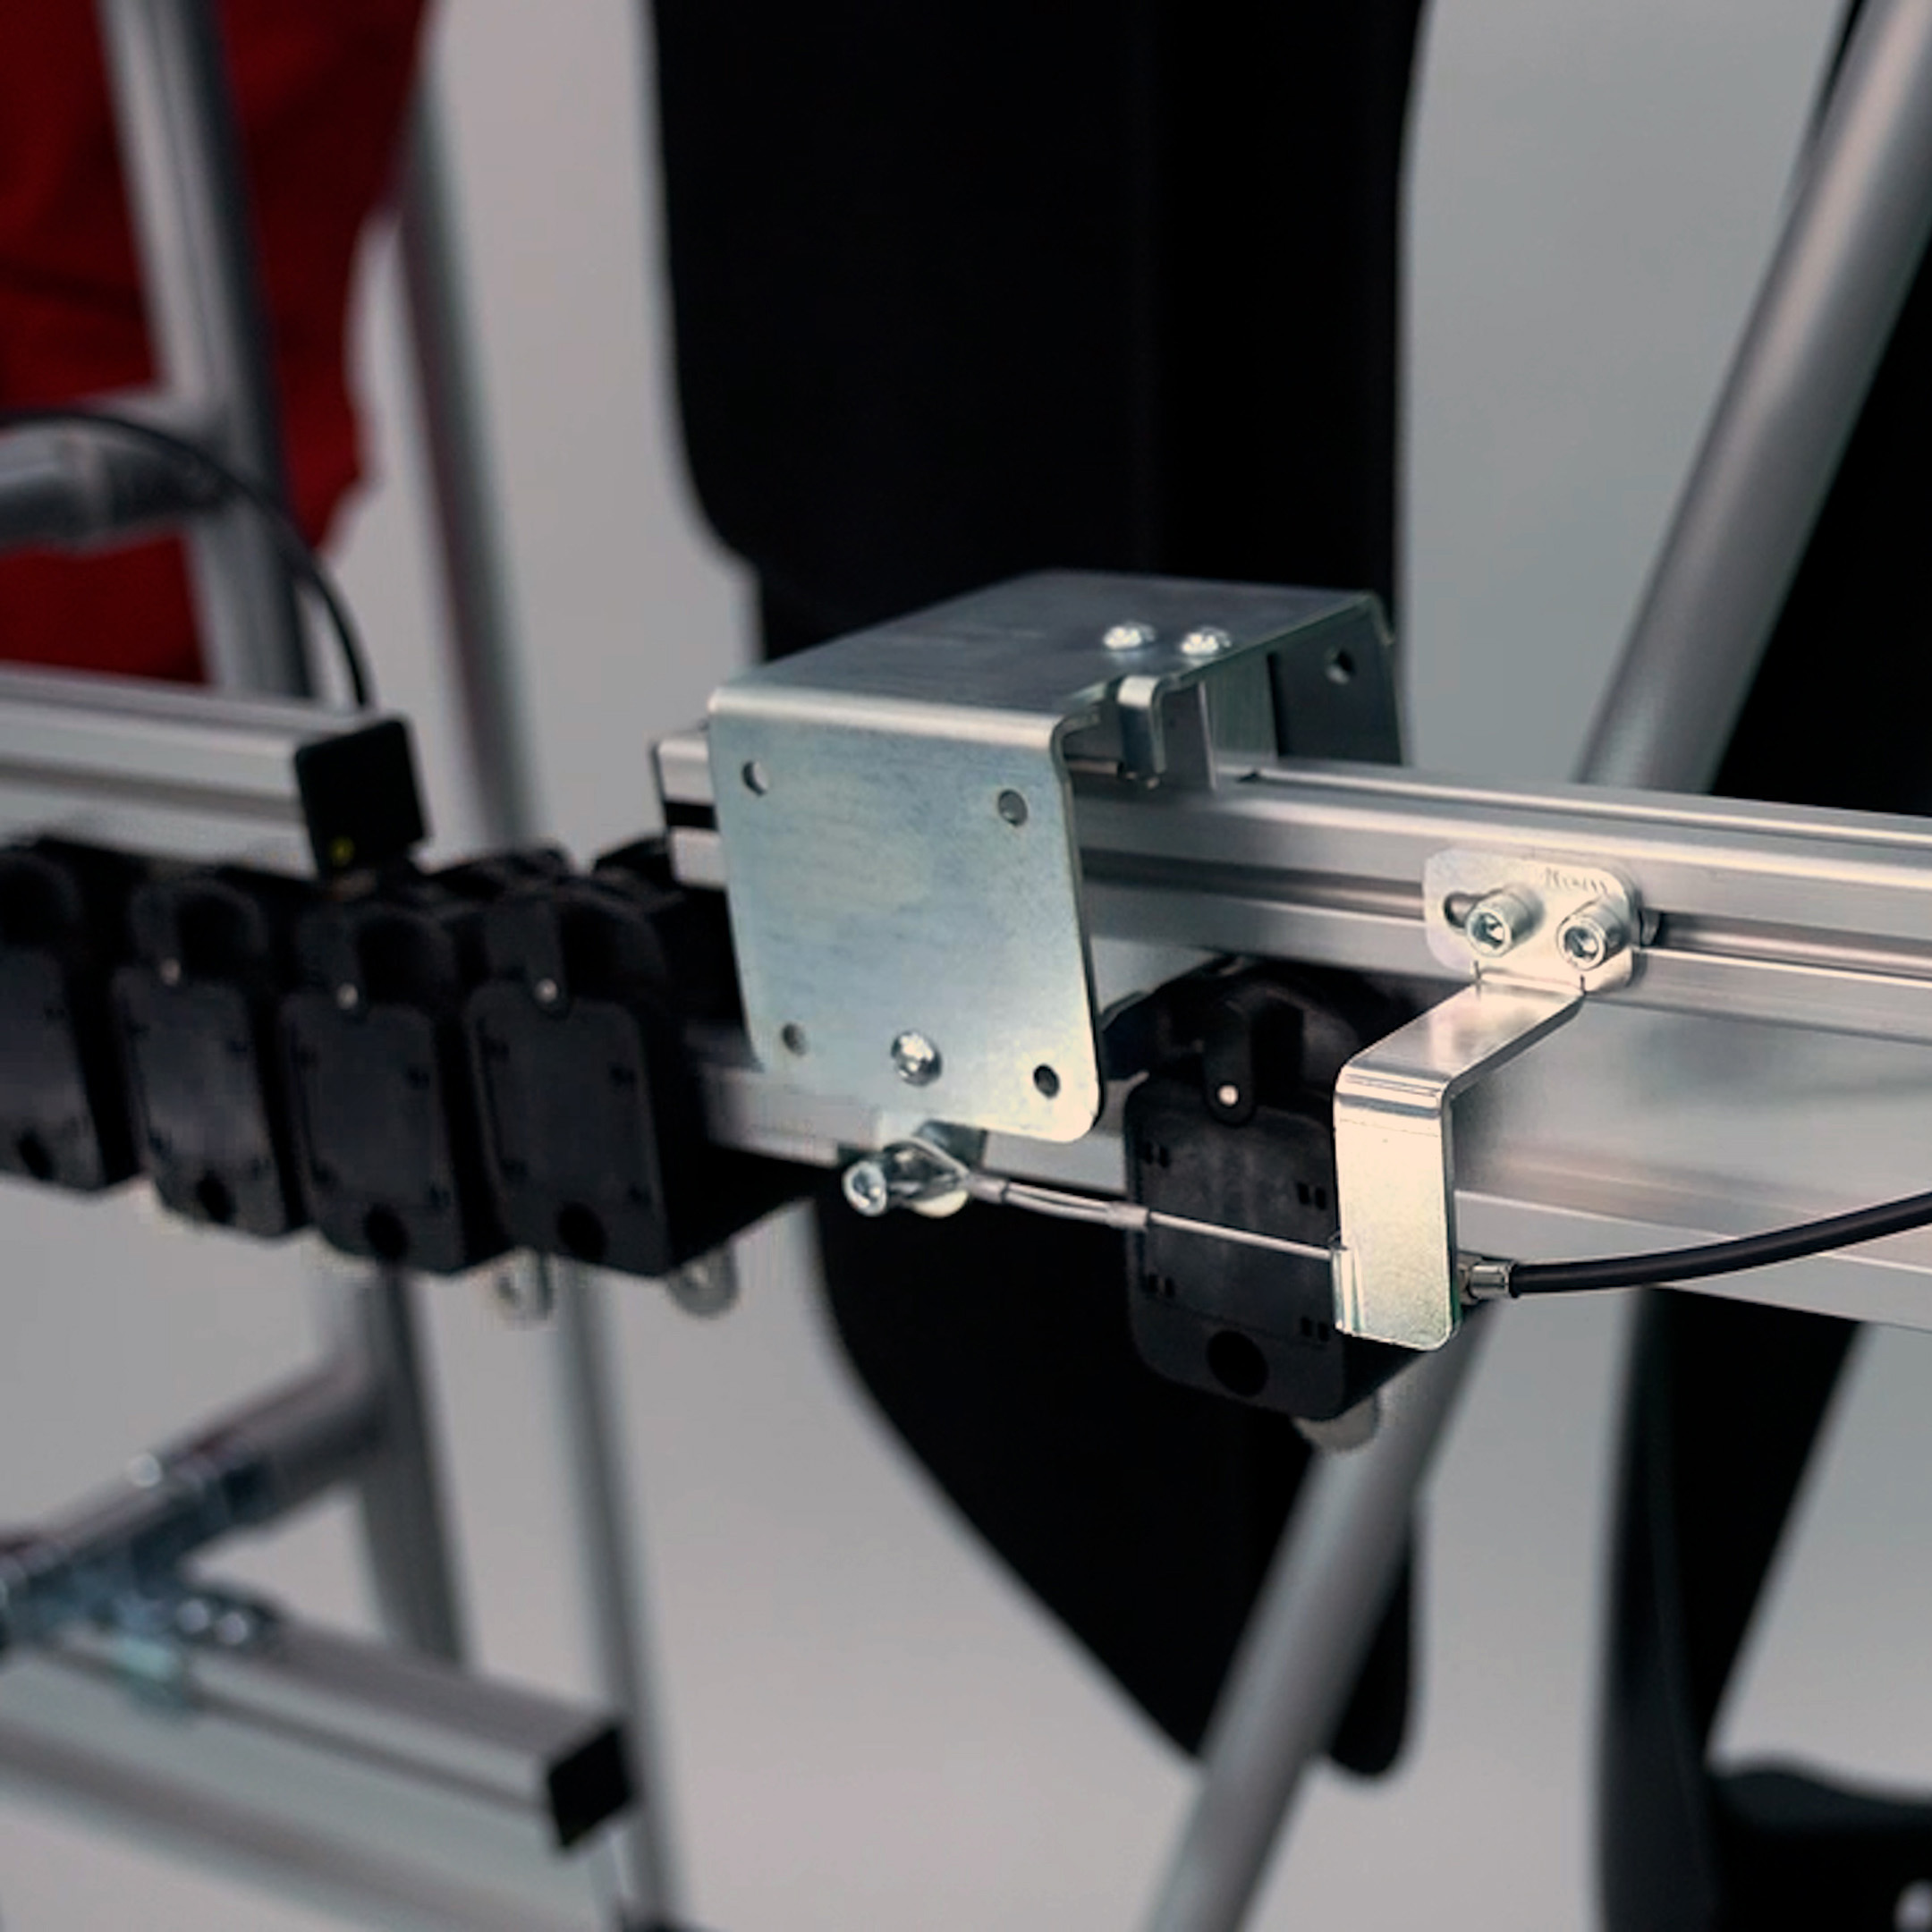
This guide shows how to install a manual trigger mechanism that releases the transport of a carriage via a Bowden cable.
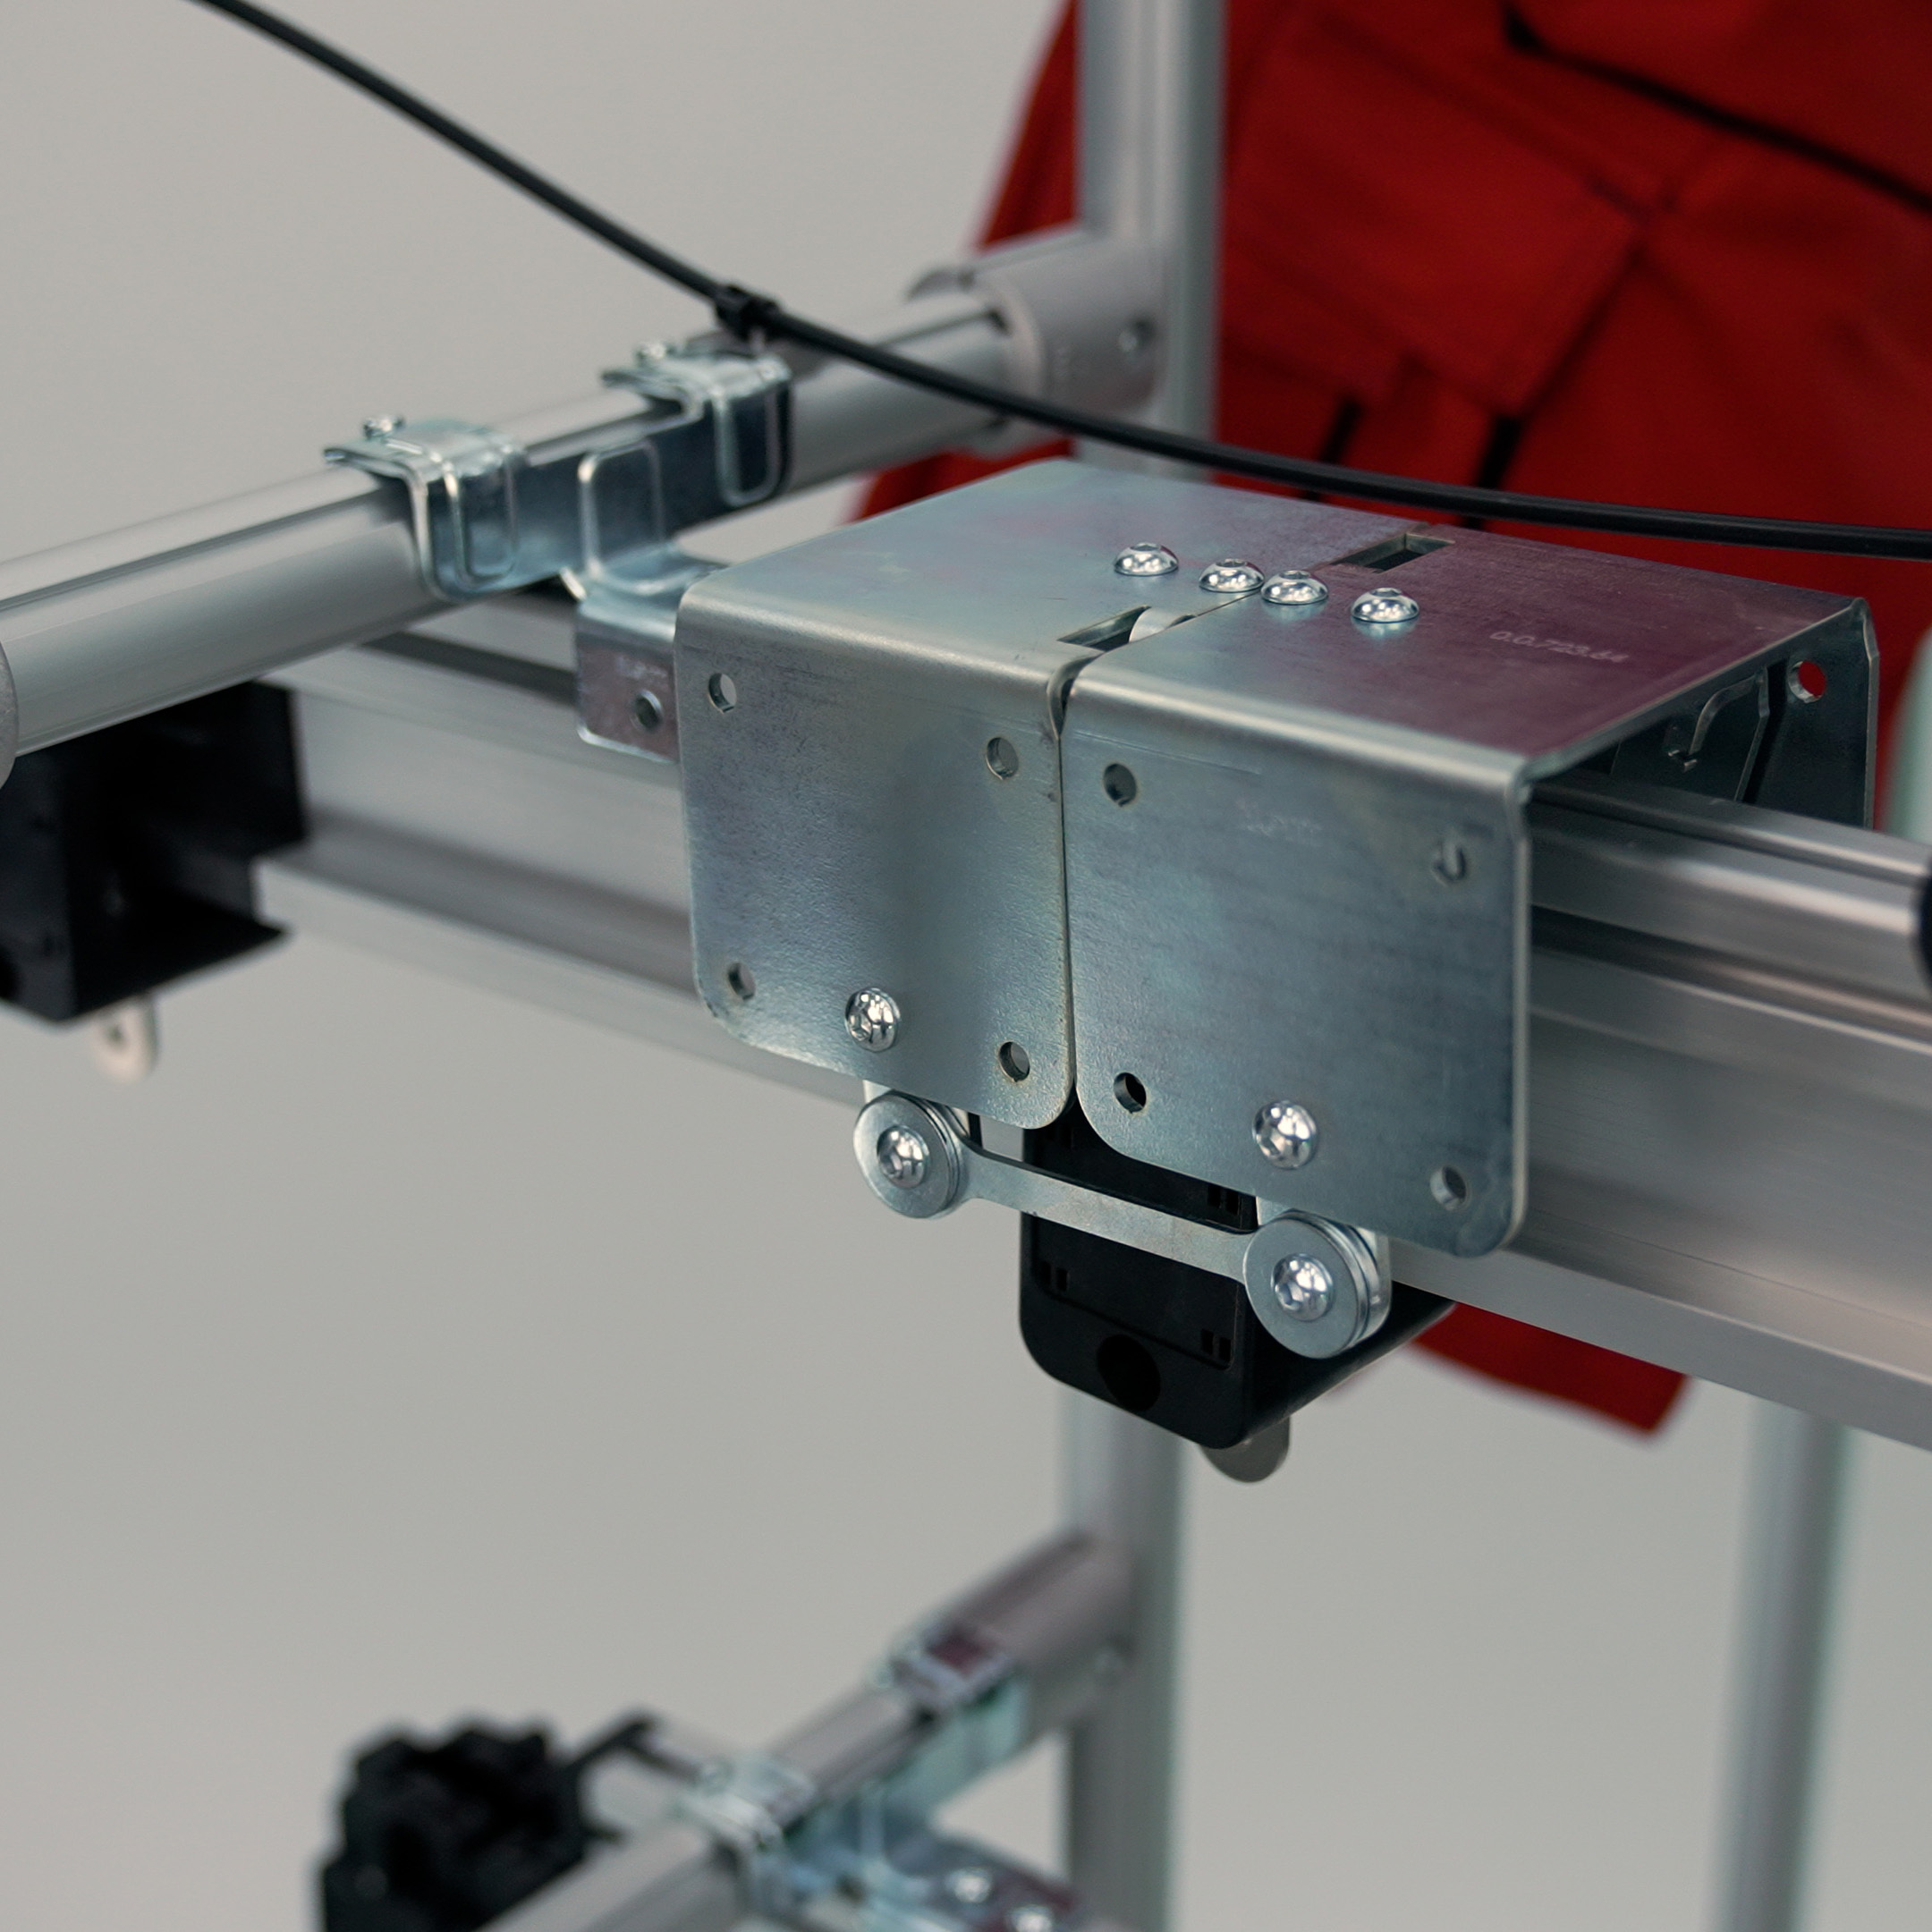
This instructional video shows how the separator is installed for the item Suspended Conveyor System.
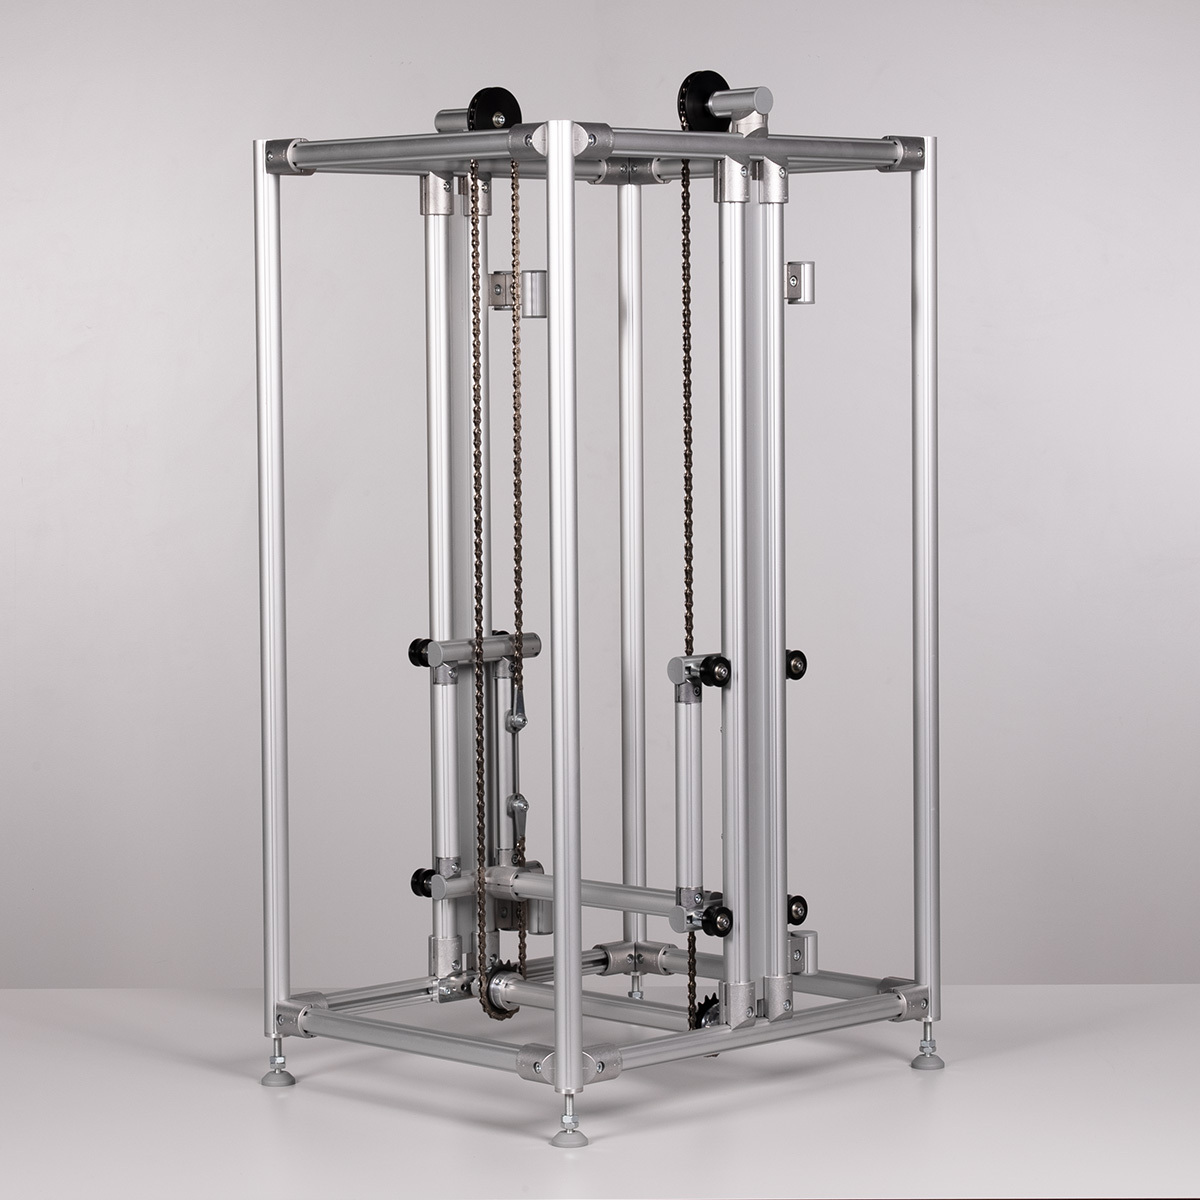
This module shows step-by-step instructions for building a chain-synchronised carriage in the Karakuri/LCA field.
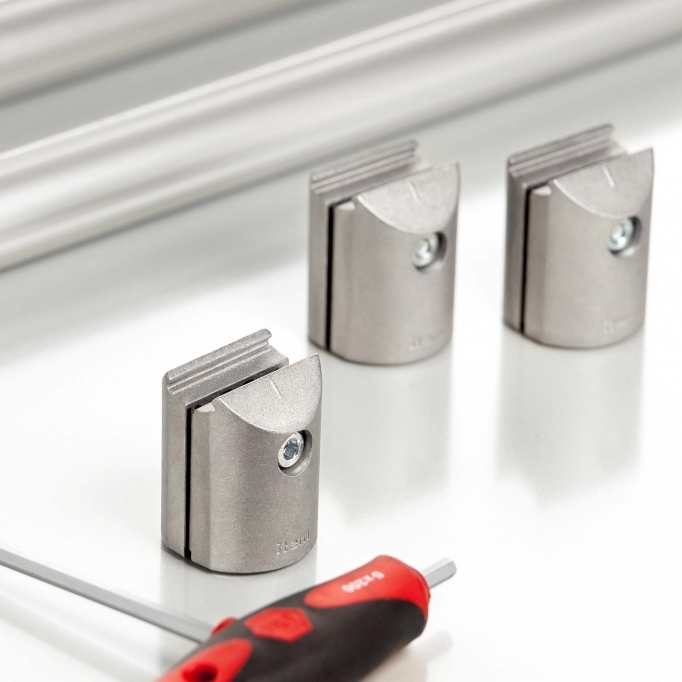
Du willst die absoluten Basiselemente des Lean Production Systembaukastens und ihre Anwendung kennenlernen? Dann schaue Dir die…

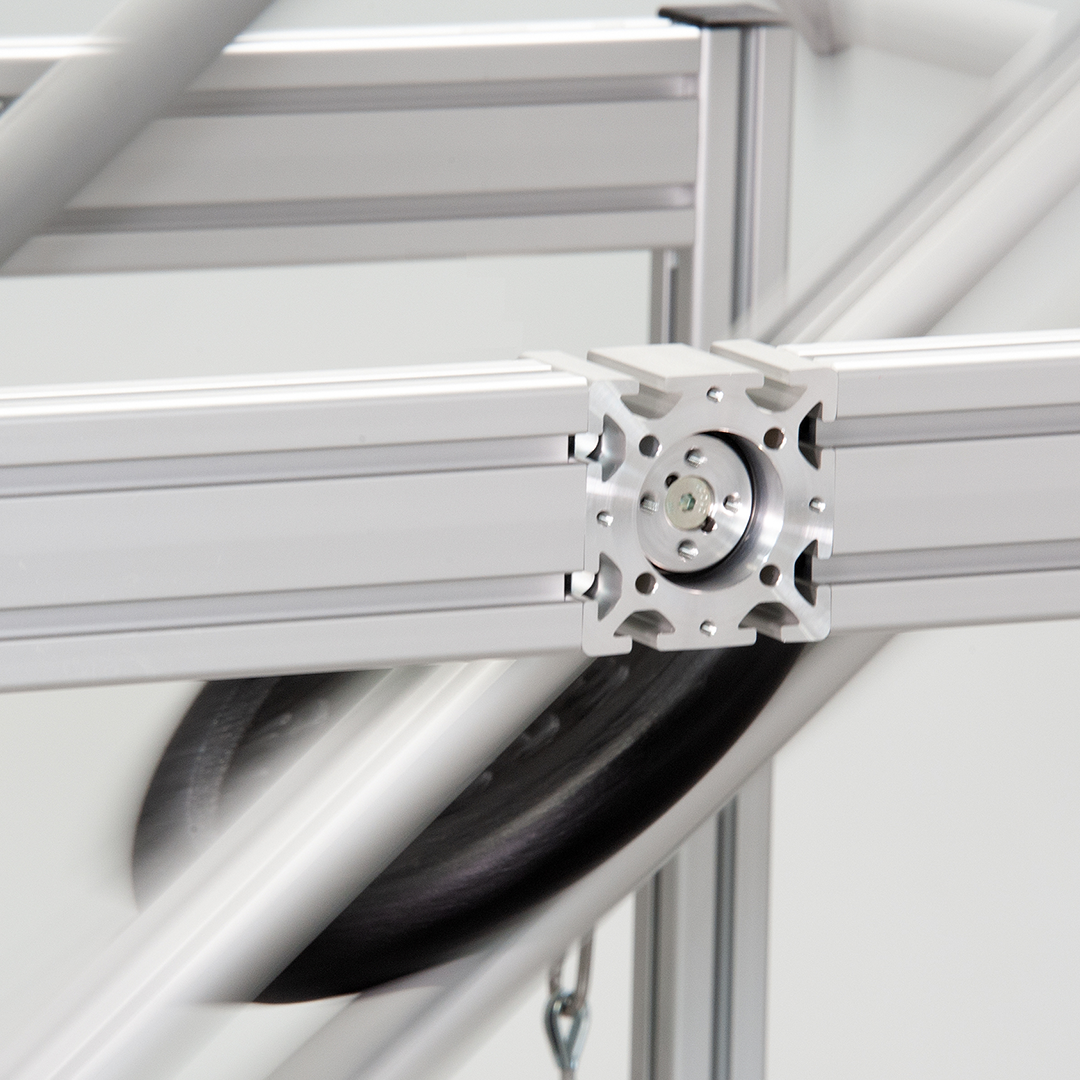
The bearing block serves as a precise and smooth-running pivot bearing for larger and heavier frame parts. Supplemented by up to three rotary dampers, the bearing block provides a controlled and safe rotary movement.

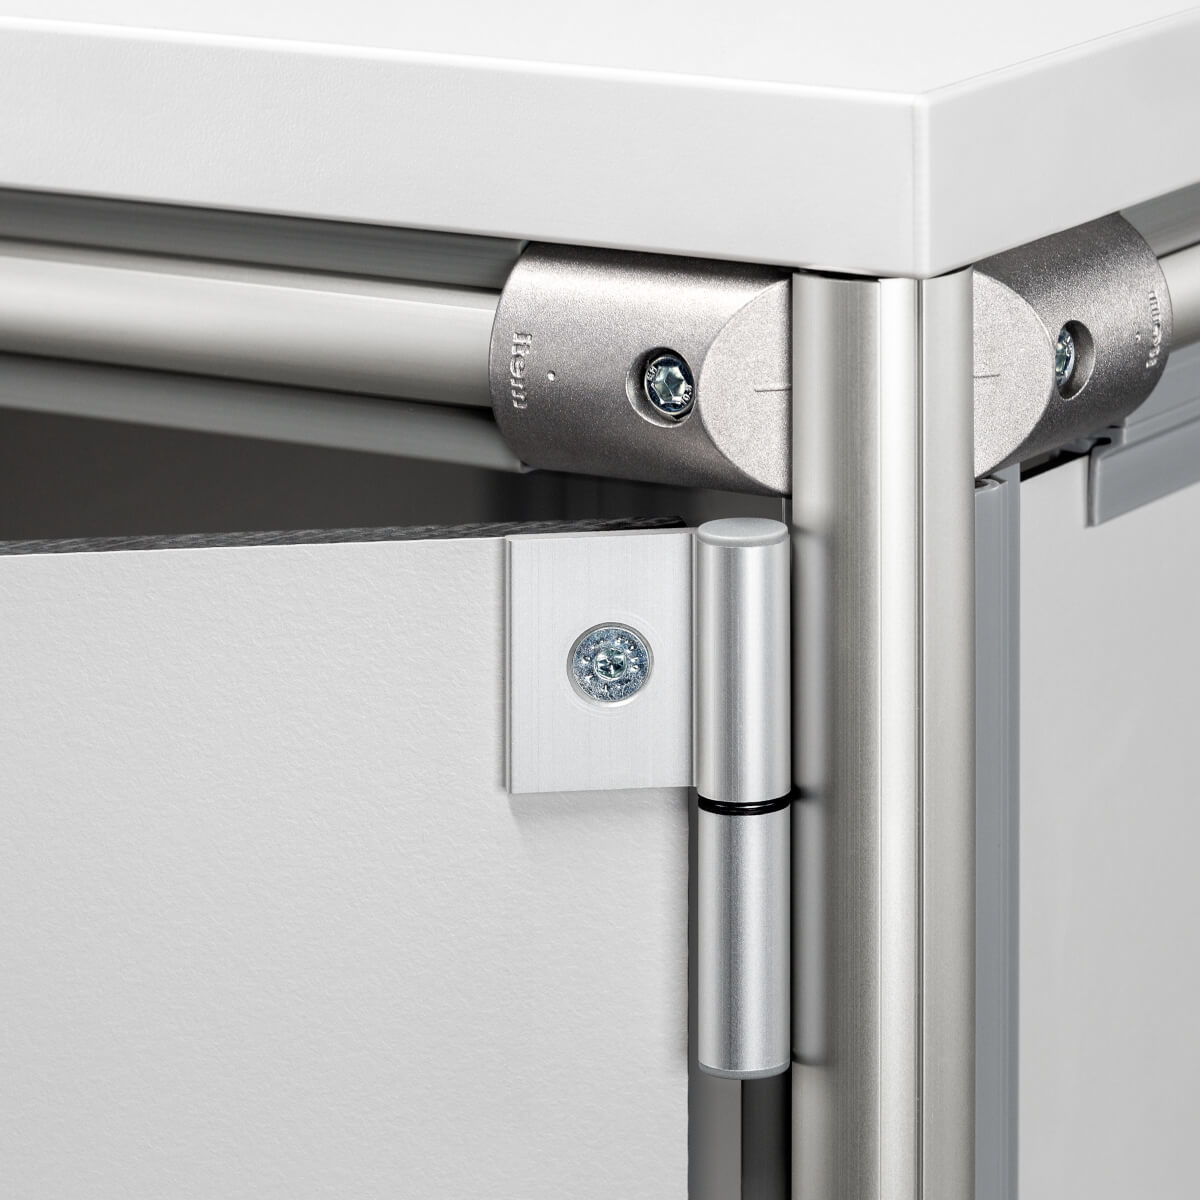
You want to know how to realise a door solution with the Hinge D30-85 FP? Then you have come to the right place!

MB Systembaukasten
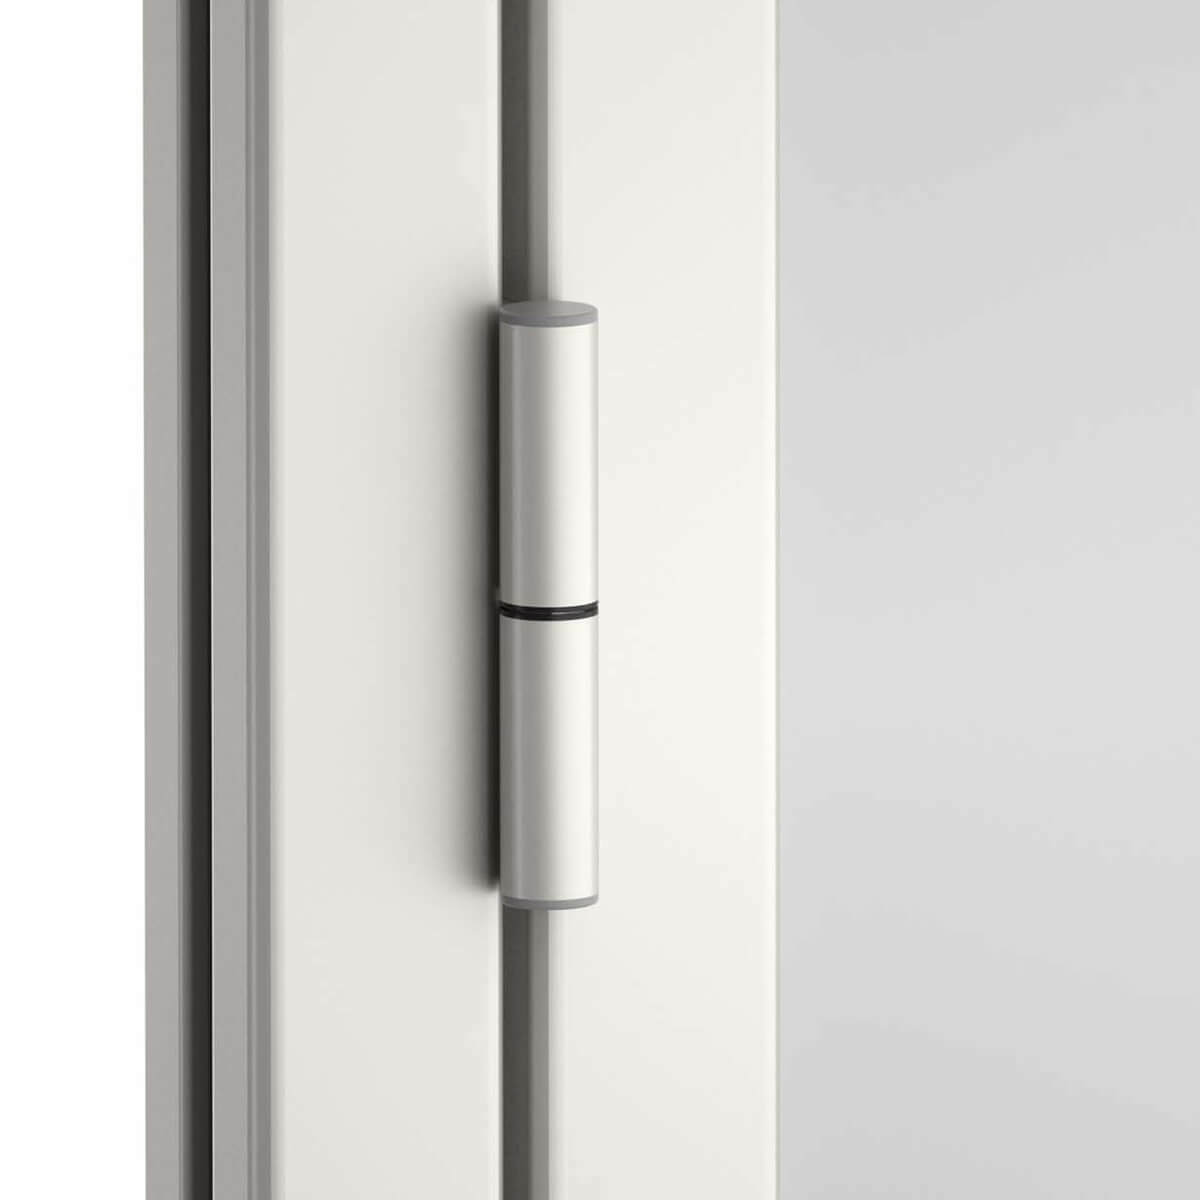
The hinges Al light are suitable for swing doors and flaps in profile construction or made from panel elements.
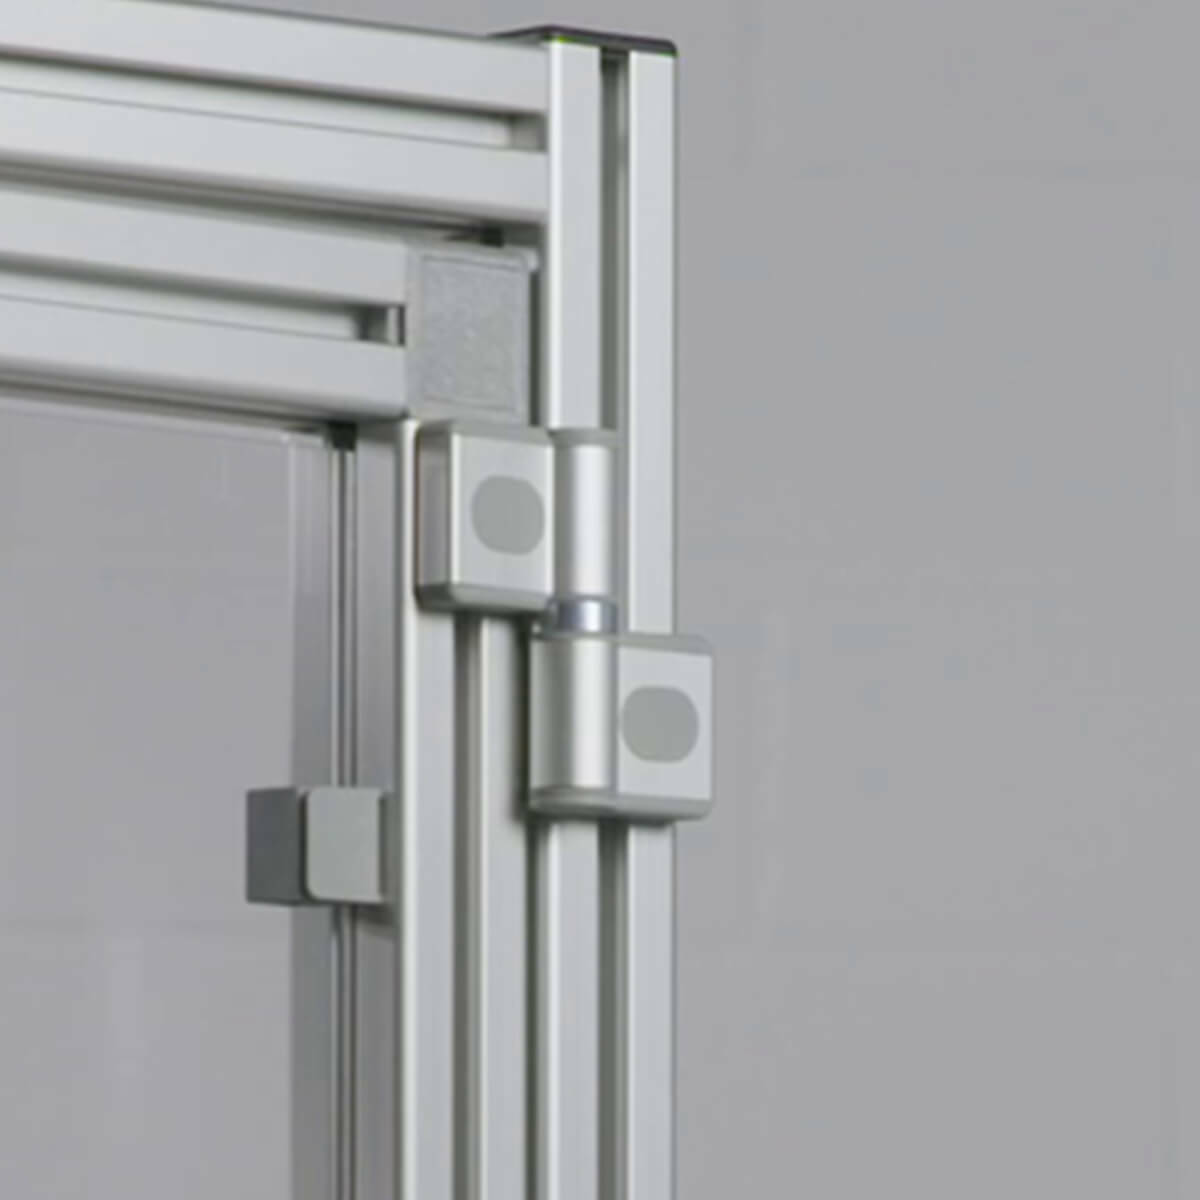
Modular system for aluminium hinges with high load capacity, suitable for heavy doors, flaps and pivoting...
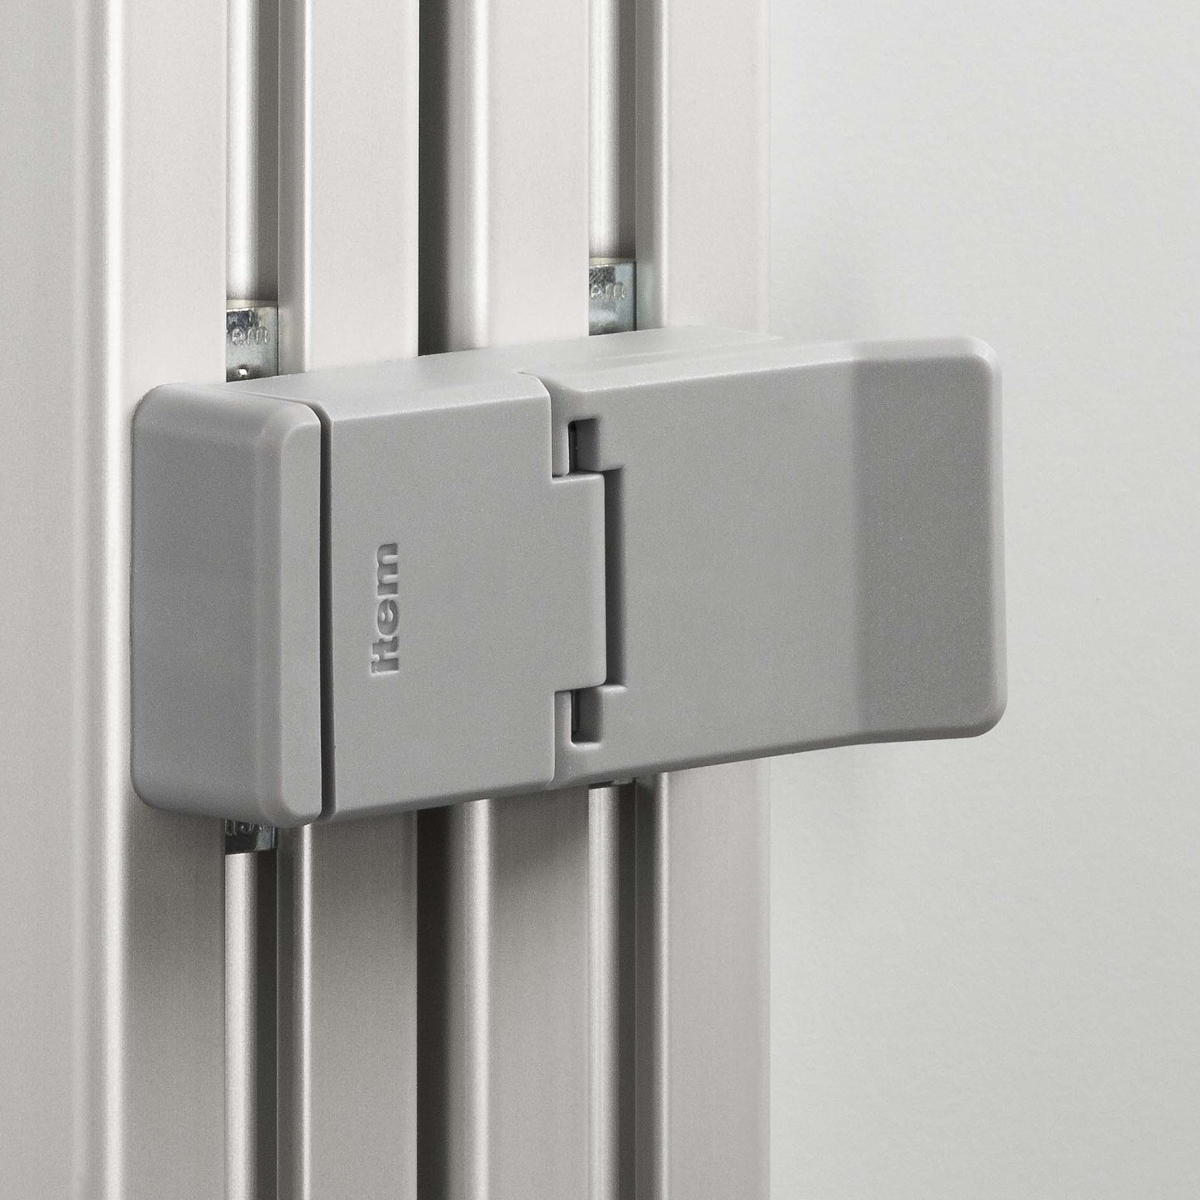
The item latch keeps doors securely closed and makes operation easier thanks to the integrated handle.
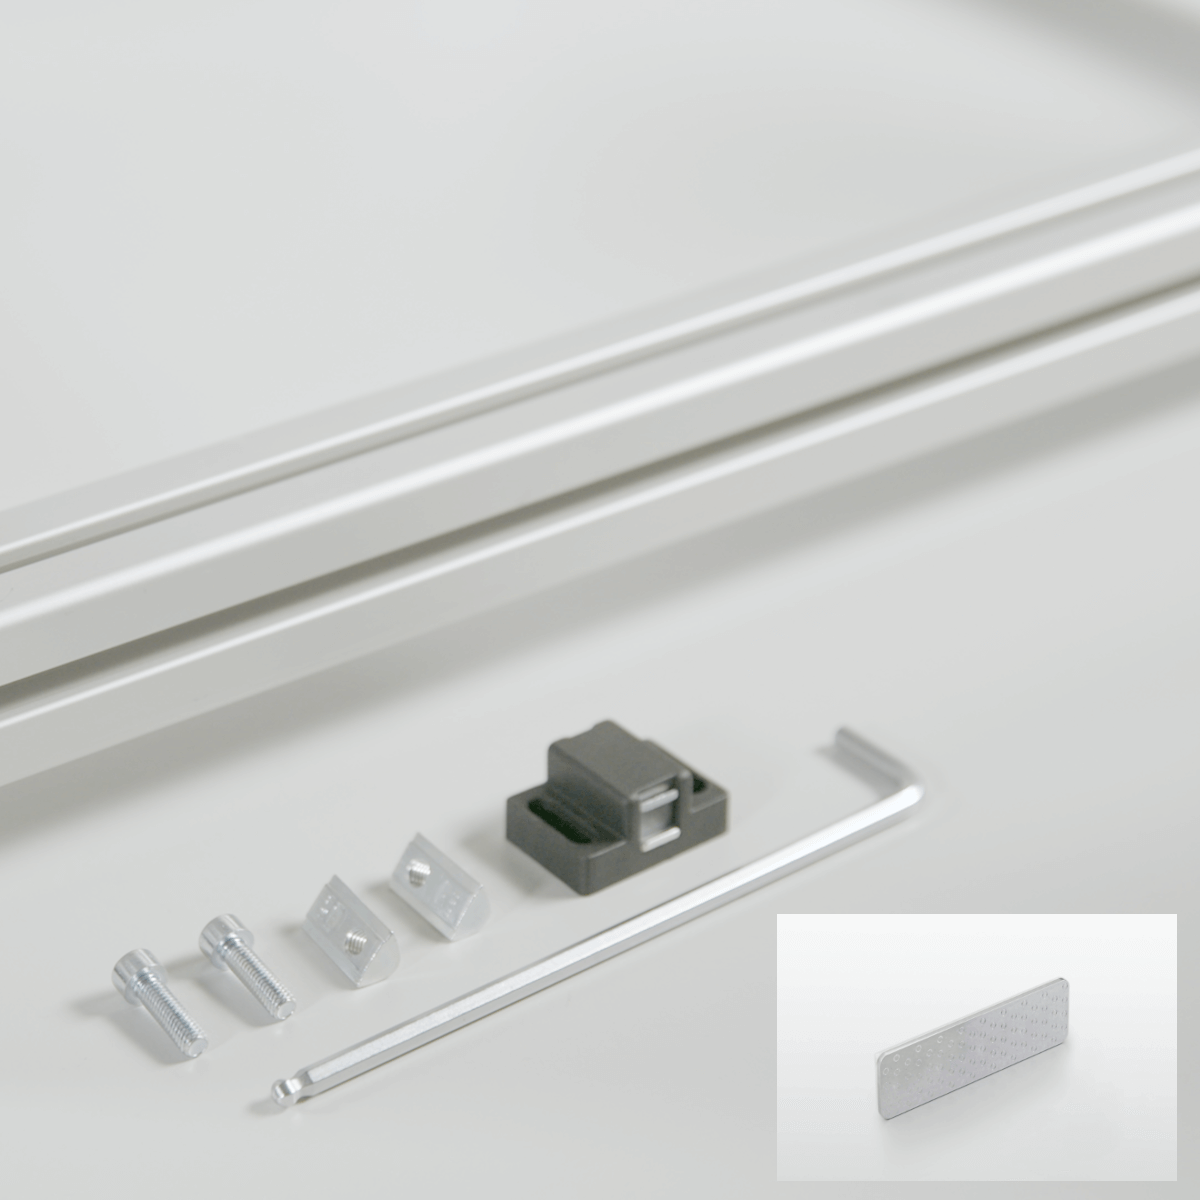
The Magnetic Catches are preferably suitable for locking swing and sliding doors.
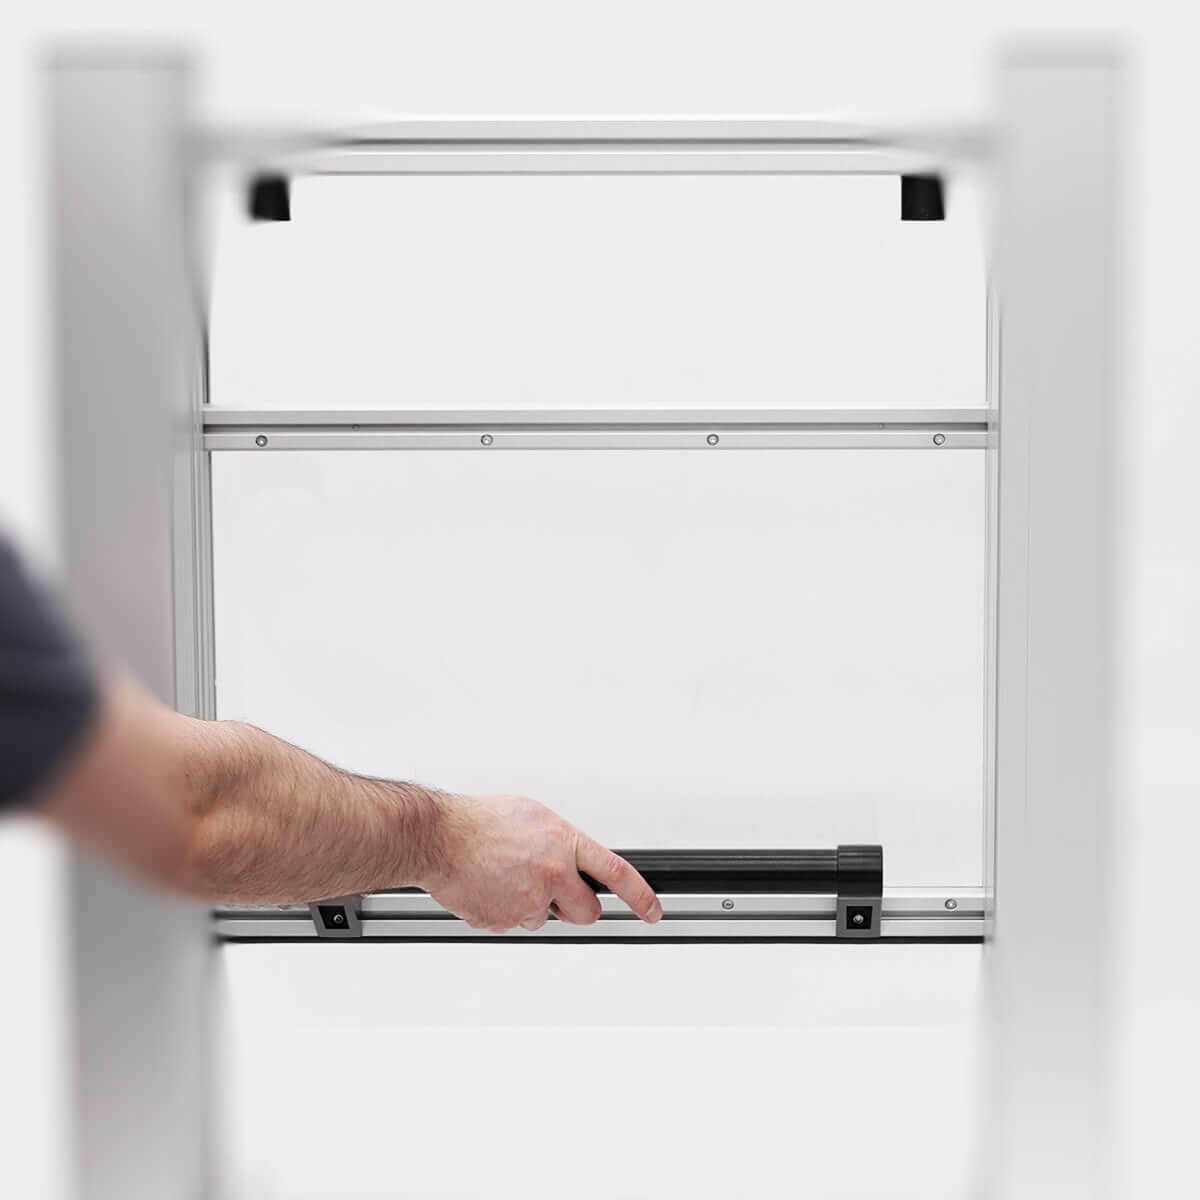
With the Lifting-door system, lifting doors up to a width of 2m and a total weight of 35kg can be realised.
Sliding Door 8 32x18, Catch makes it possible to open and close several door segments made from Clamp Profiles 8 32x18 simultaneously
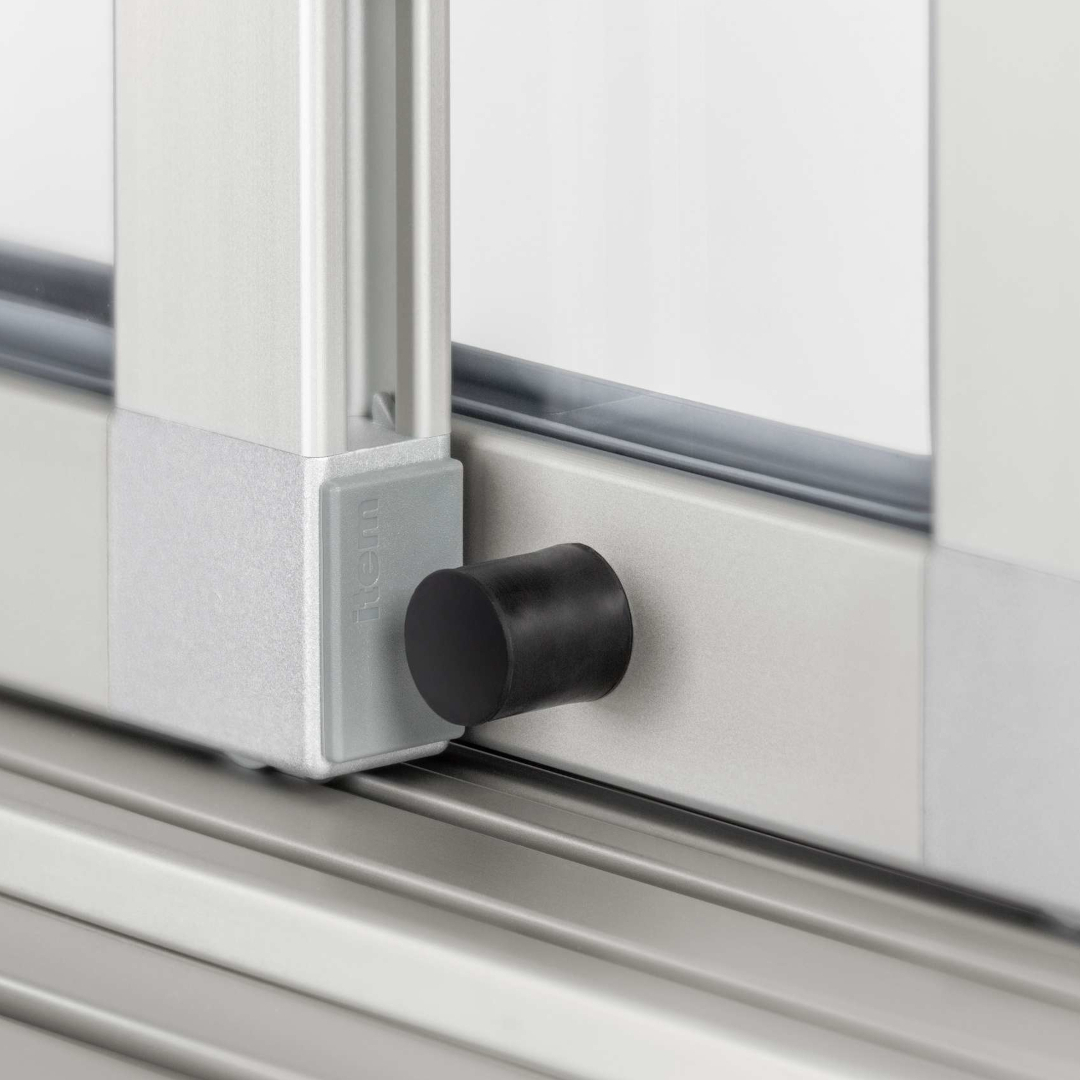
Impact Buffer D15x15 M4x12 acts as a catch and also helps minimise the risk of fingers becoming jammed in sliding doors
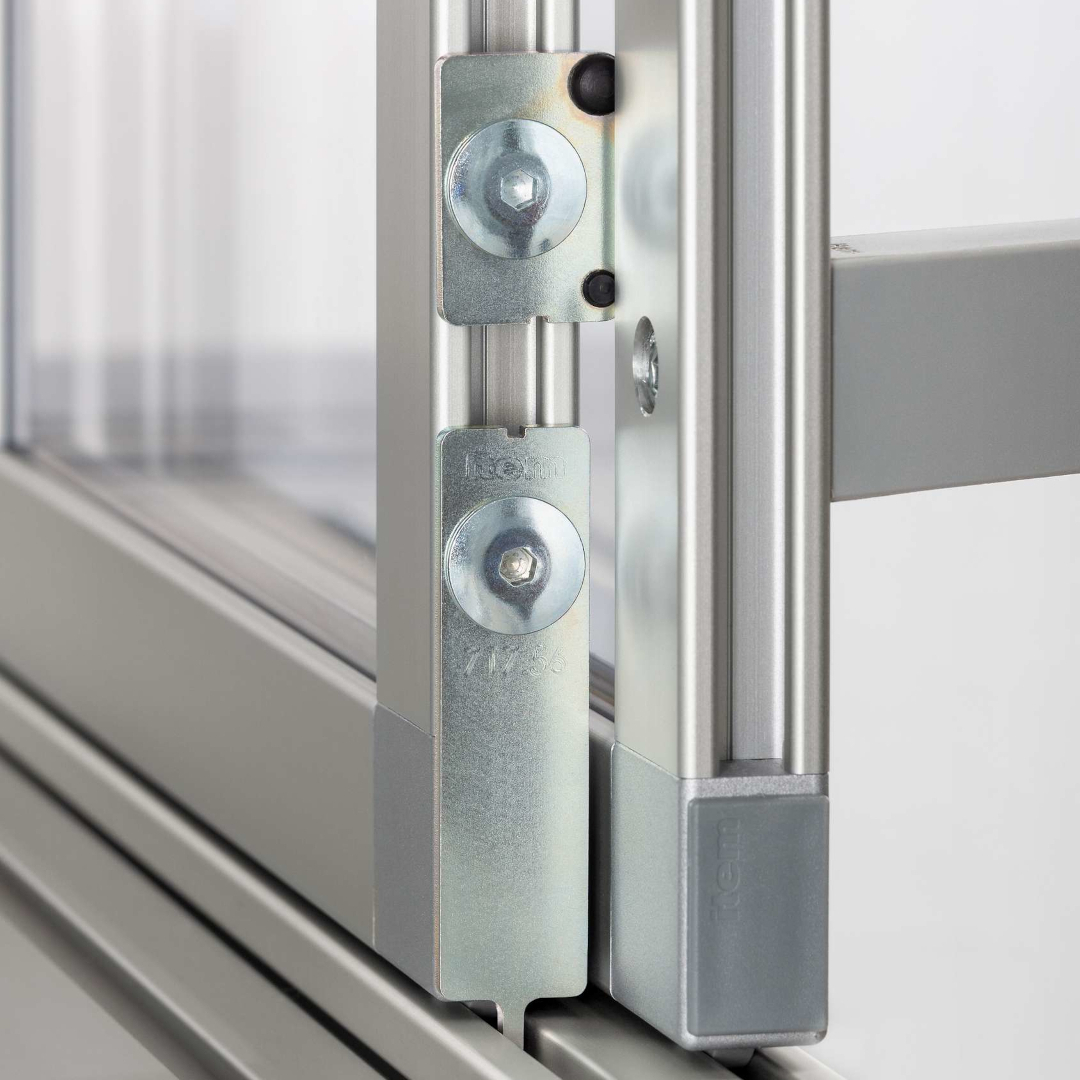
Sliding Door 8 32x18, Fixing Plate is used to hold the door segments of a sliding door made using Clamp Profiles 8 32x18 in one place
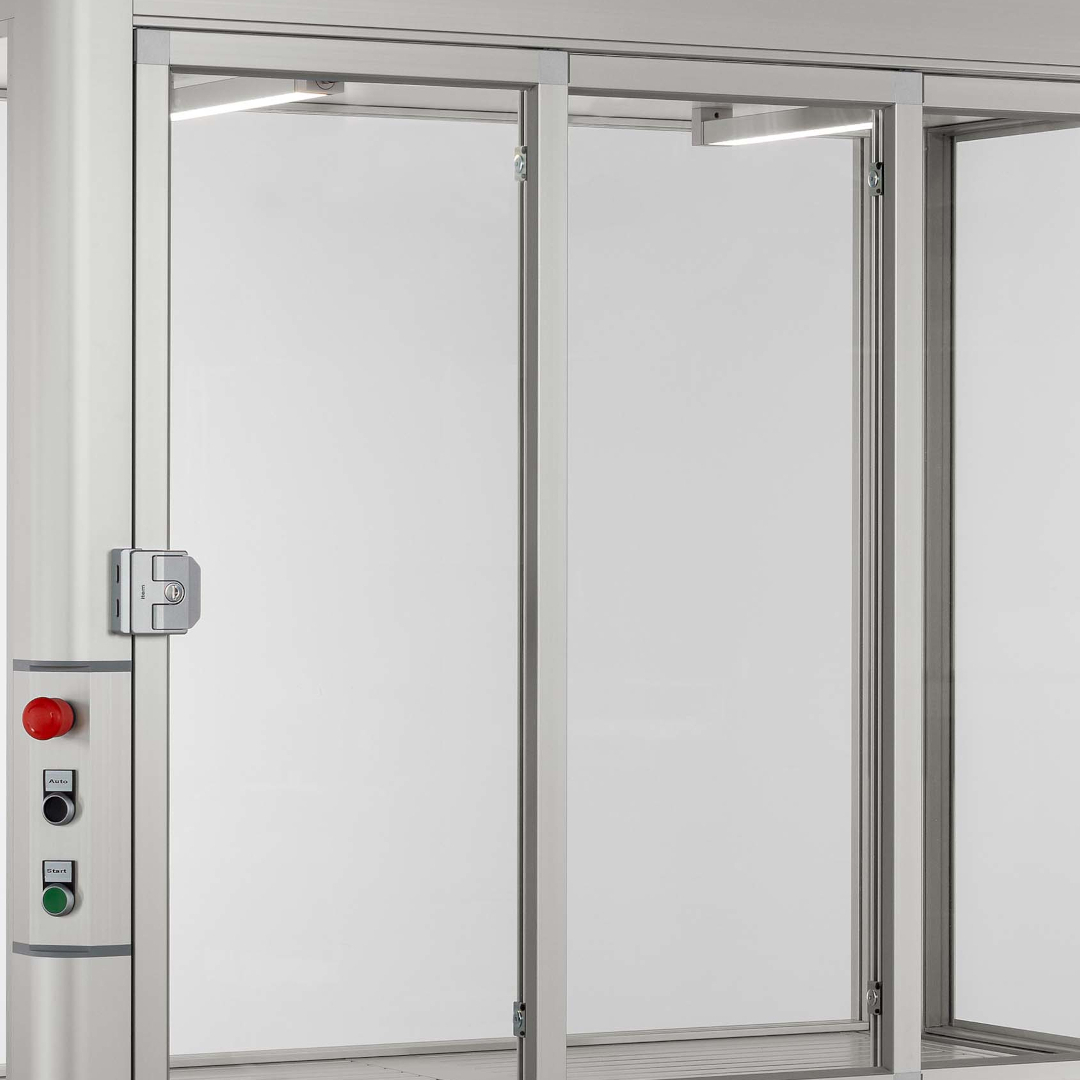
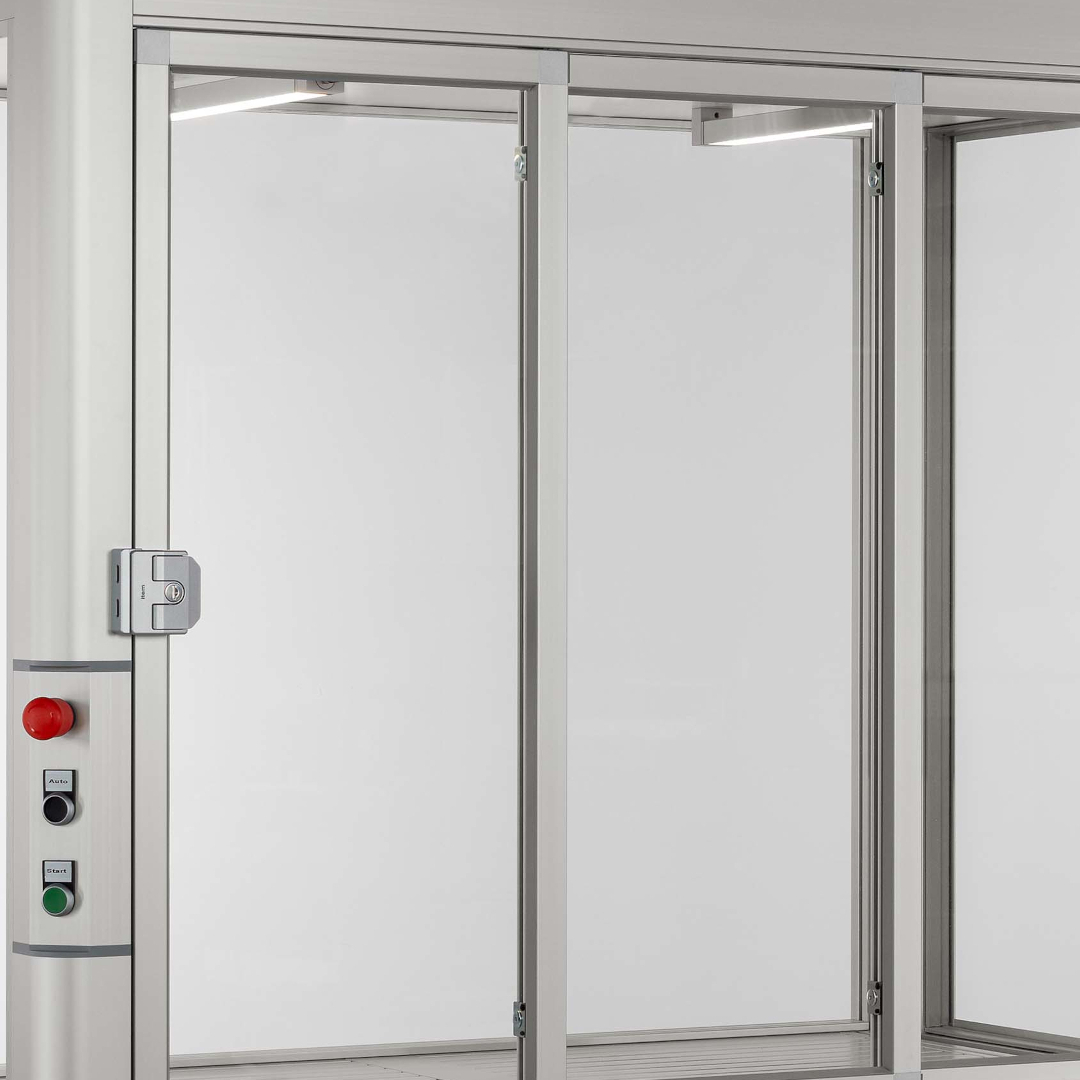
Sliding Door Lock 8 features an integrated grip that also releases the door latch. When pulled shut, the slim locking piece engages with the space-saving lock case, which is fastened to the Line 8 profile groove of the door frame. Only a very small door gap is created.
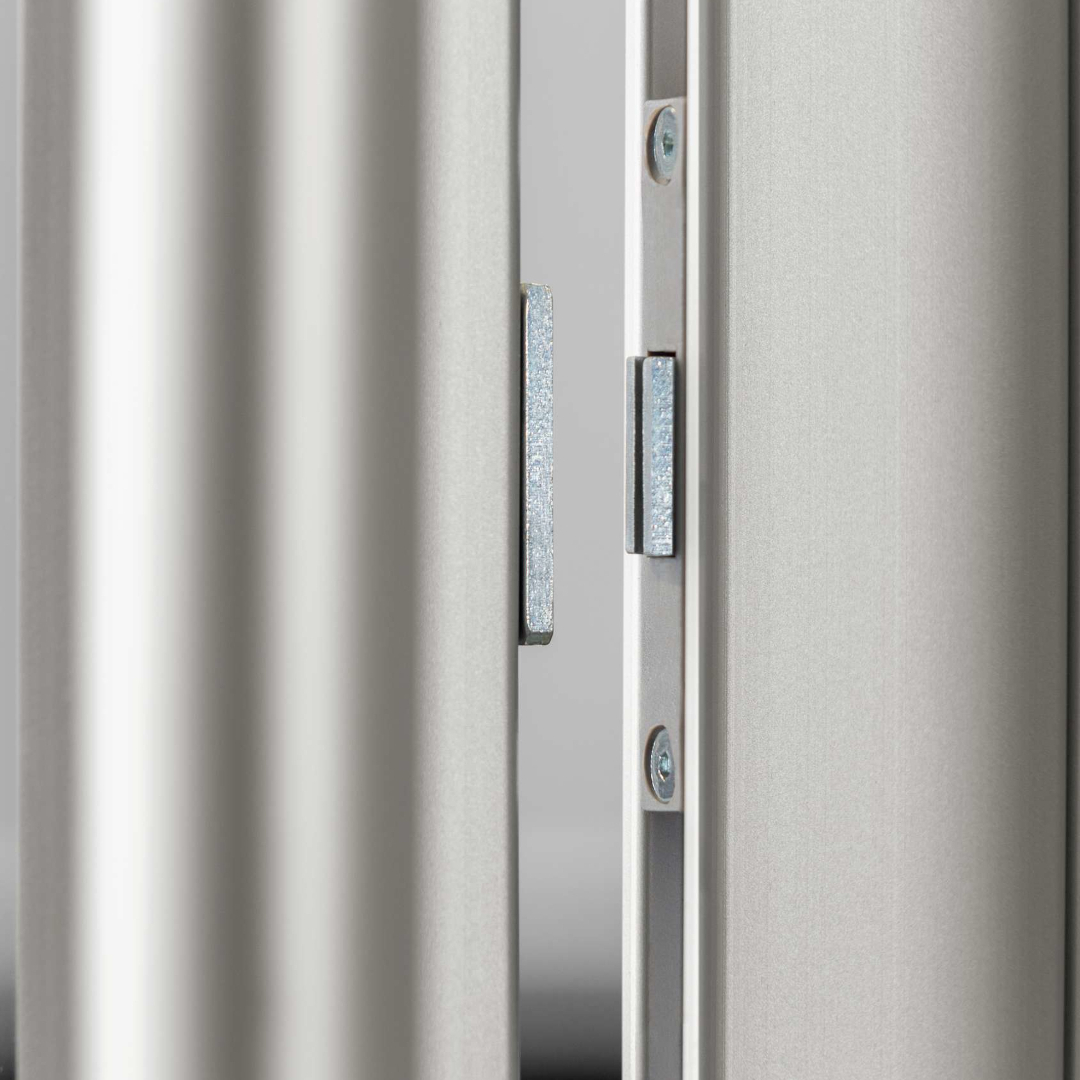
Sliding Door Magnetic Catch 8 is a magnetic holder for sliding doors.
The new item drawer system makes it quick and easy to assemble drawers.
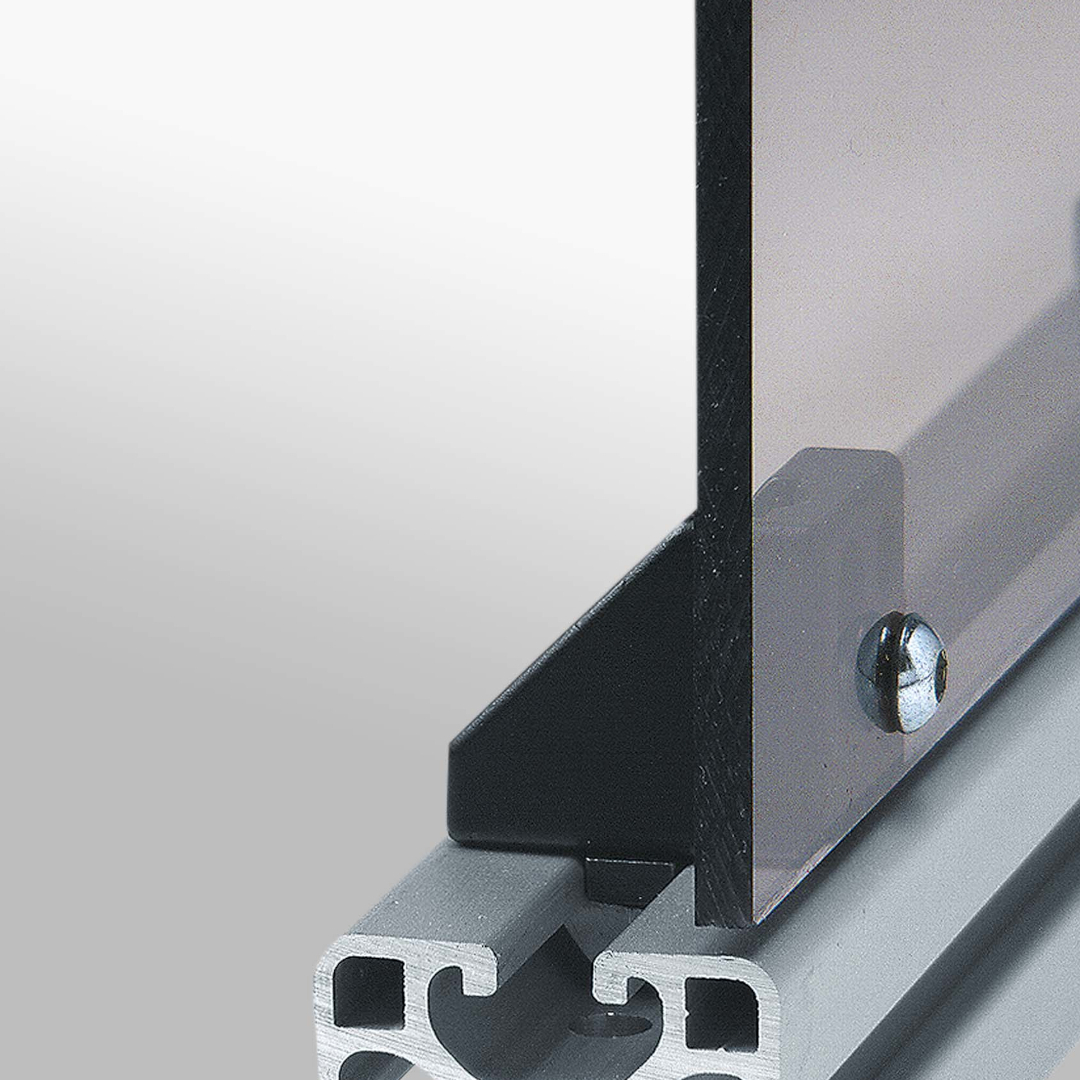
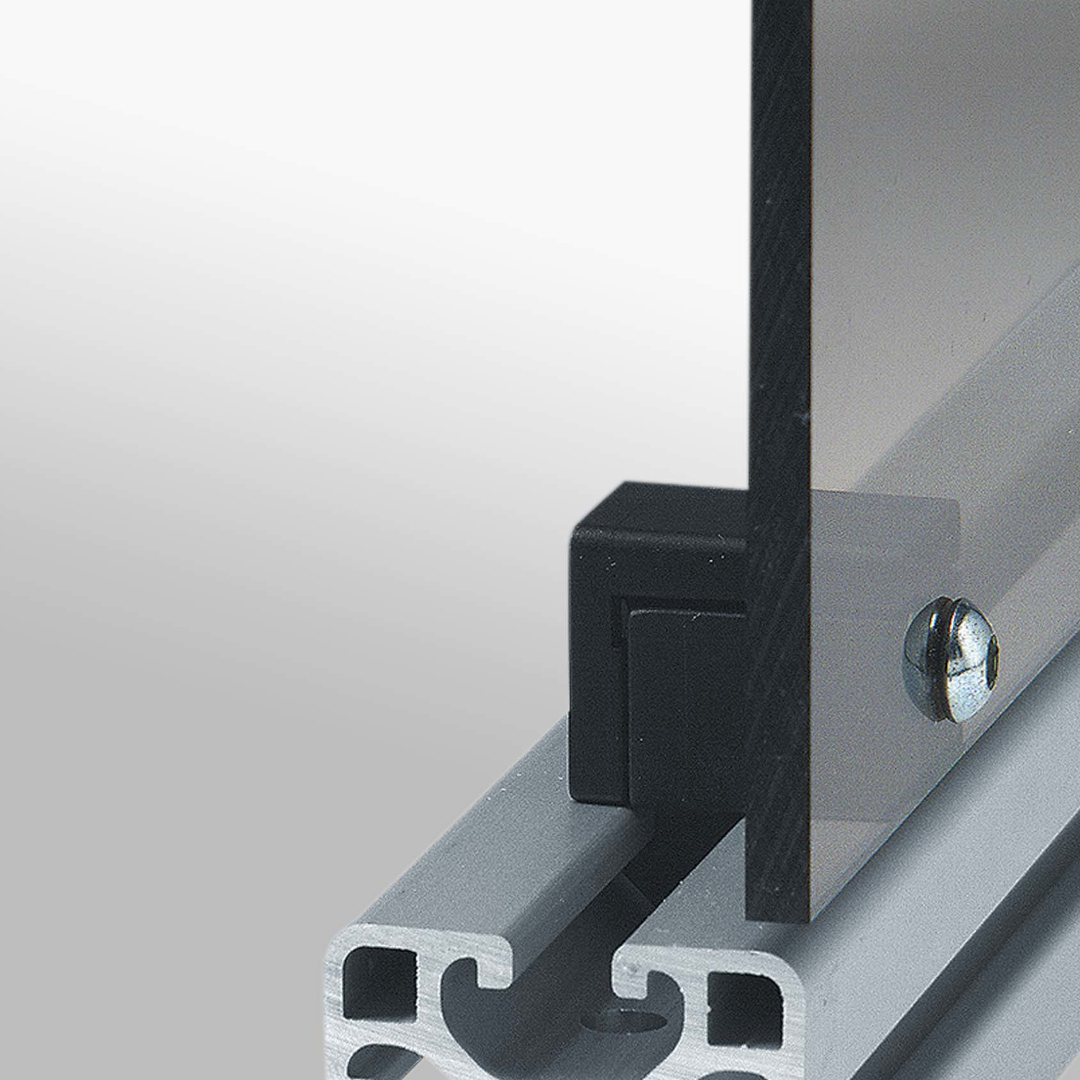
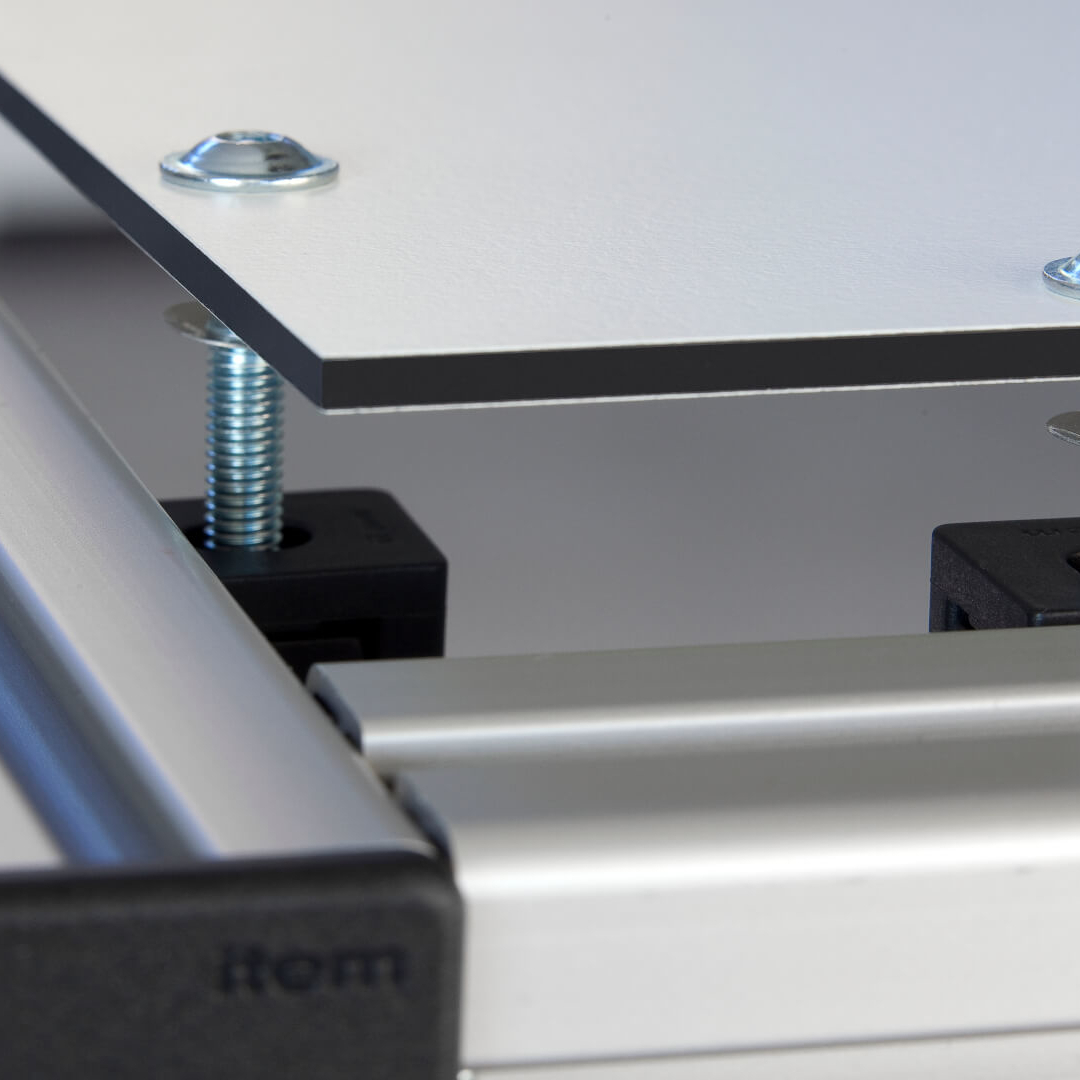
With the safety fastening set Multiblock 8, you can quickly, easily and safely install panels in accordance with the Machinery Directive.
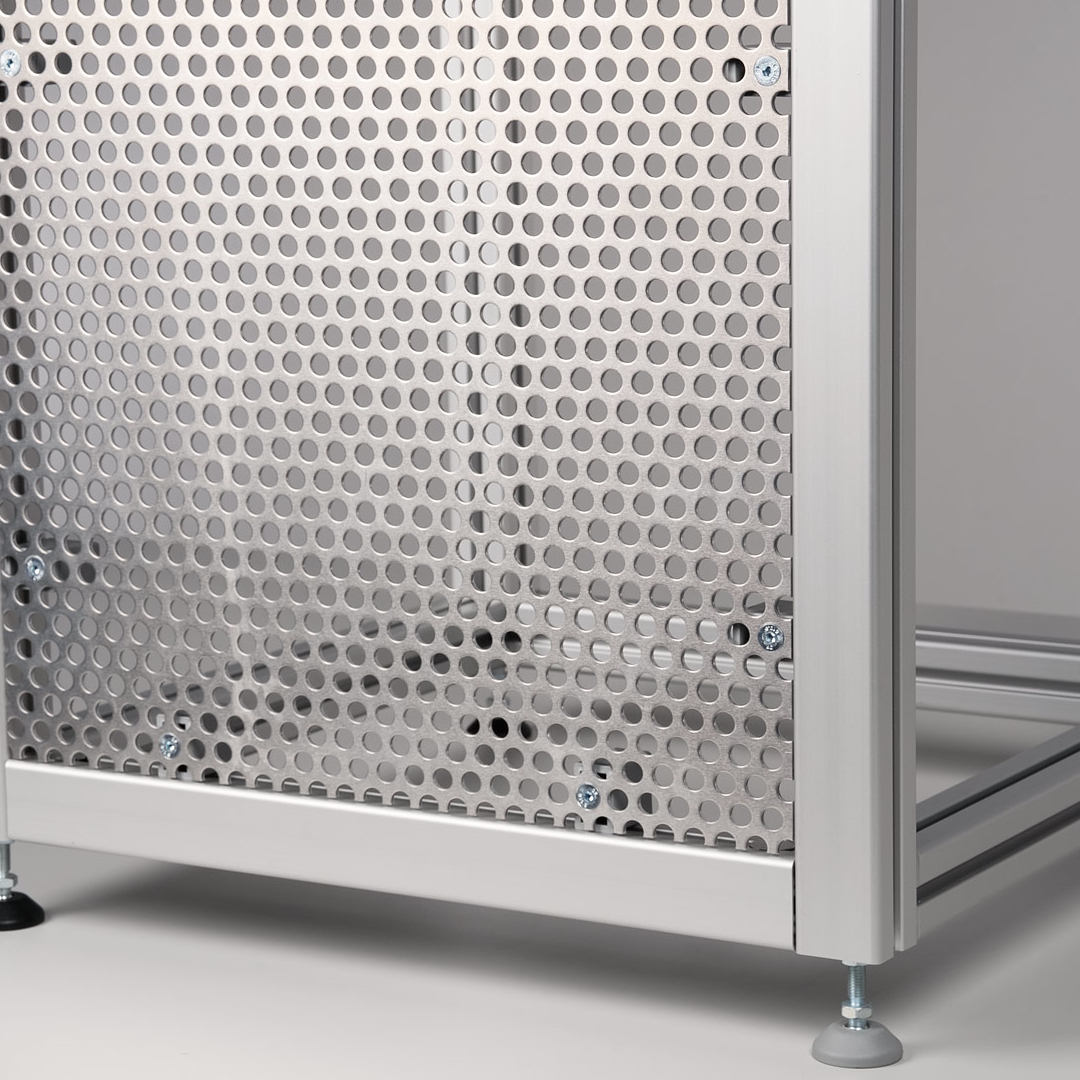
The Multiblock 8 PA 0/5 mm makes it quick and easy to install perforated sheets.
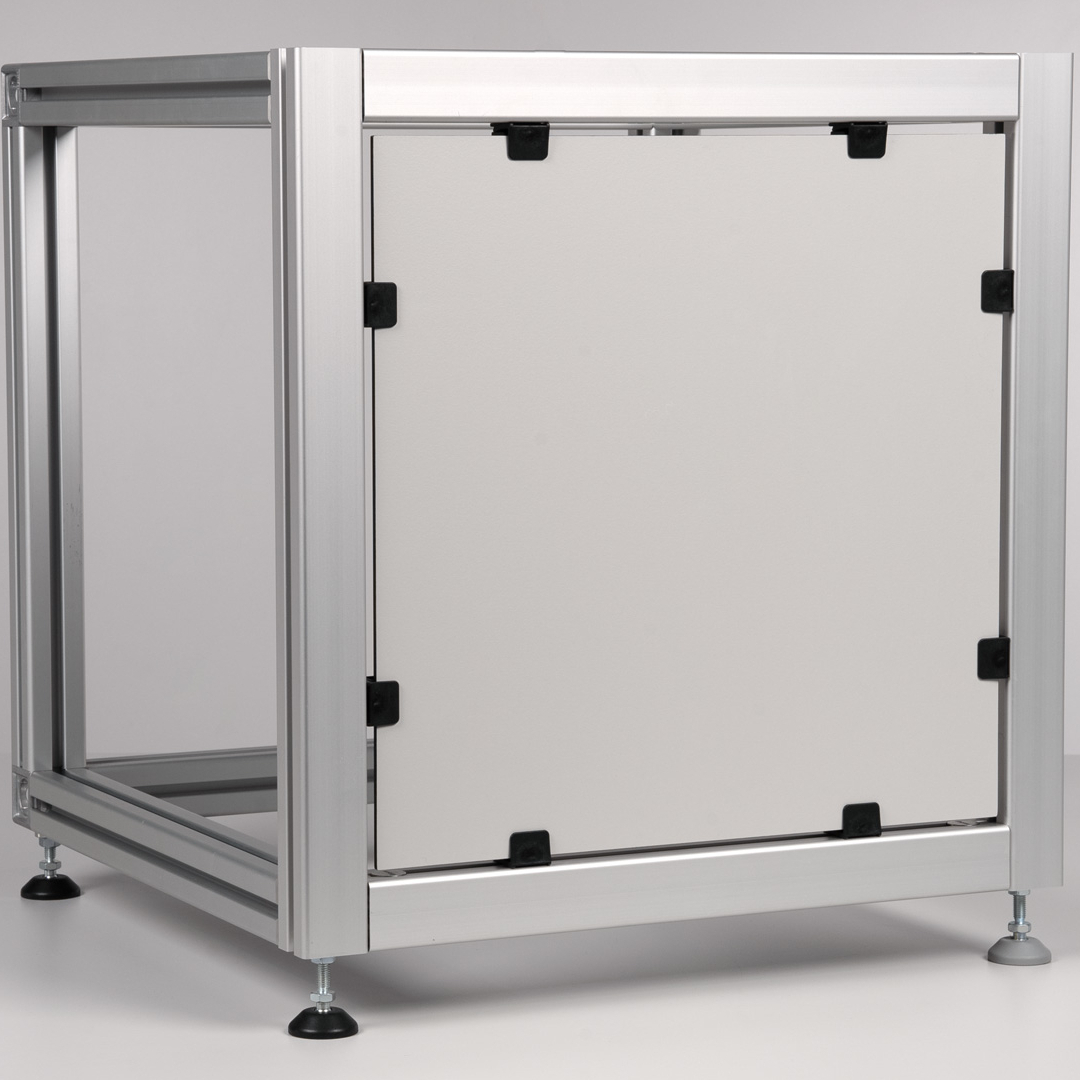
The Clamp-Multiblock 8 PA allows you to quickly and easily install panels without the need for further processing.
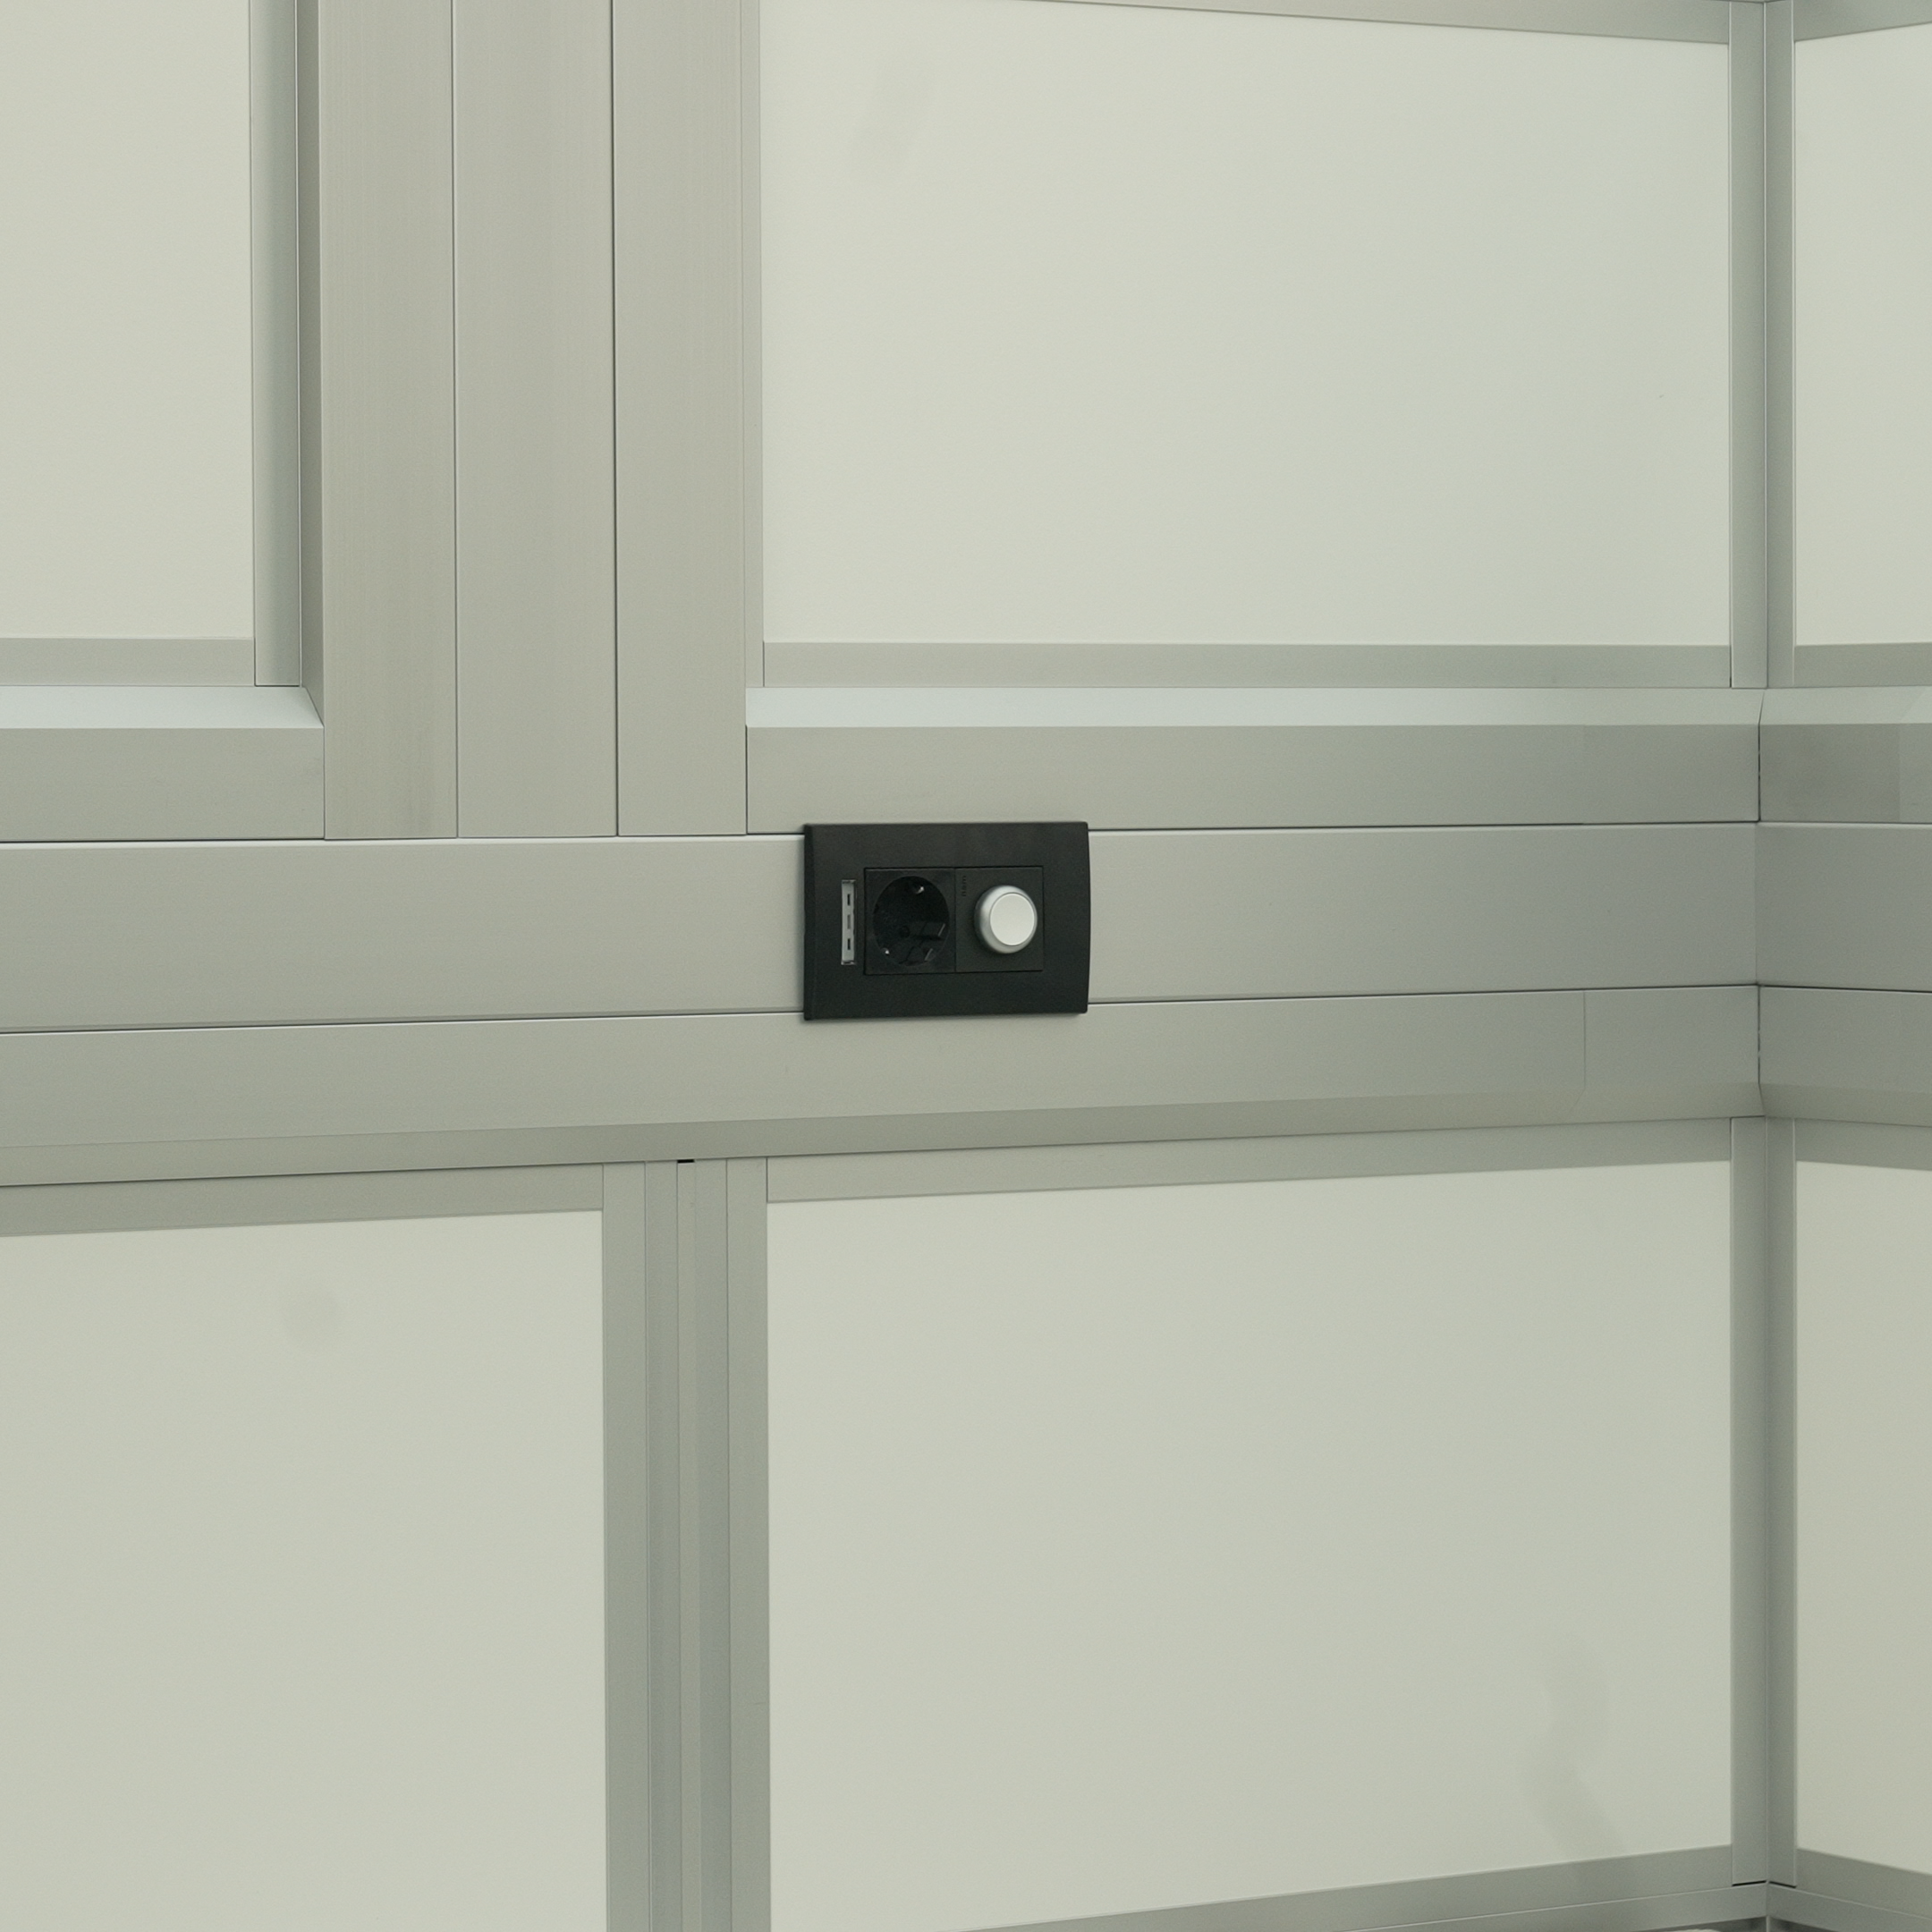
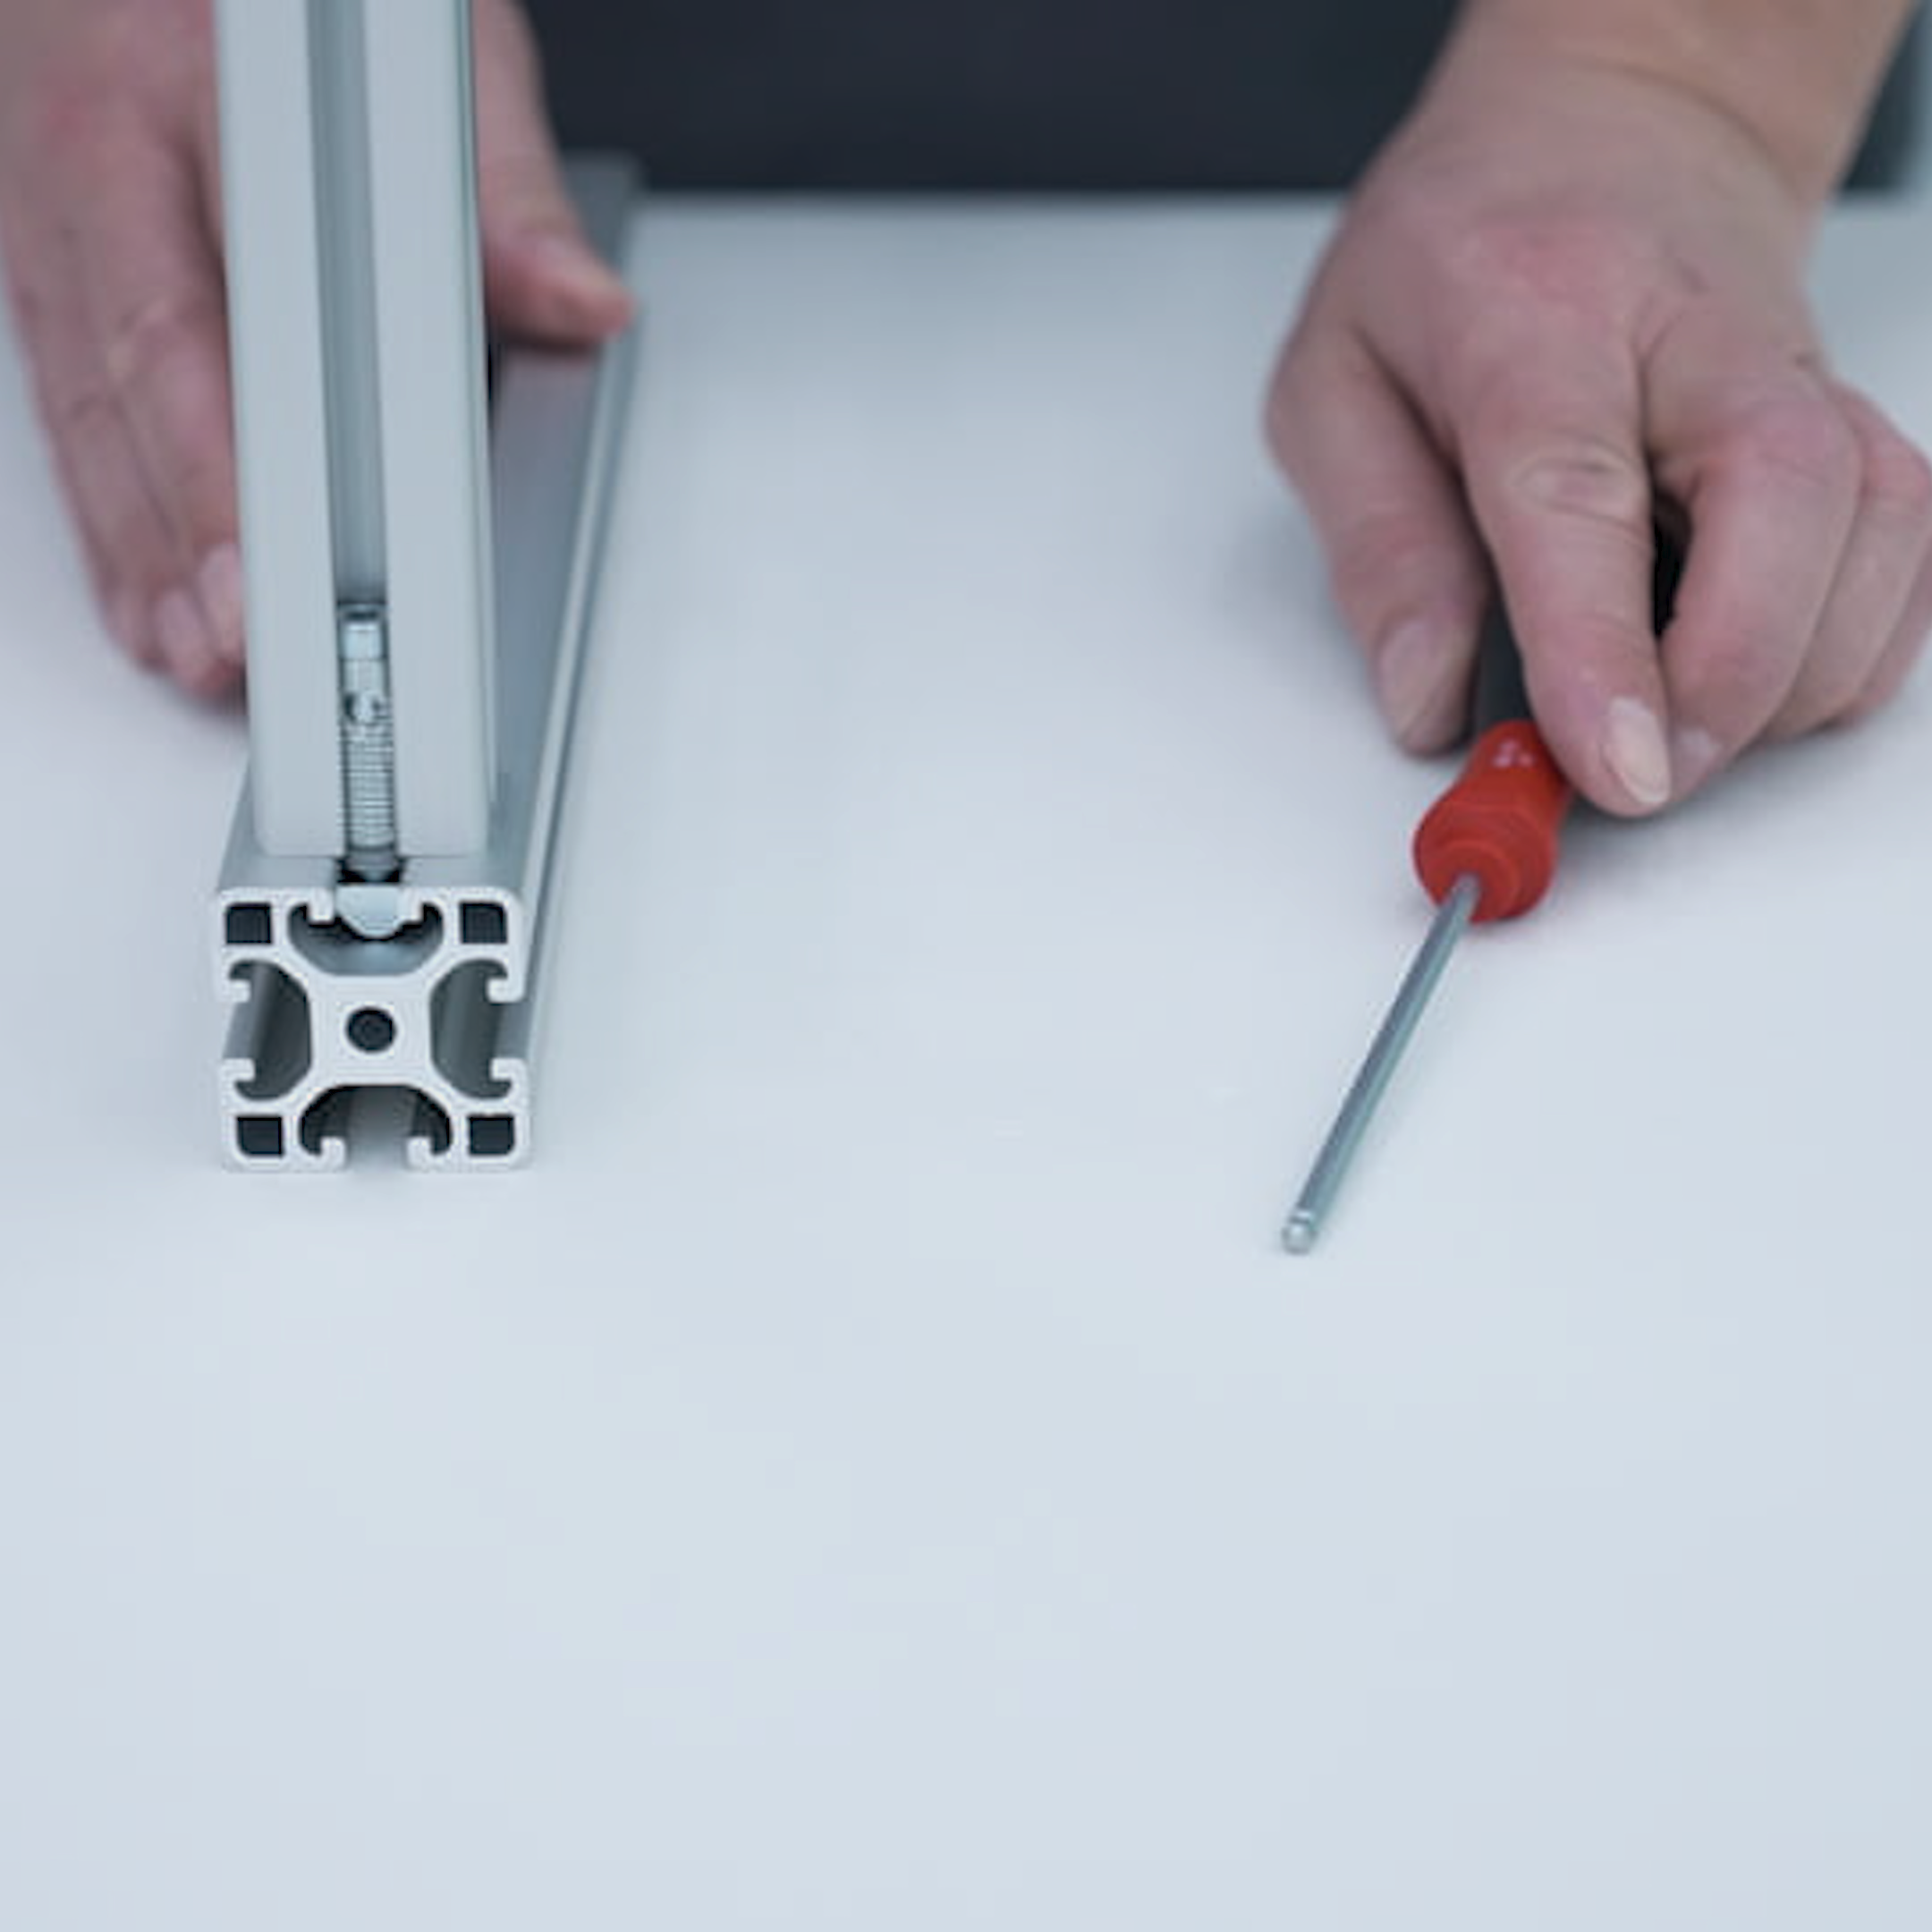
Attach Profile 6 to Profile 8 – with the Automatic-Fastening Set 6/8.
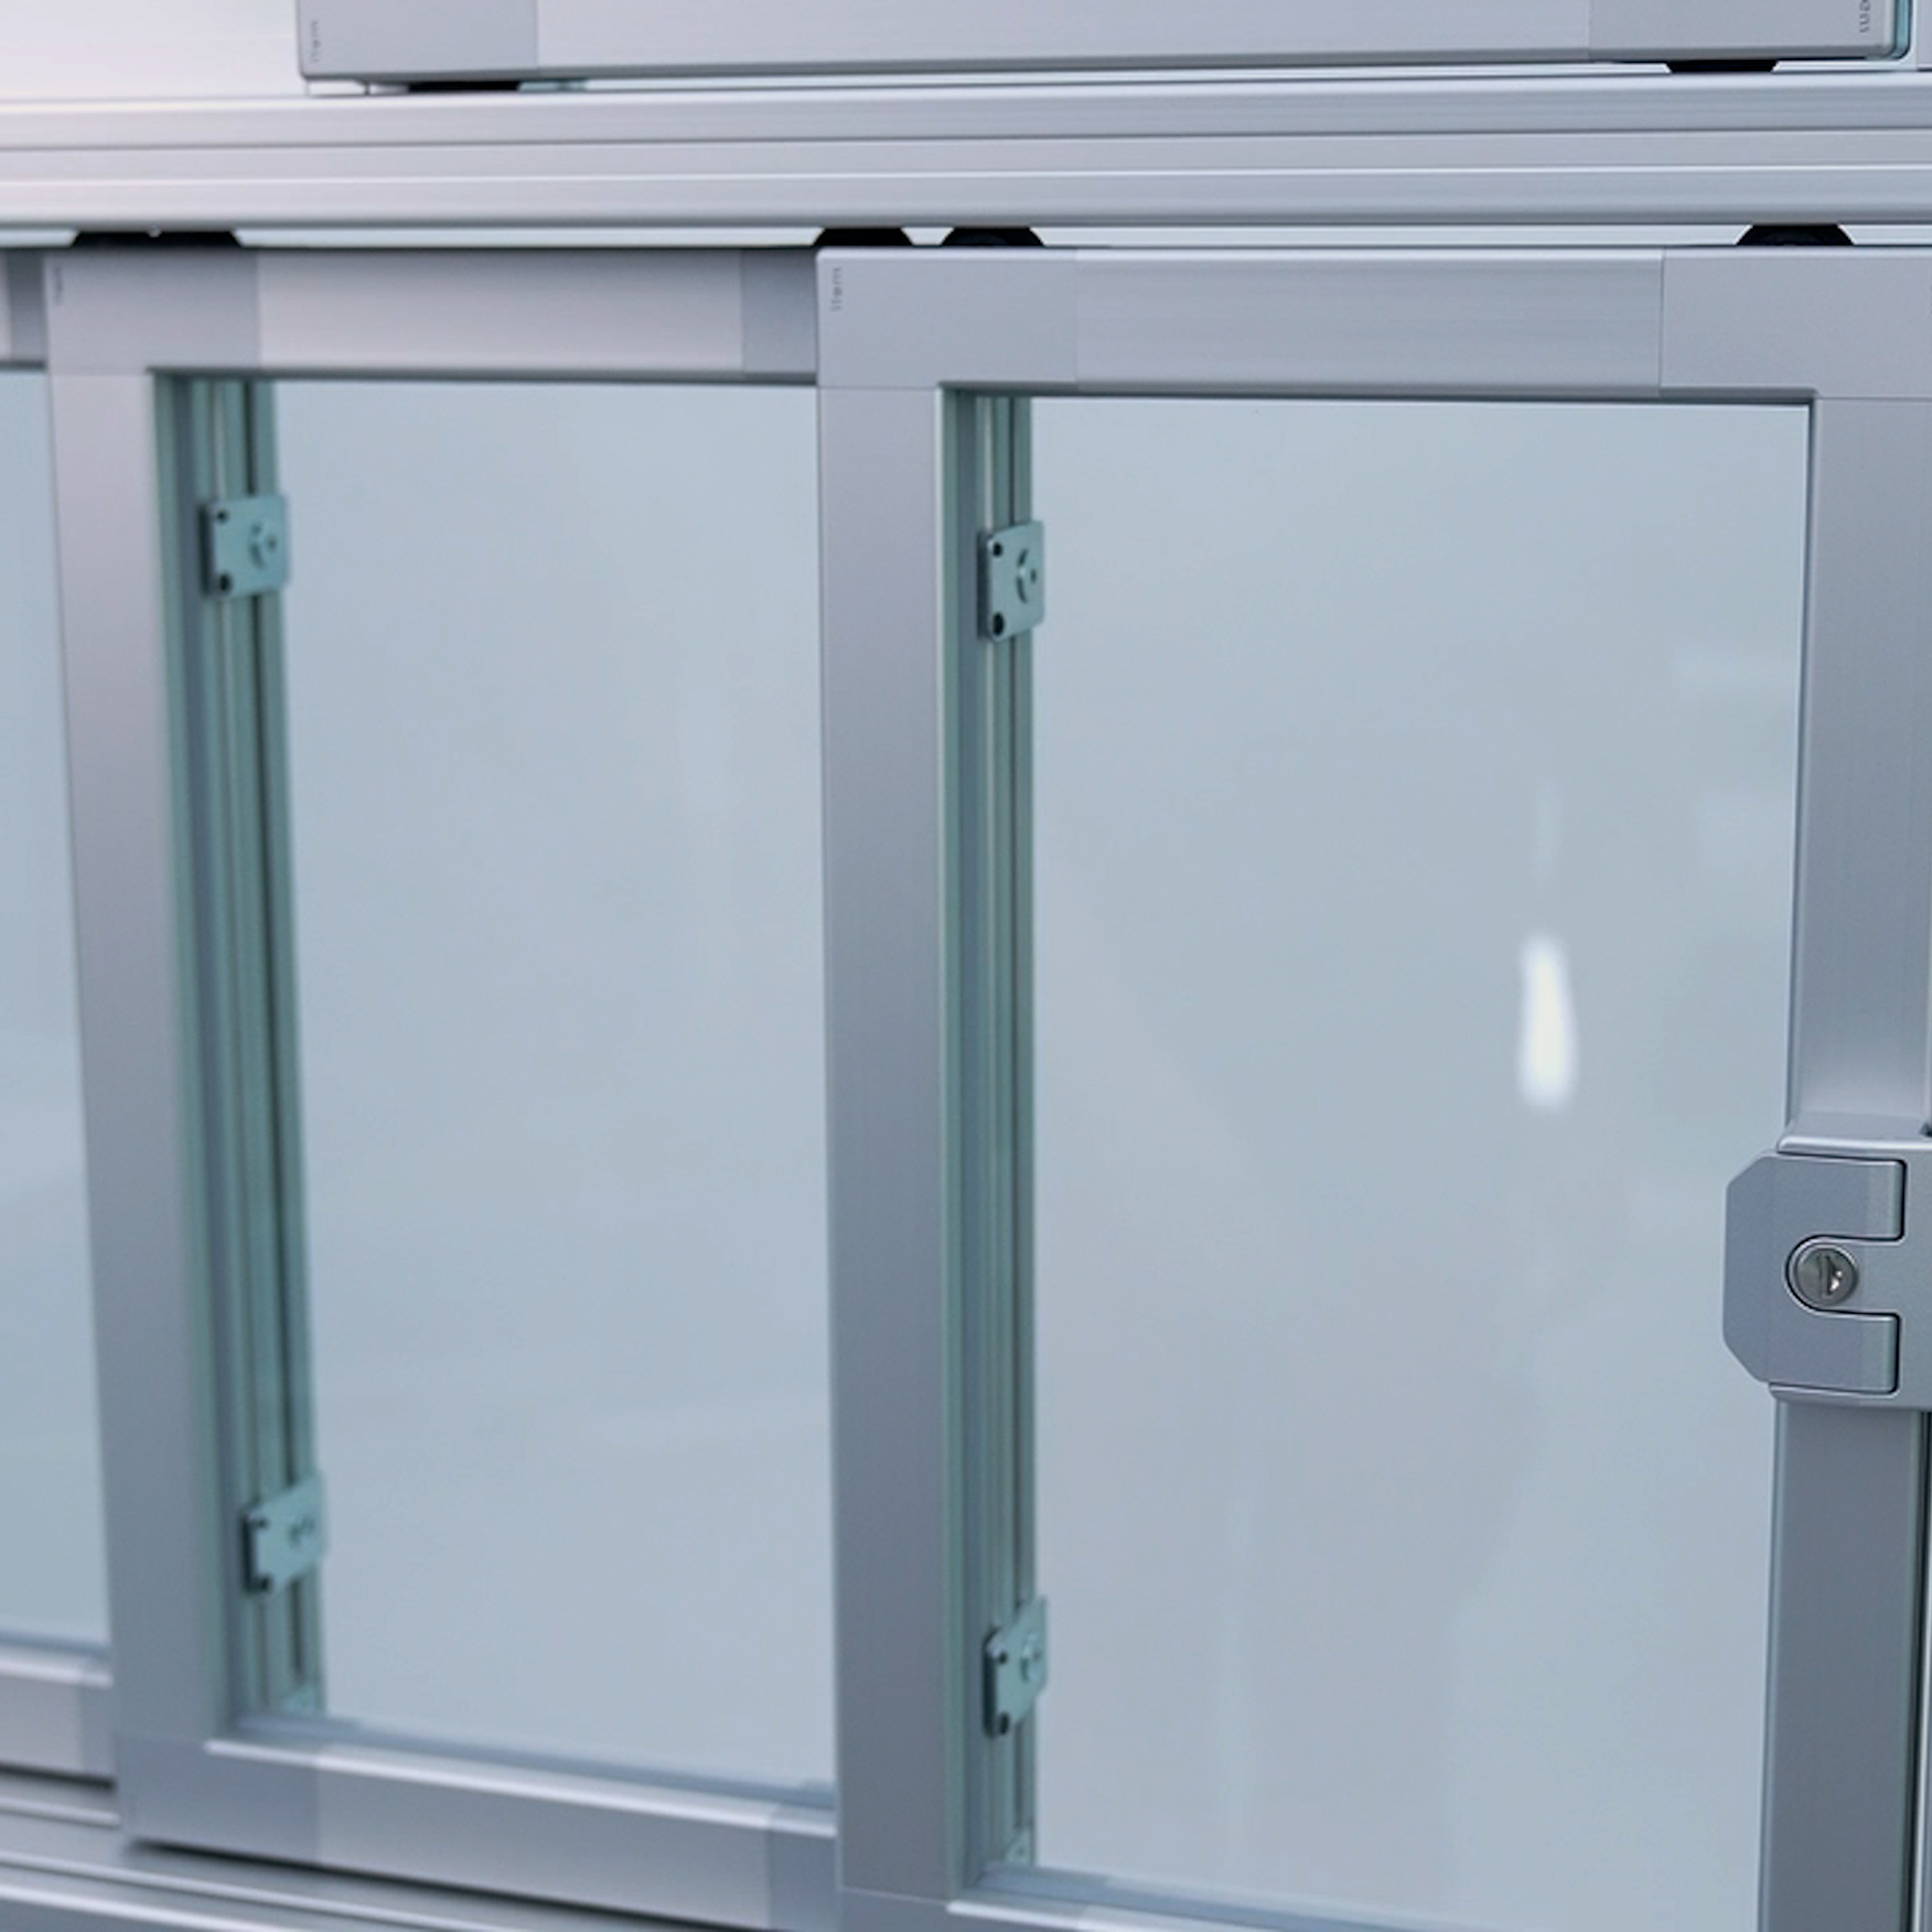
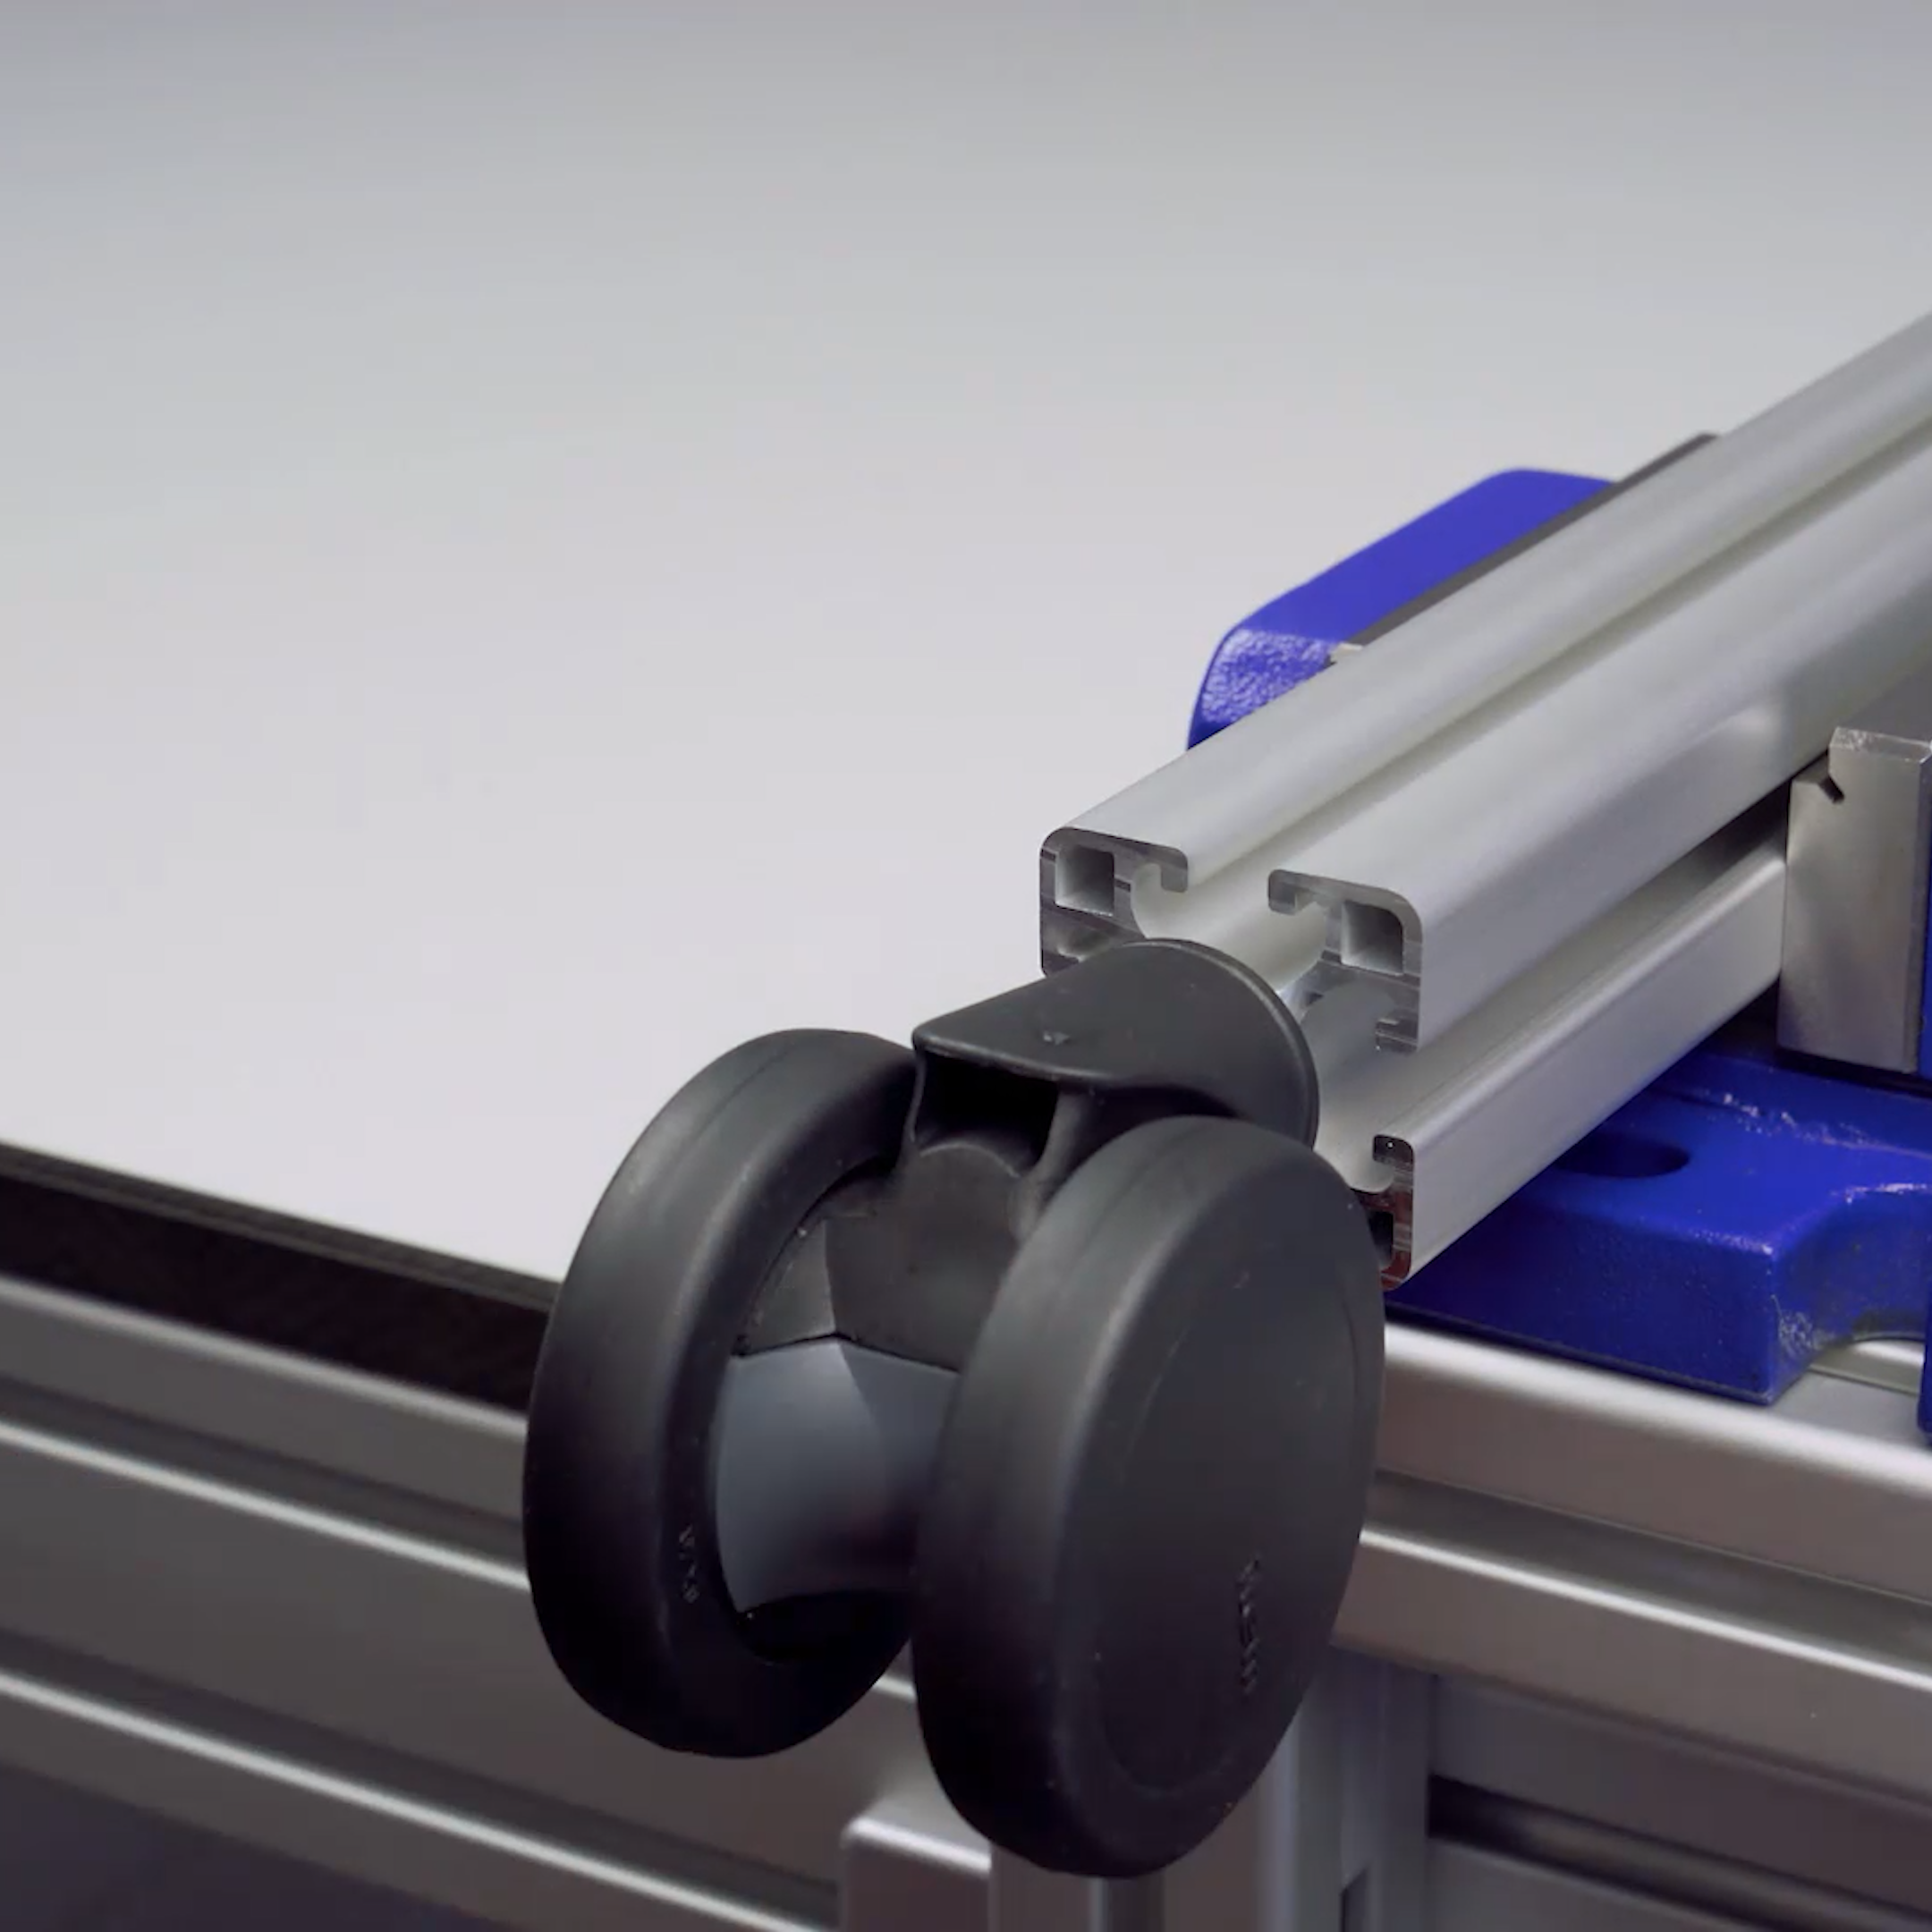
Step by step: how to mount a Castor D65 swivel on the end face of a Profile 8.
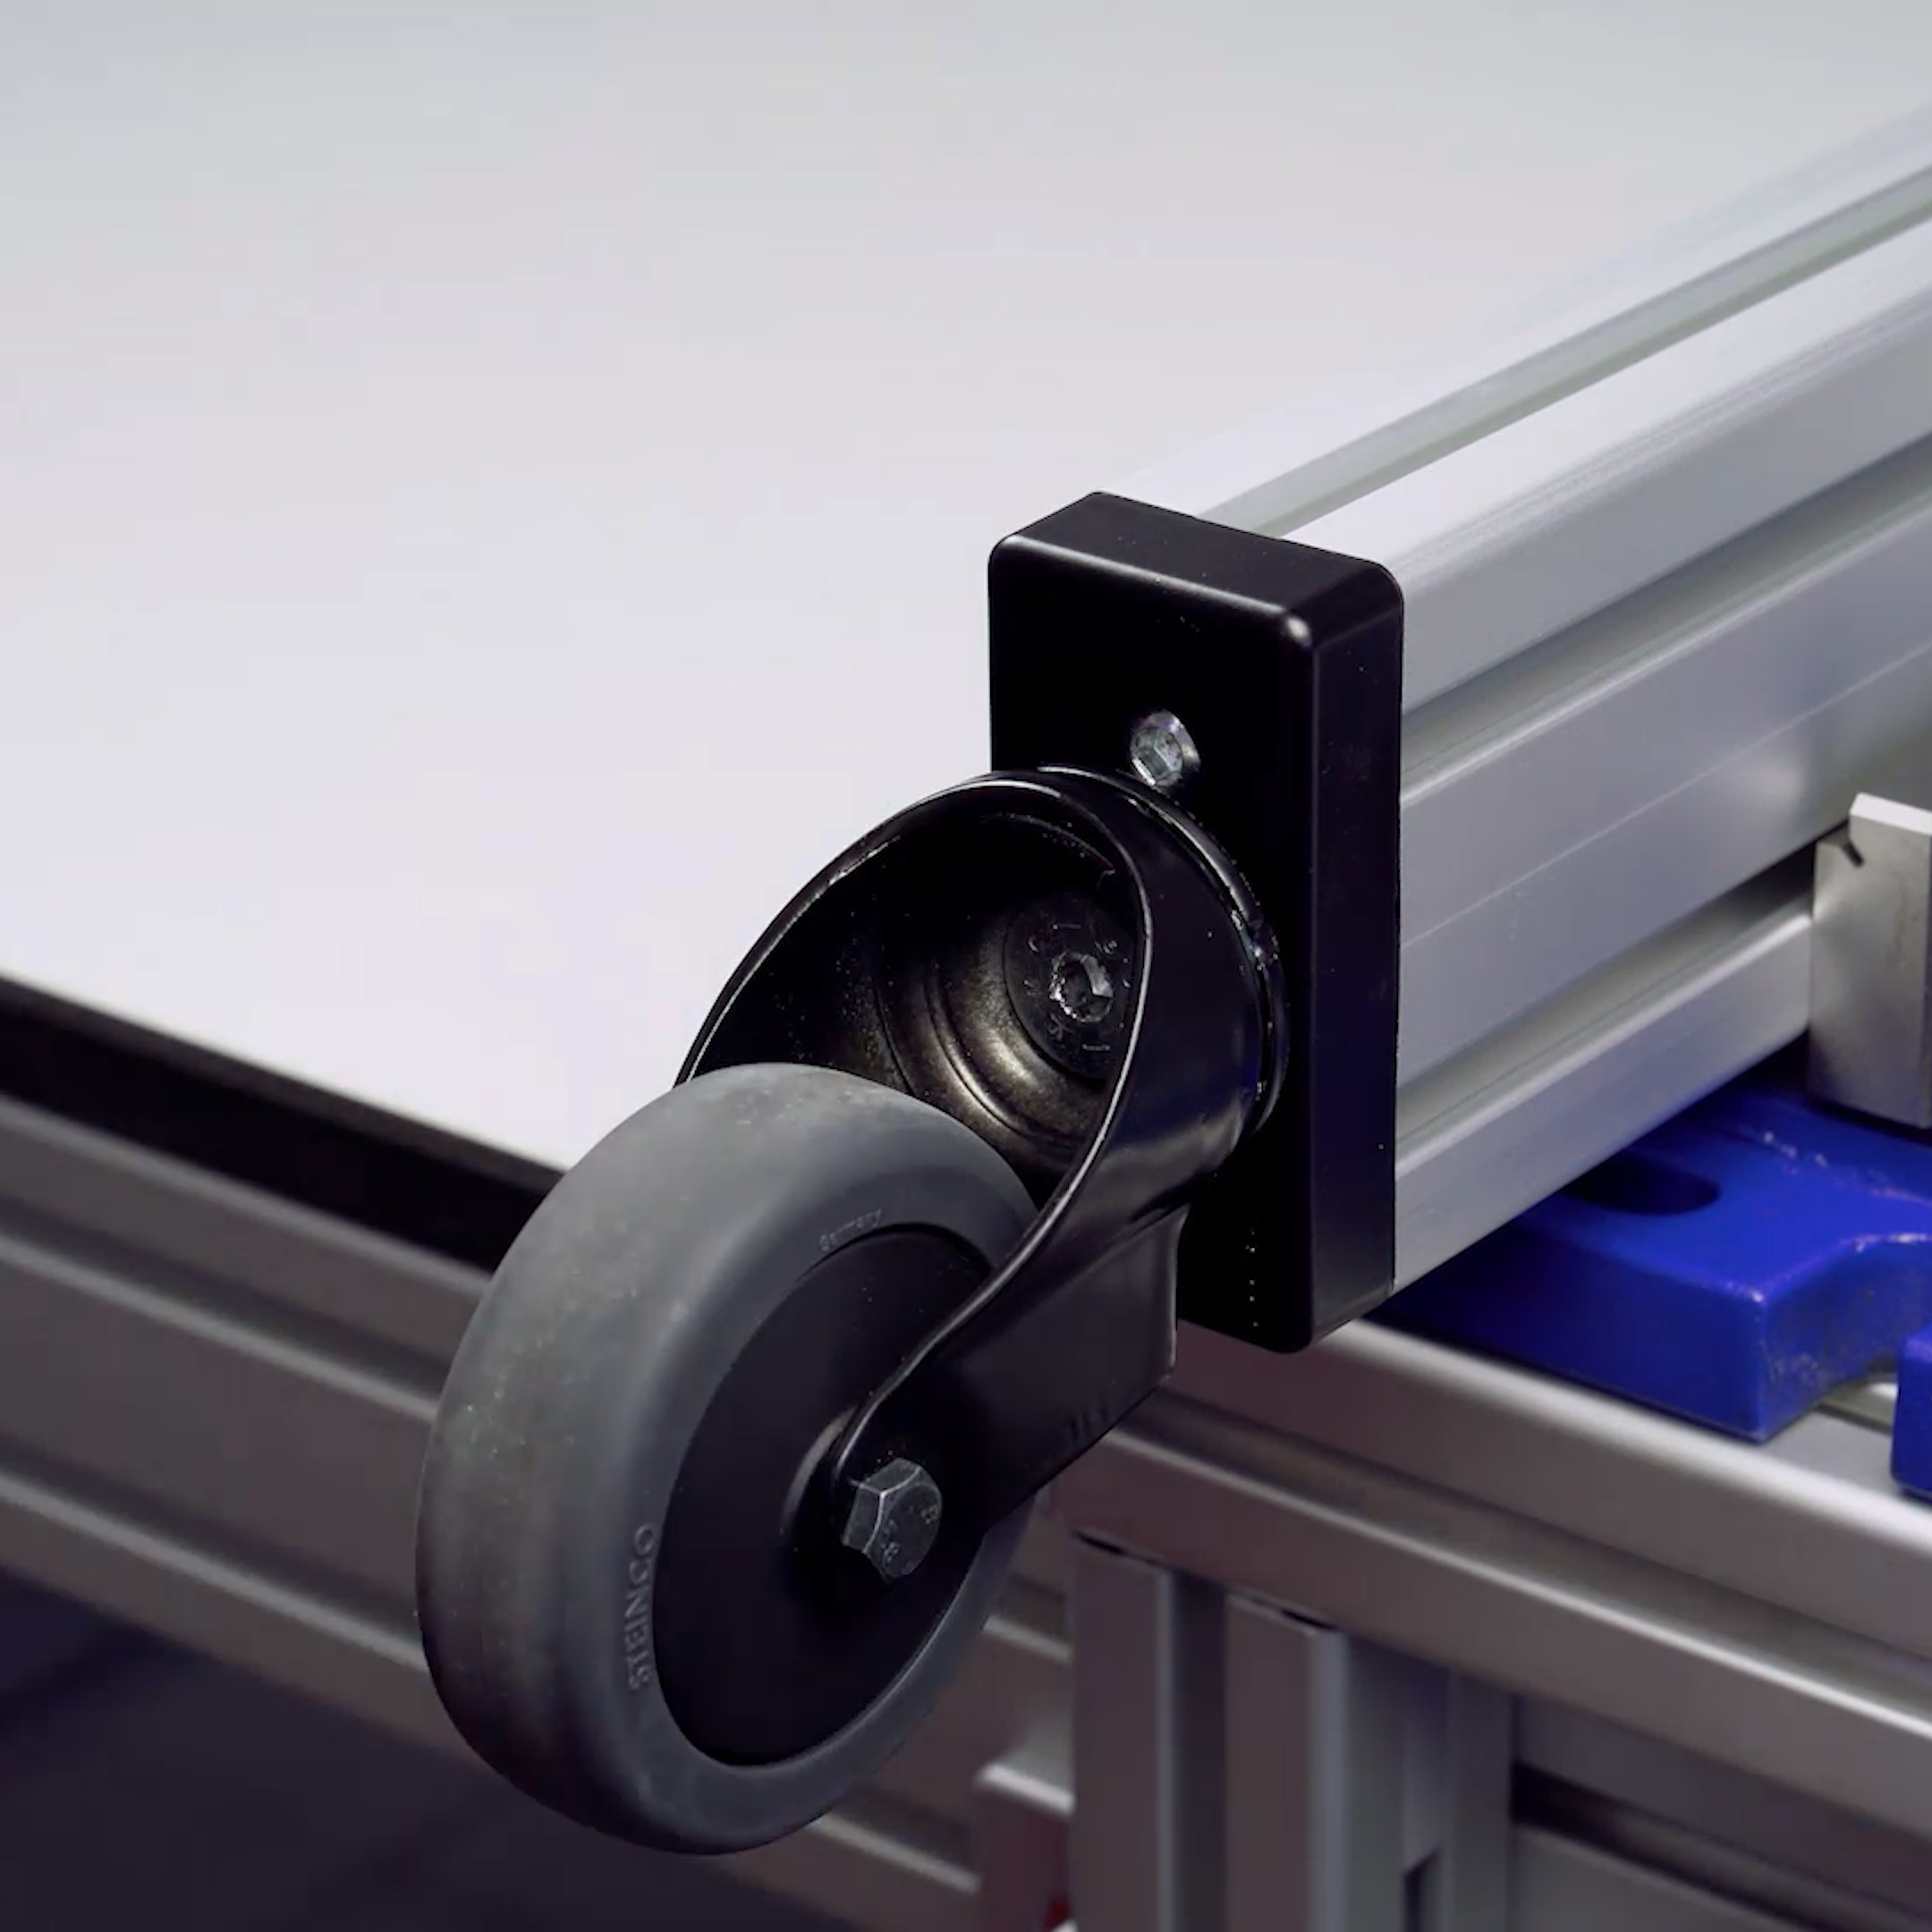
Step by step: how to mount a Castor D75 swivel on the base plate.
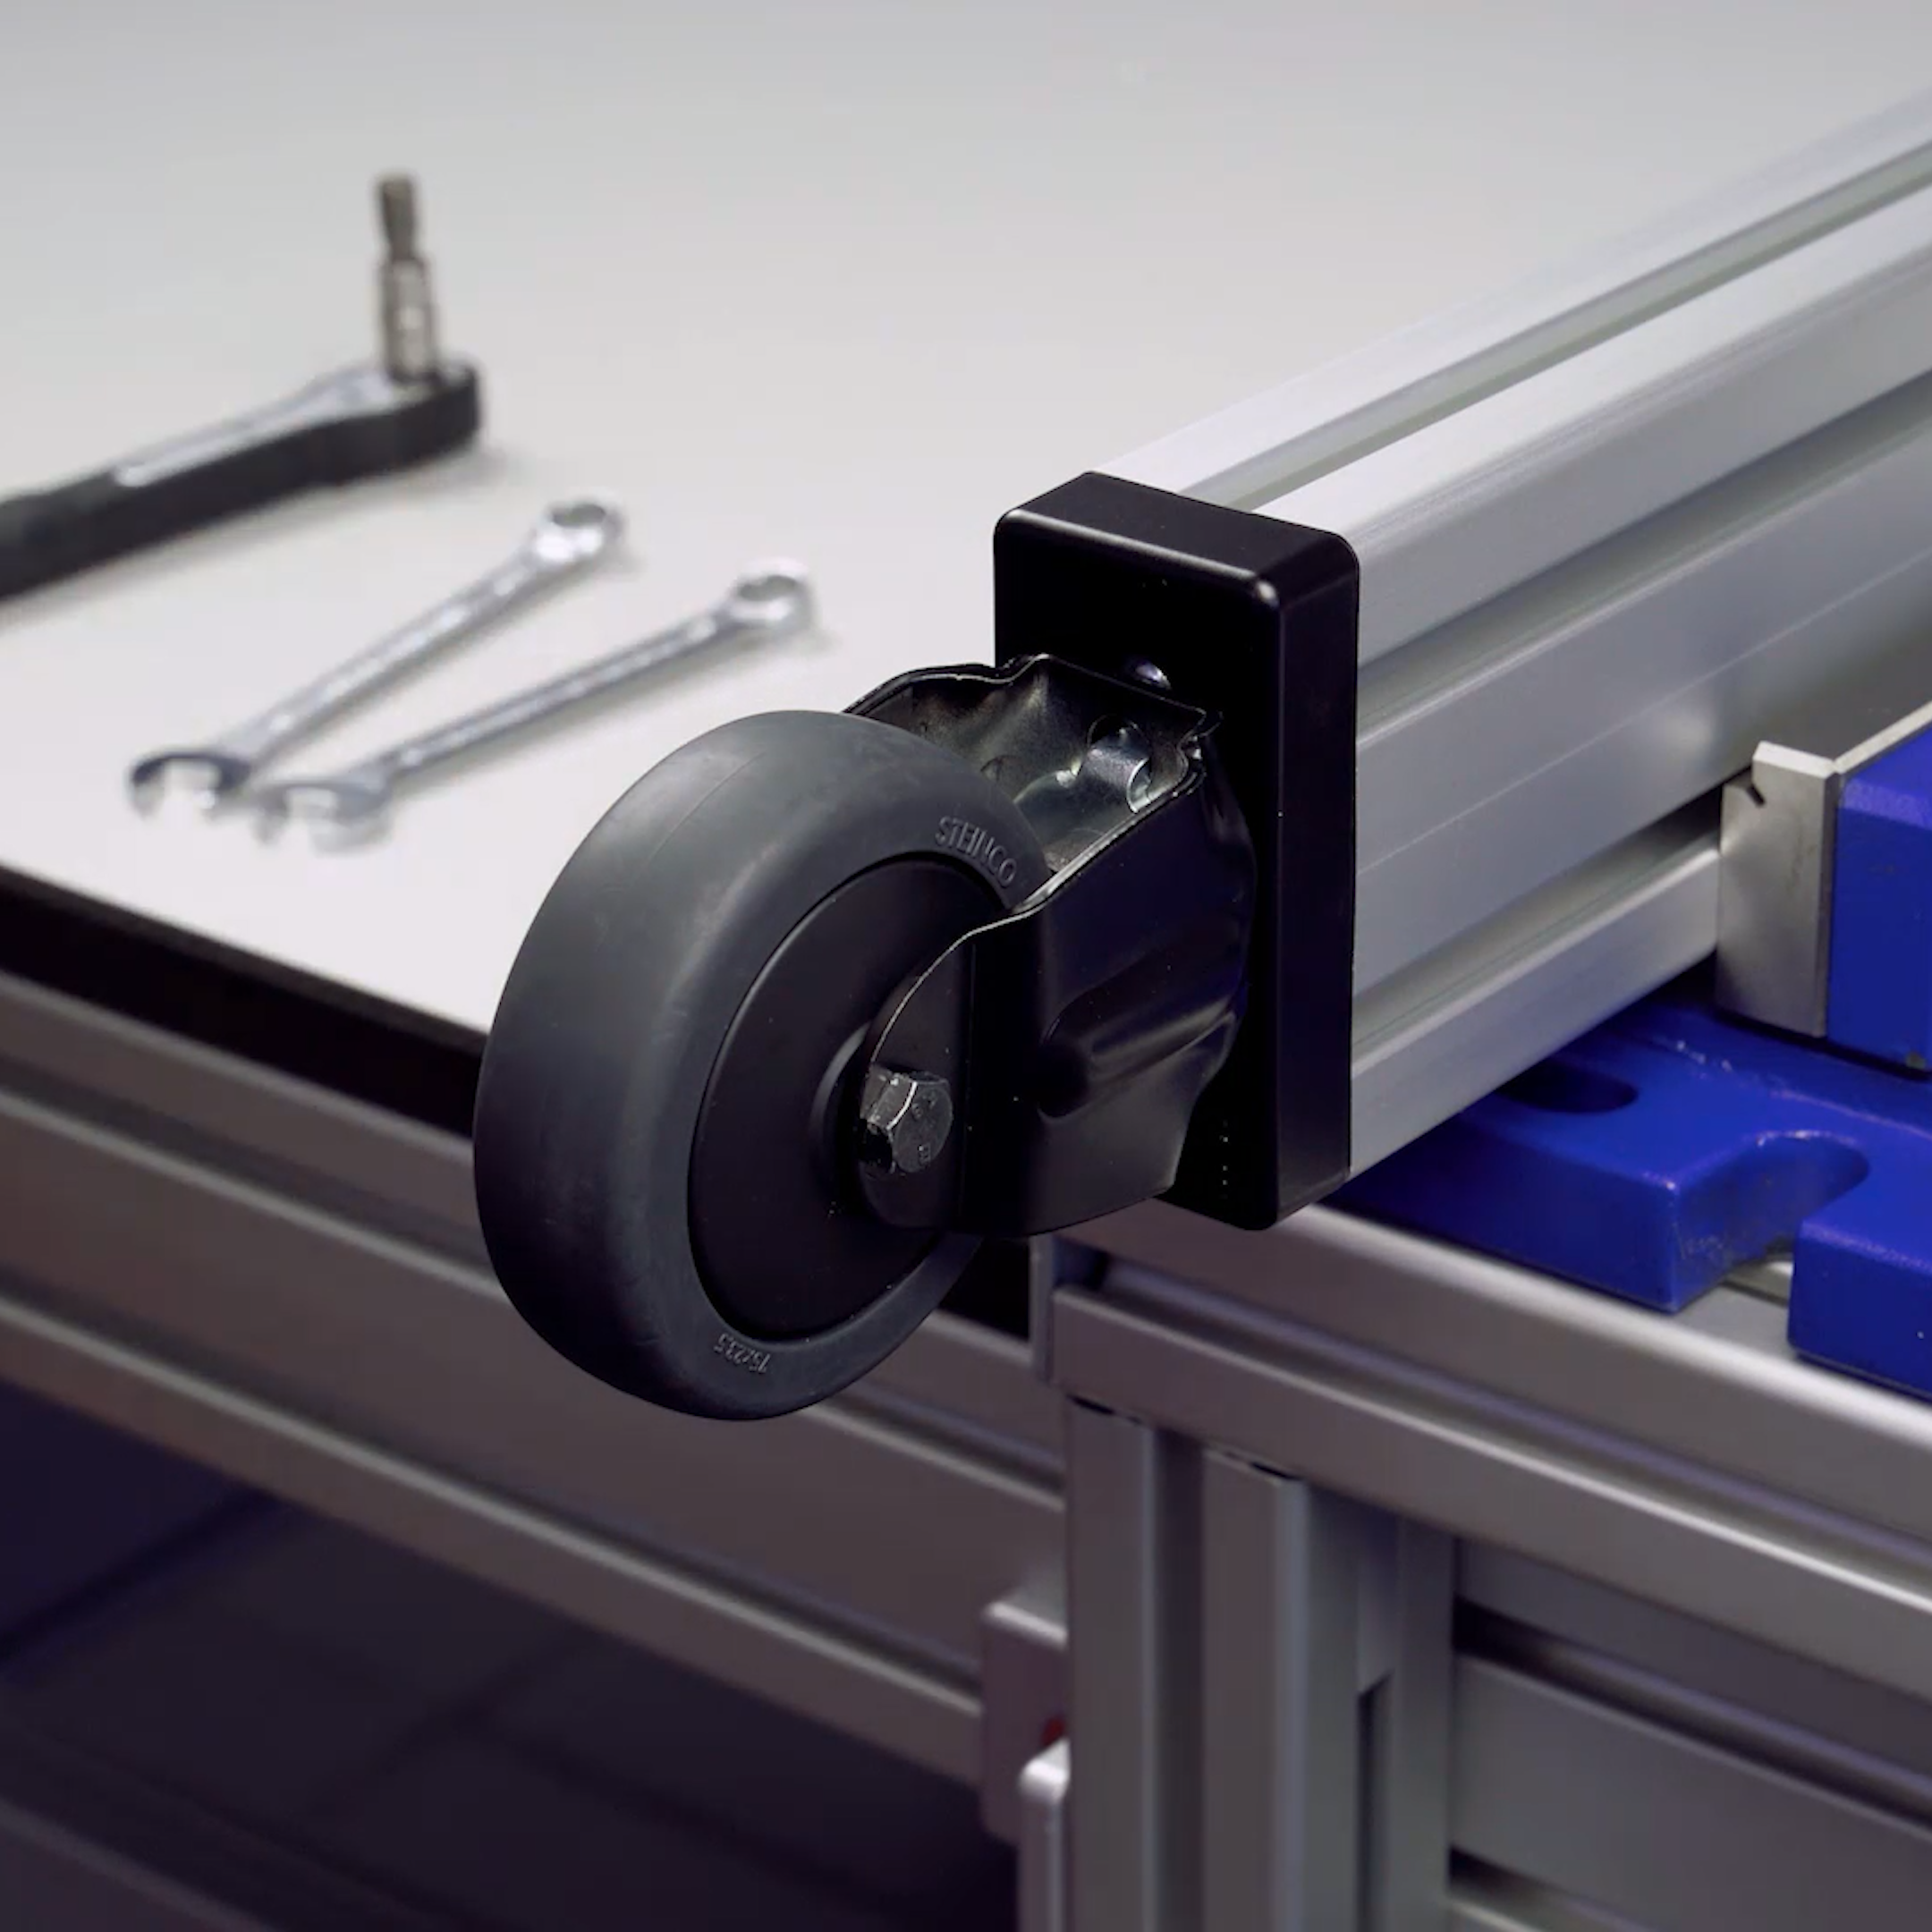
Step by step: how to mount a Castor D75 fixed on the base plate.
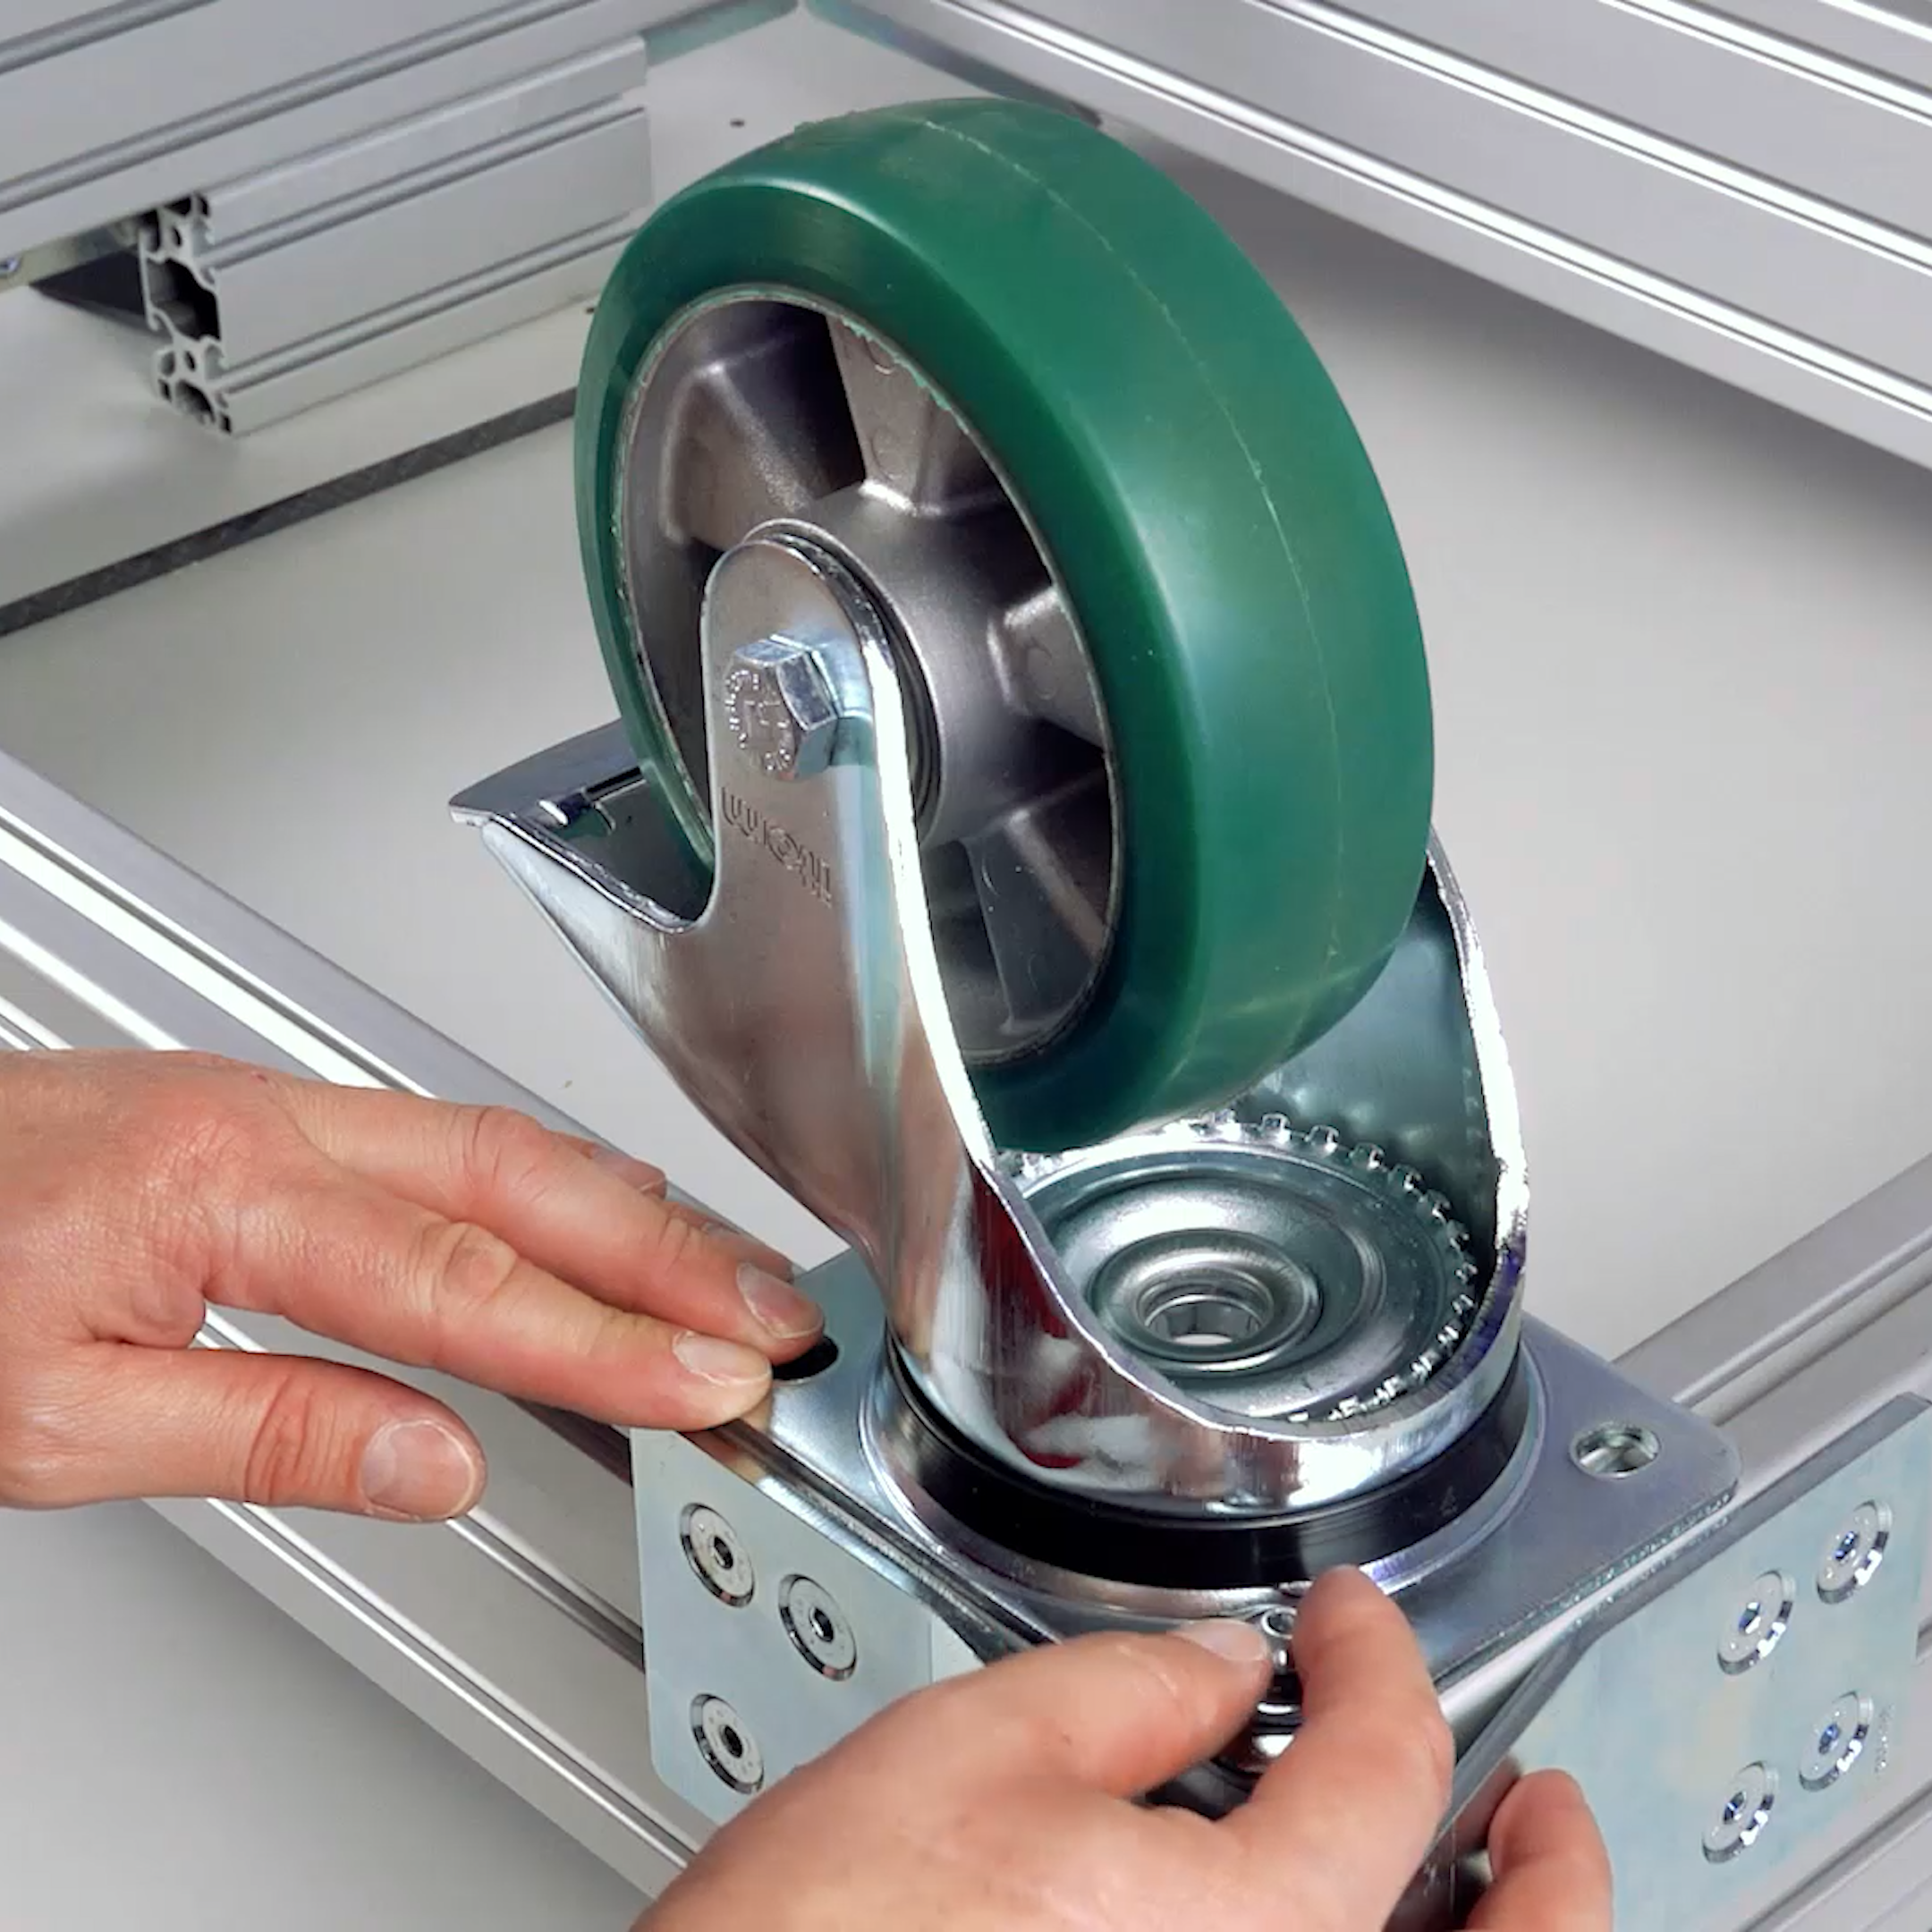
Step by step: how to mount a Castor 140x110 swivel and fixed on the frame.
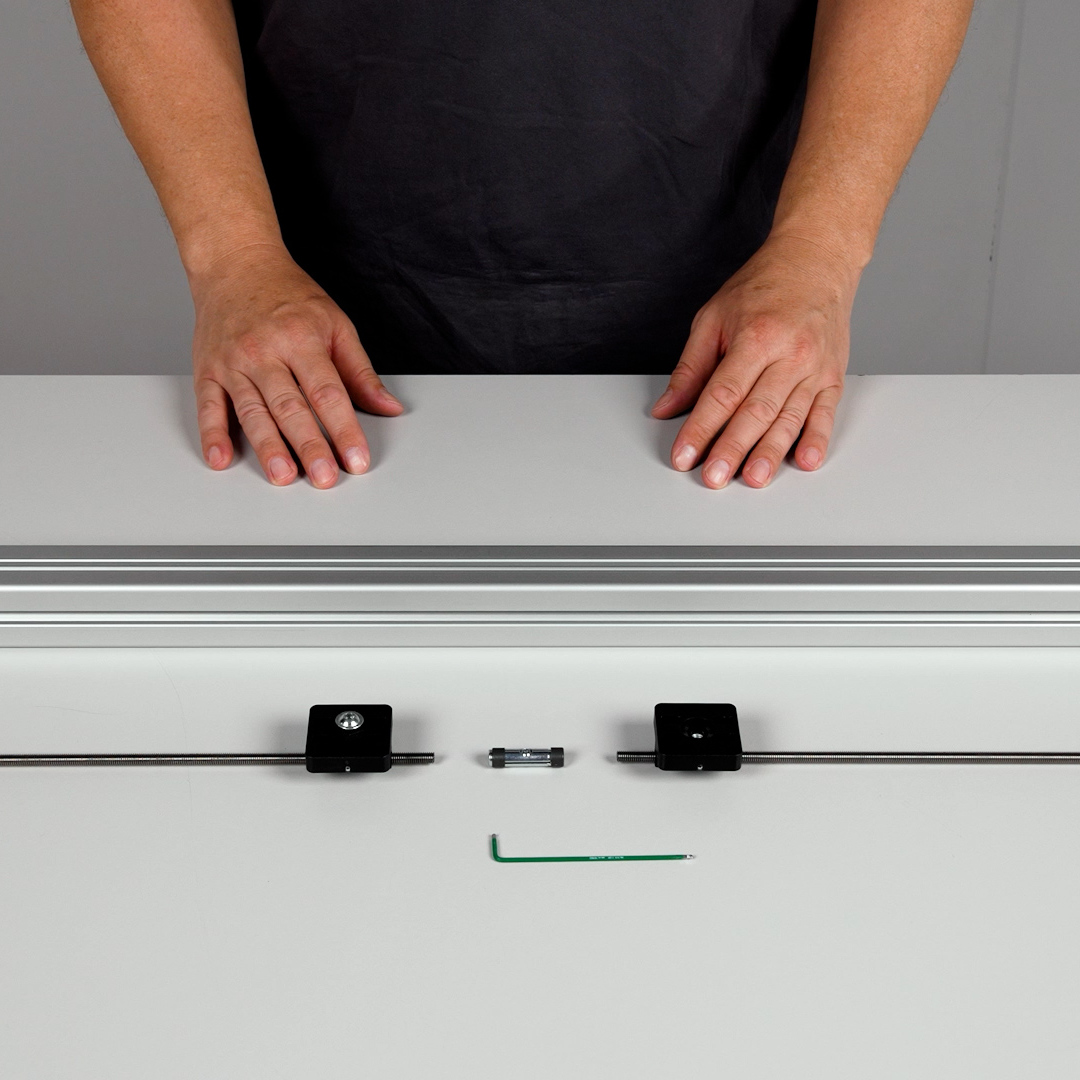
Dieses Video zeigt die Montage der Zustellung 8 40 gegenläufig mit digitaler Positionsanzeige.
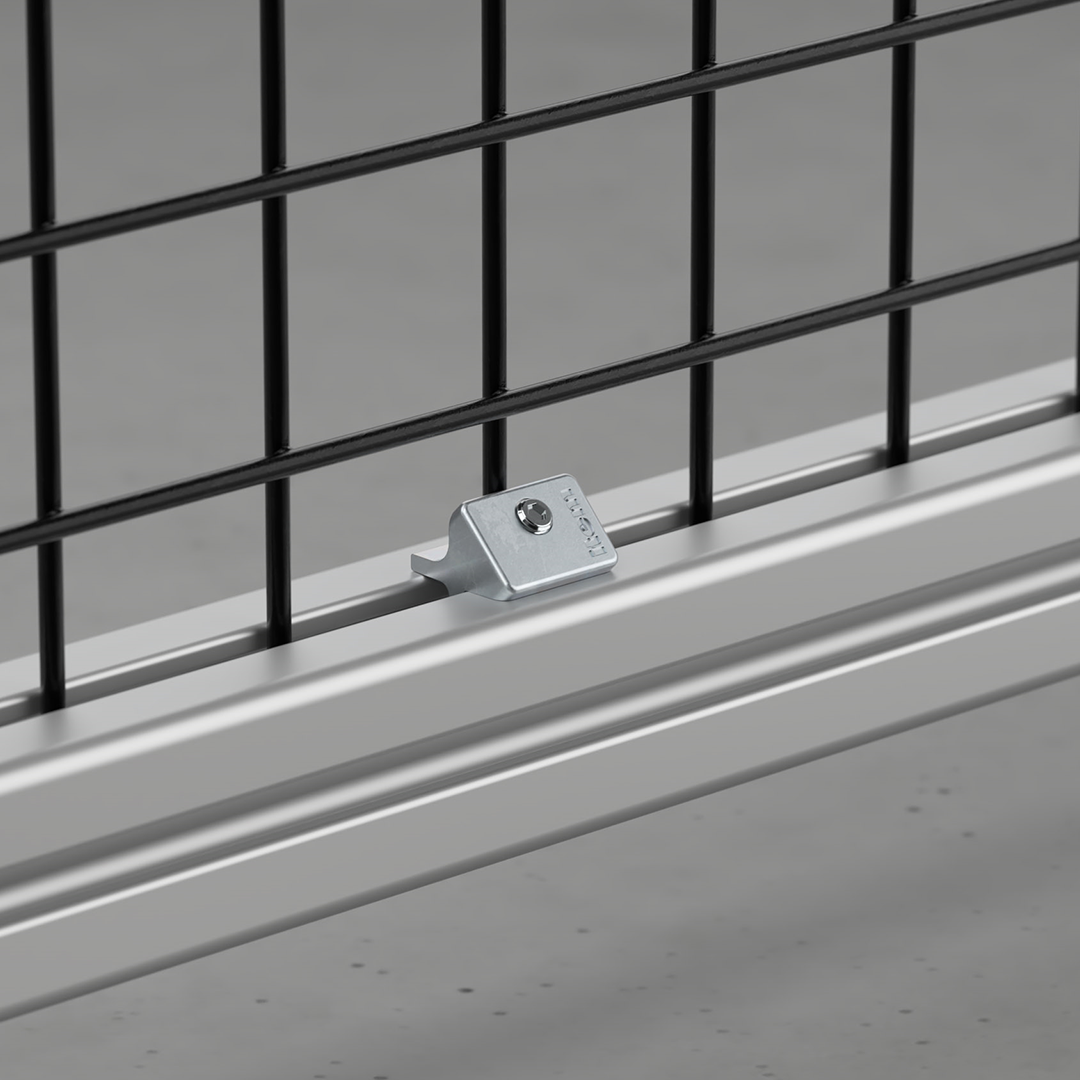
How do I mount steel mesh with the steel mesh fixing block? This module shows you how.
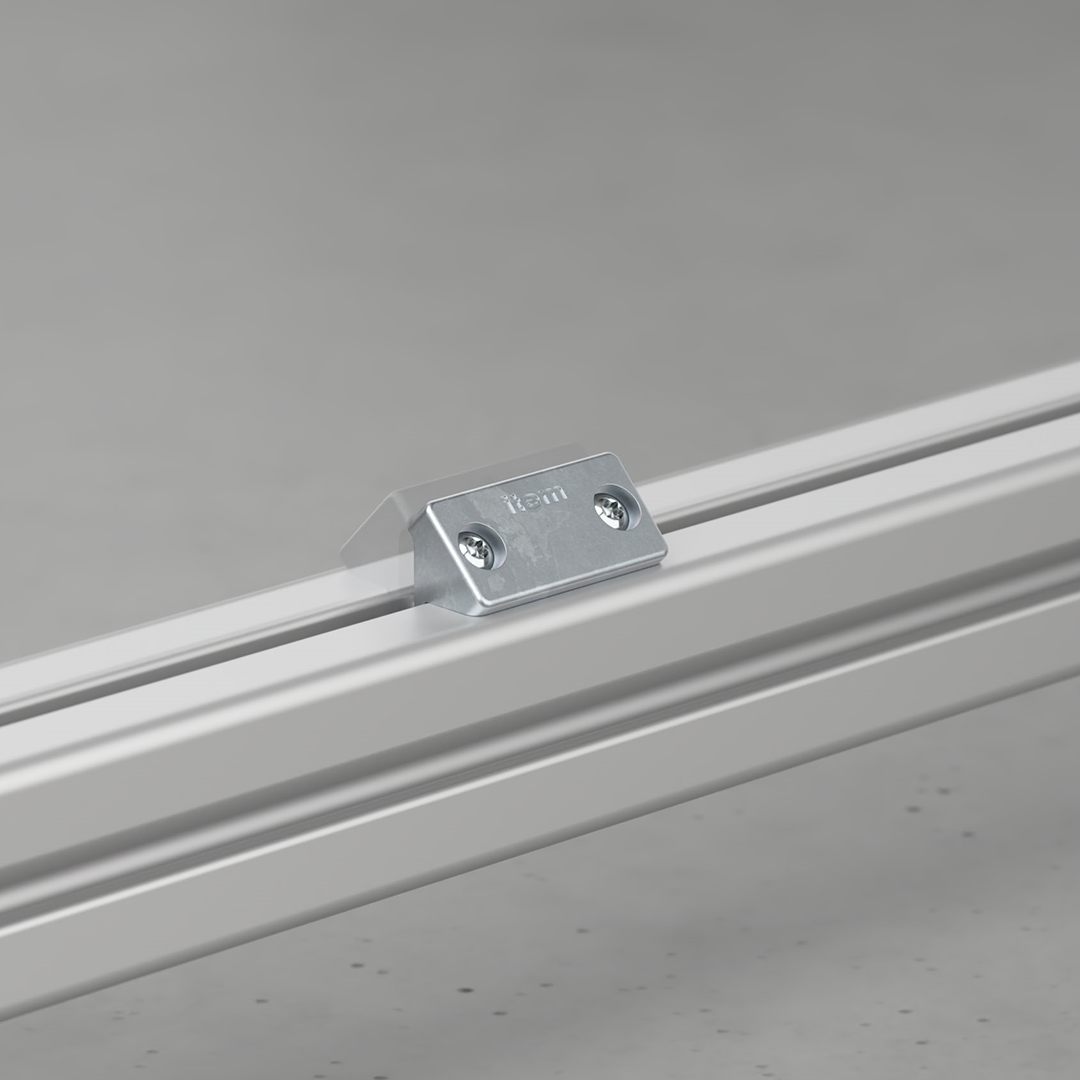
How do I mount panels with the panel fixing block? This module shows you how.
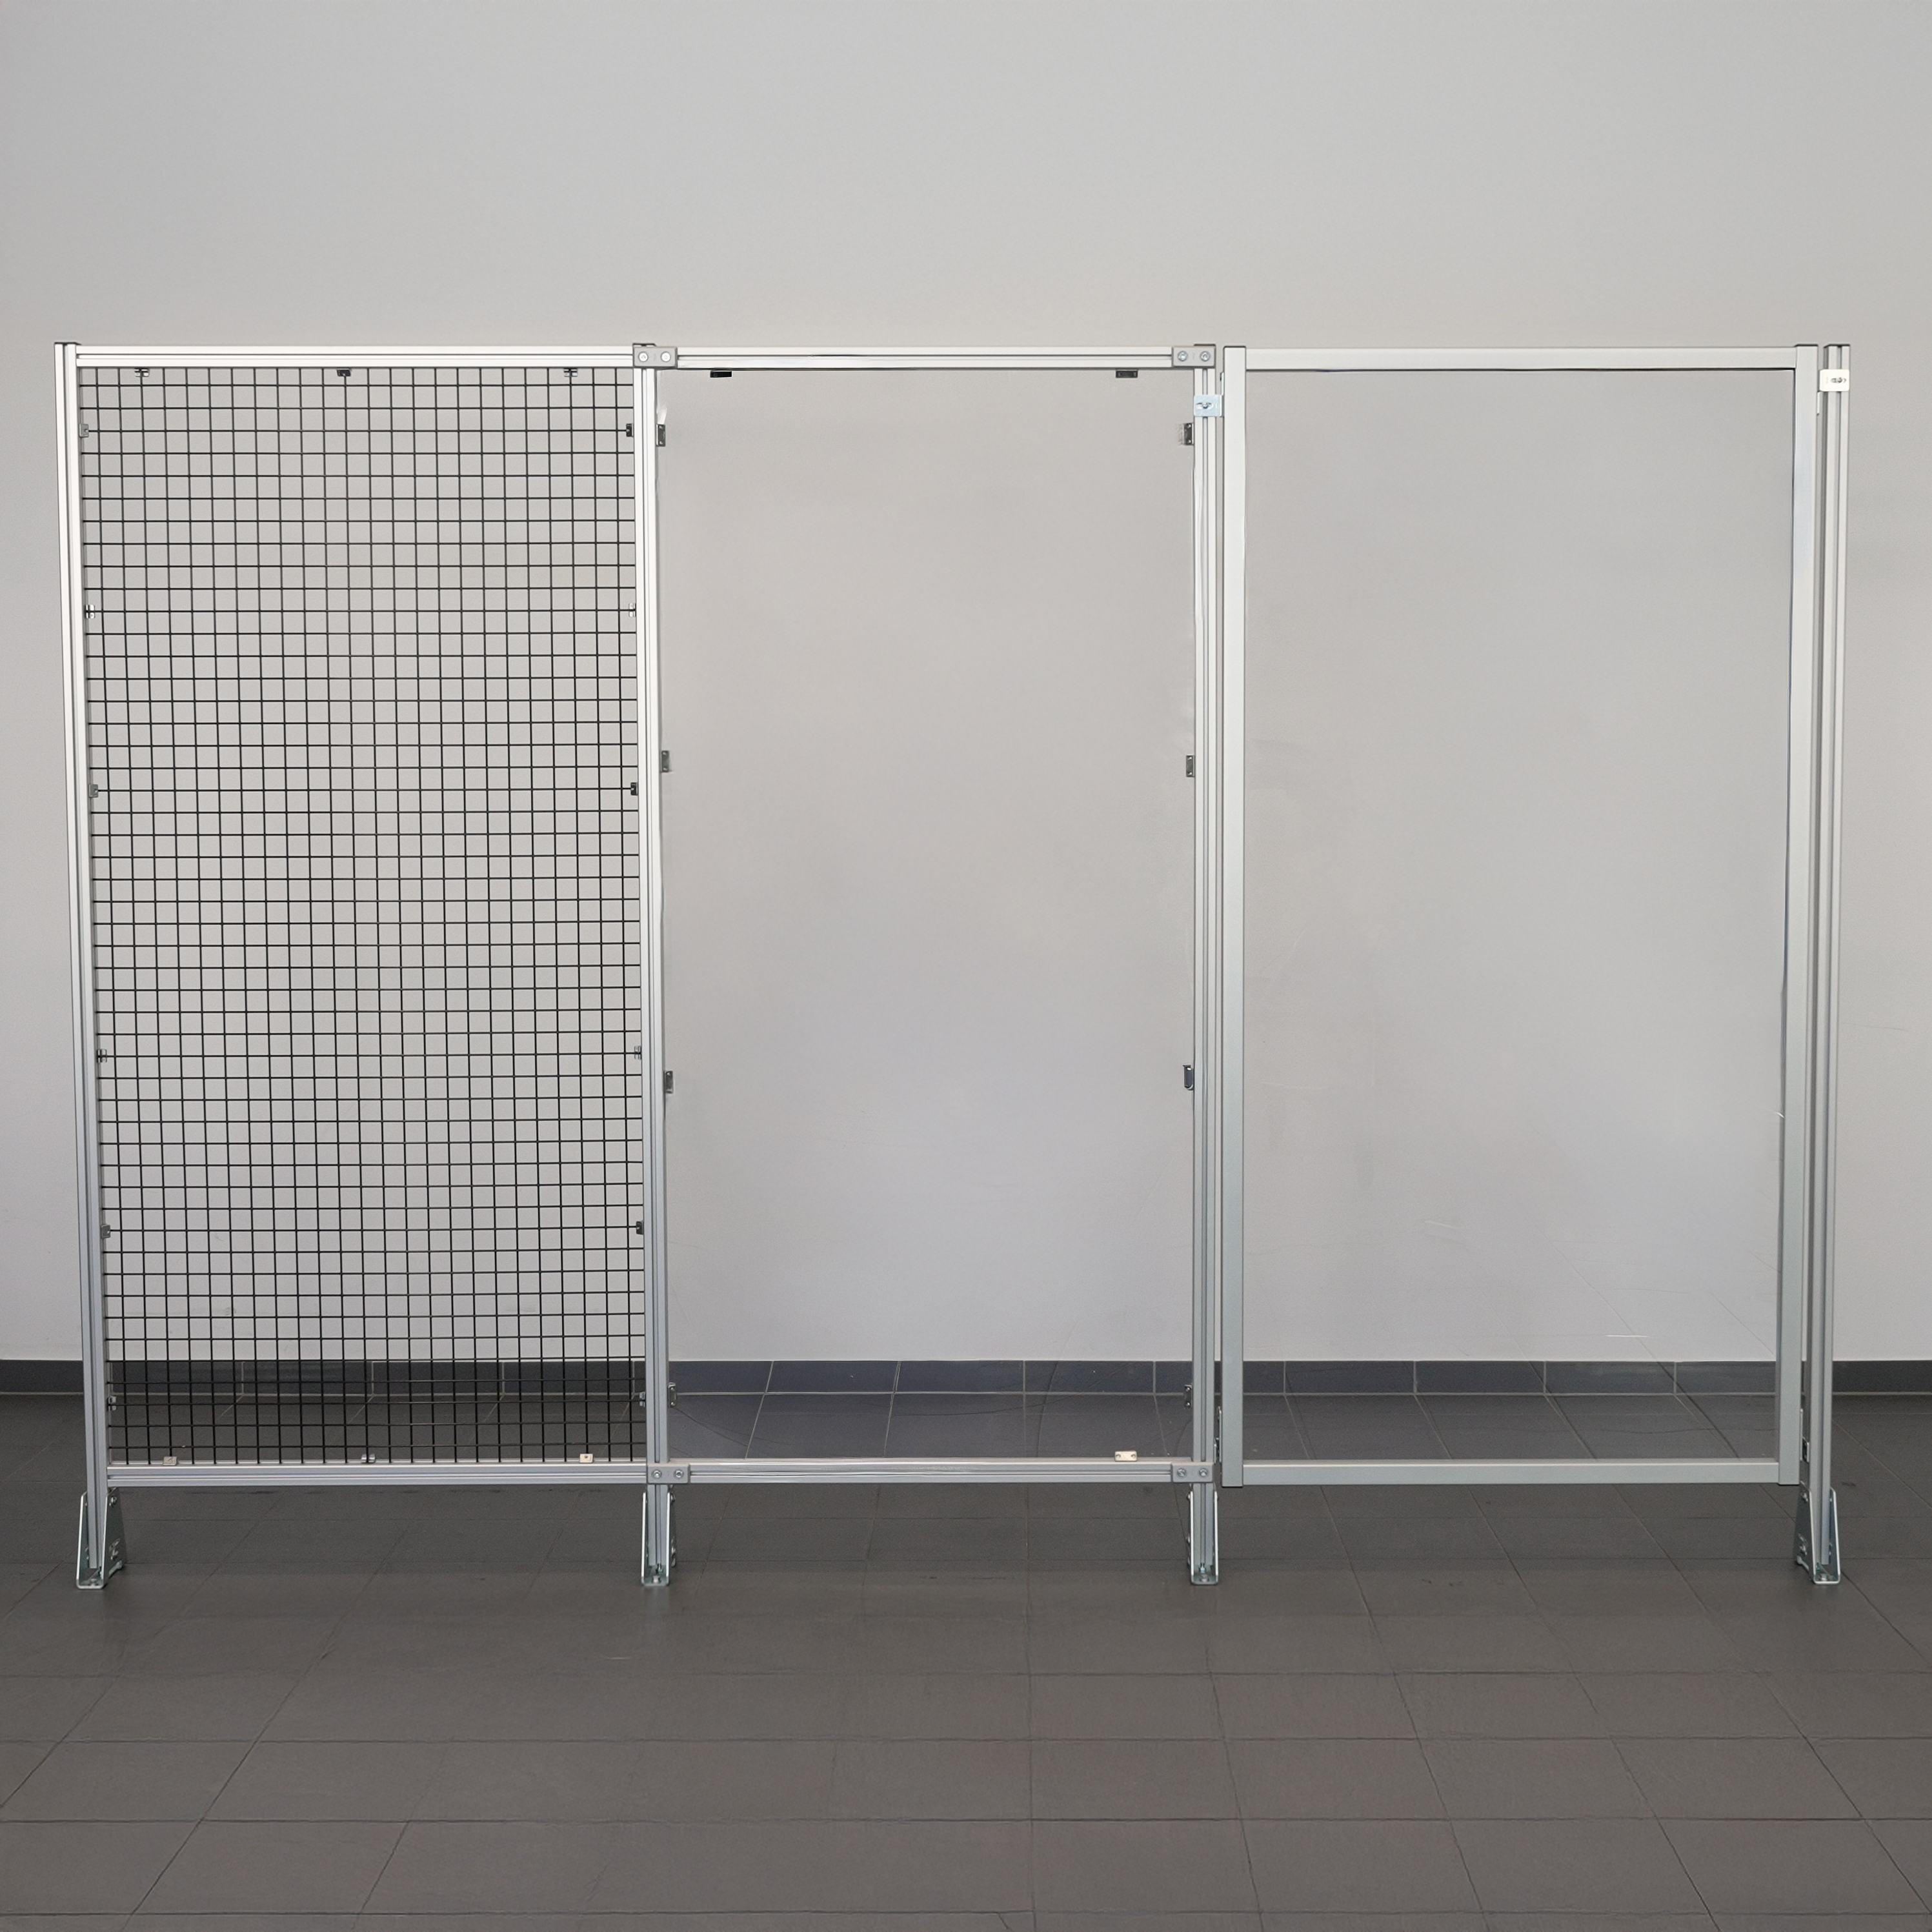
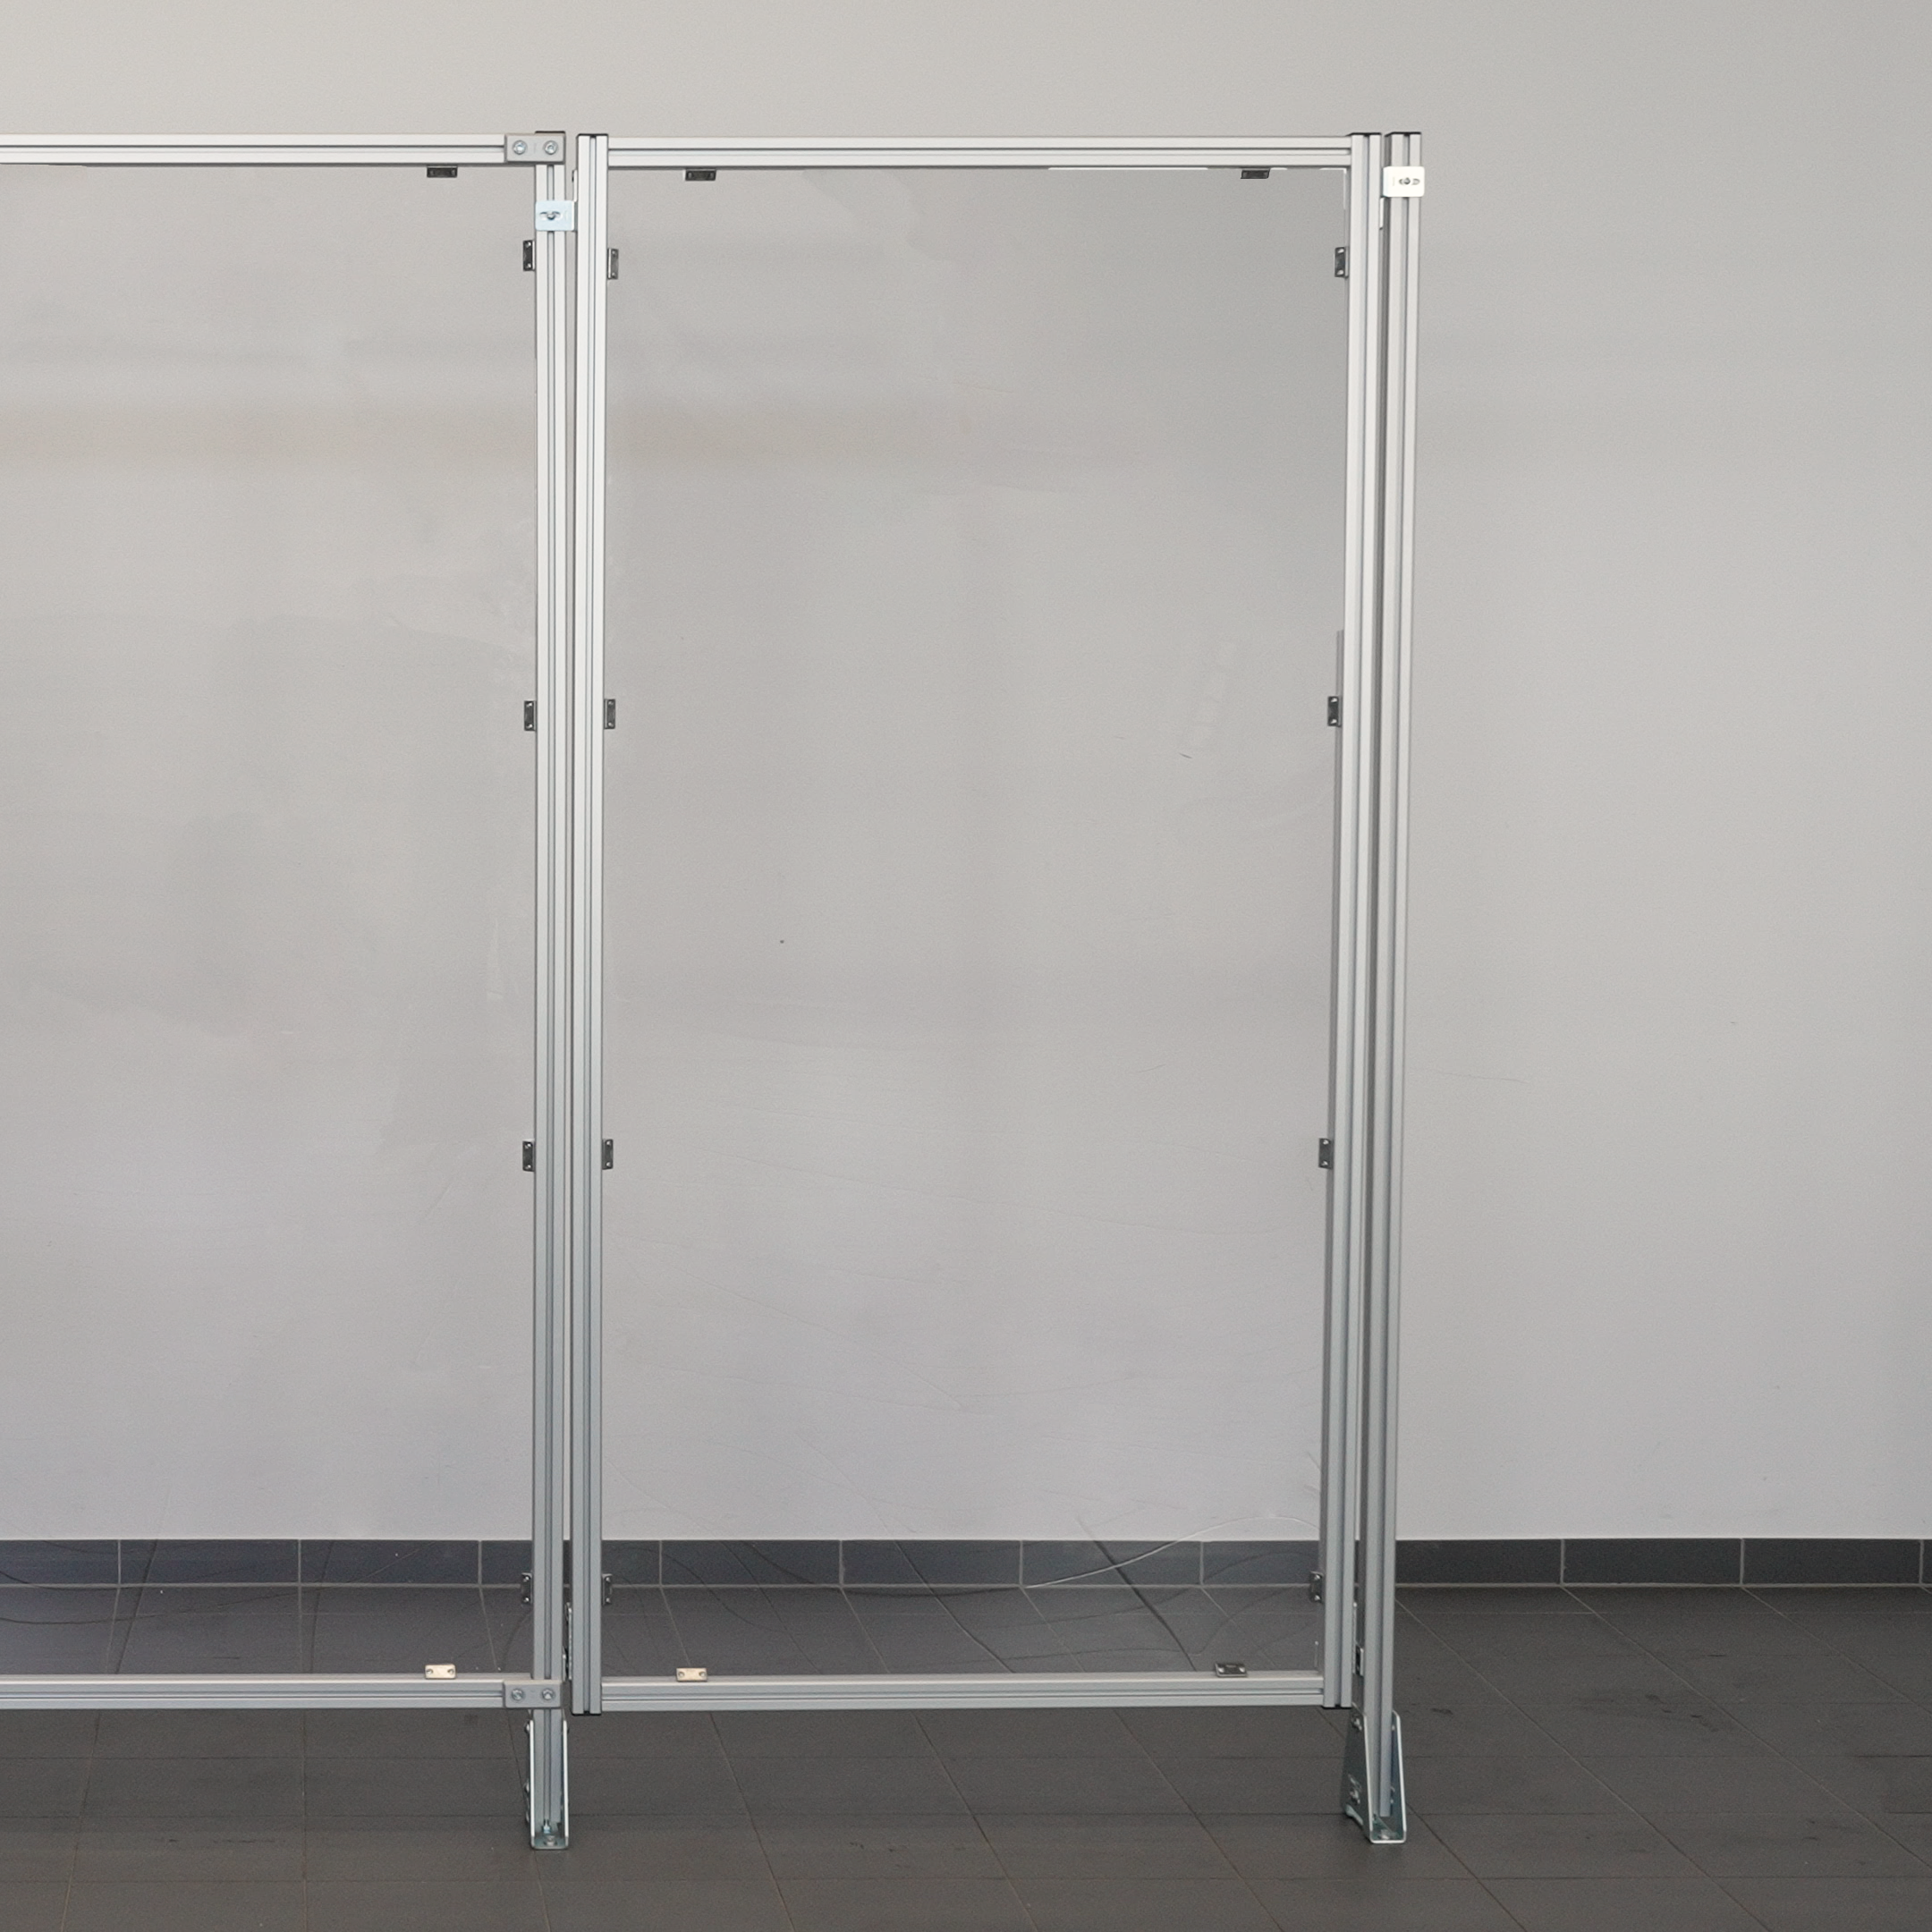
How do I build a Fixed Panel with Clamp Profile for Guard 8? This module shows you how.
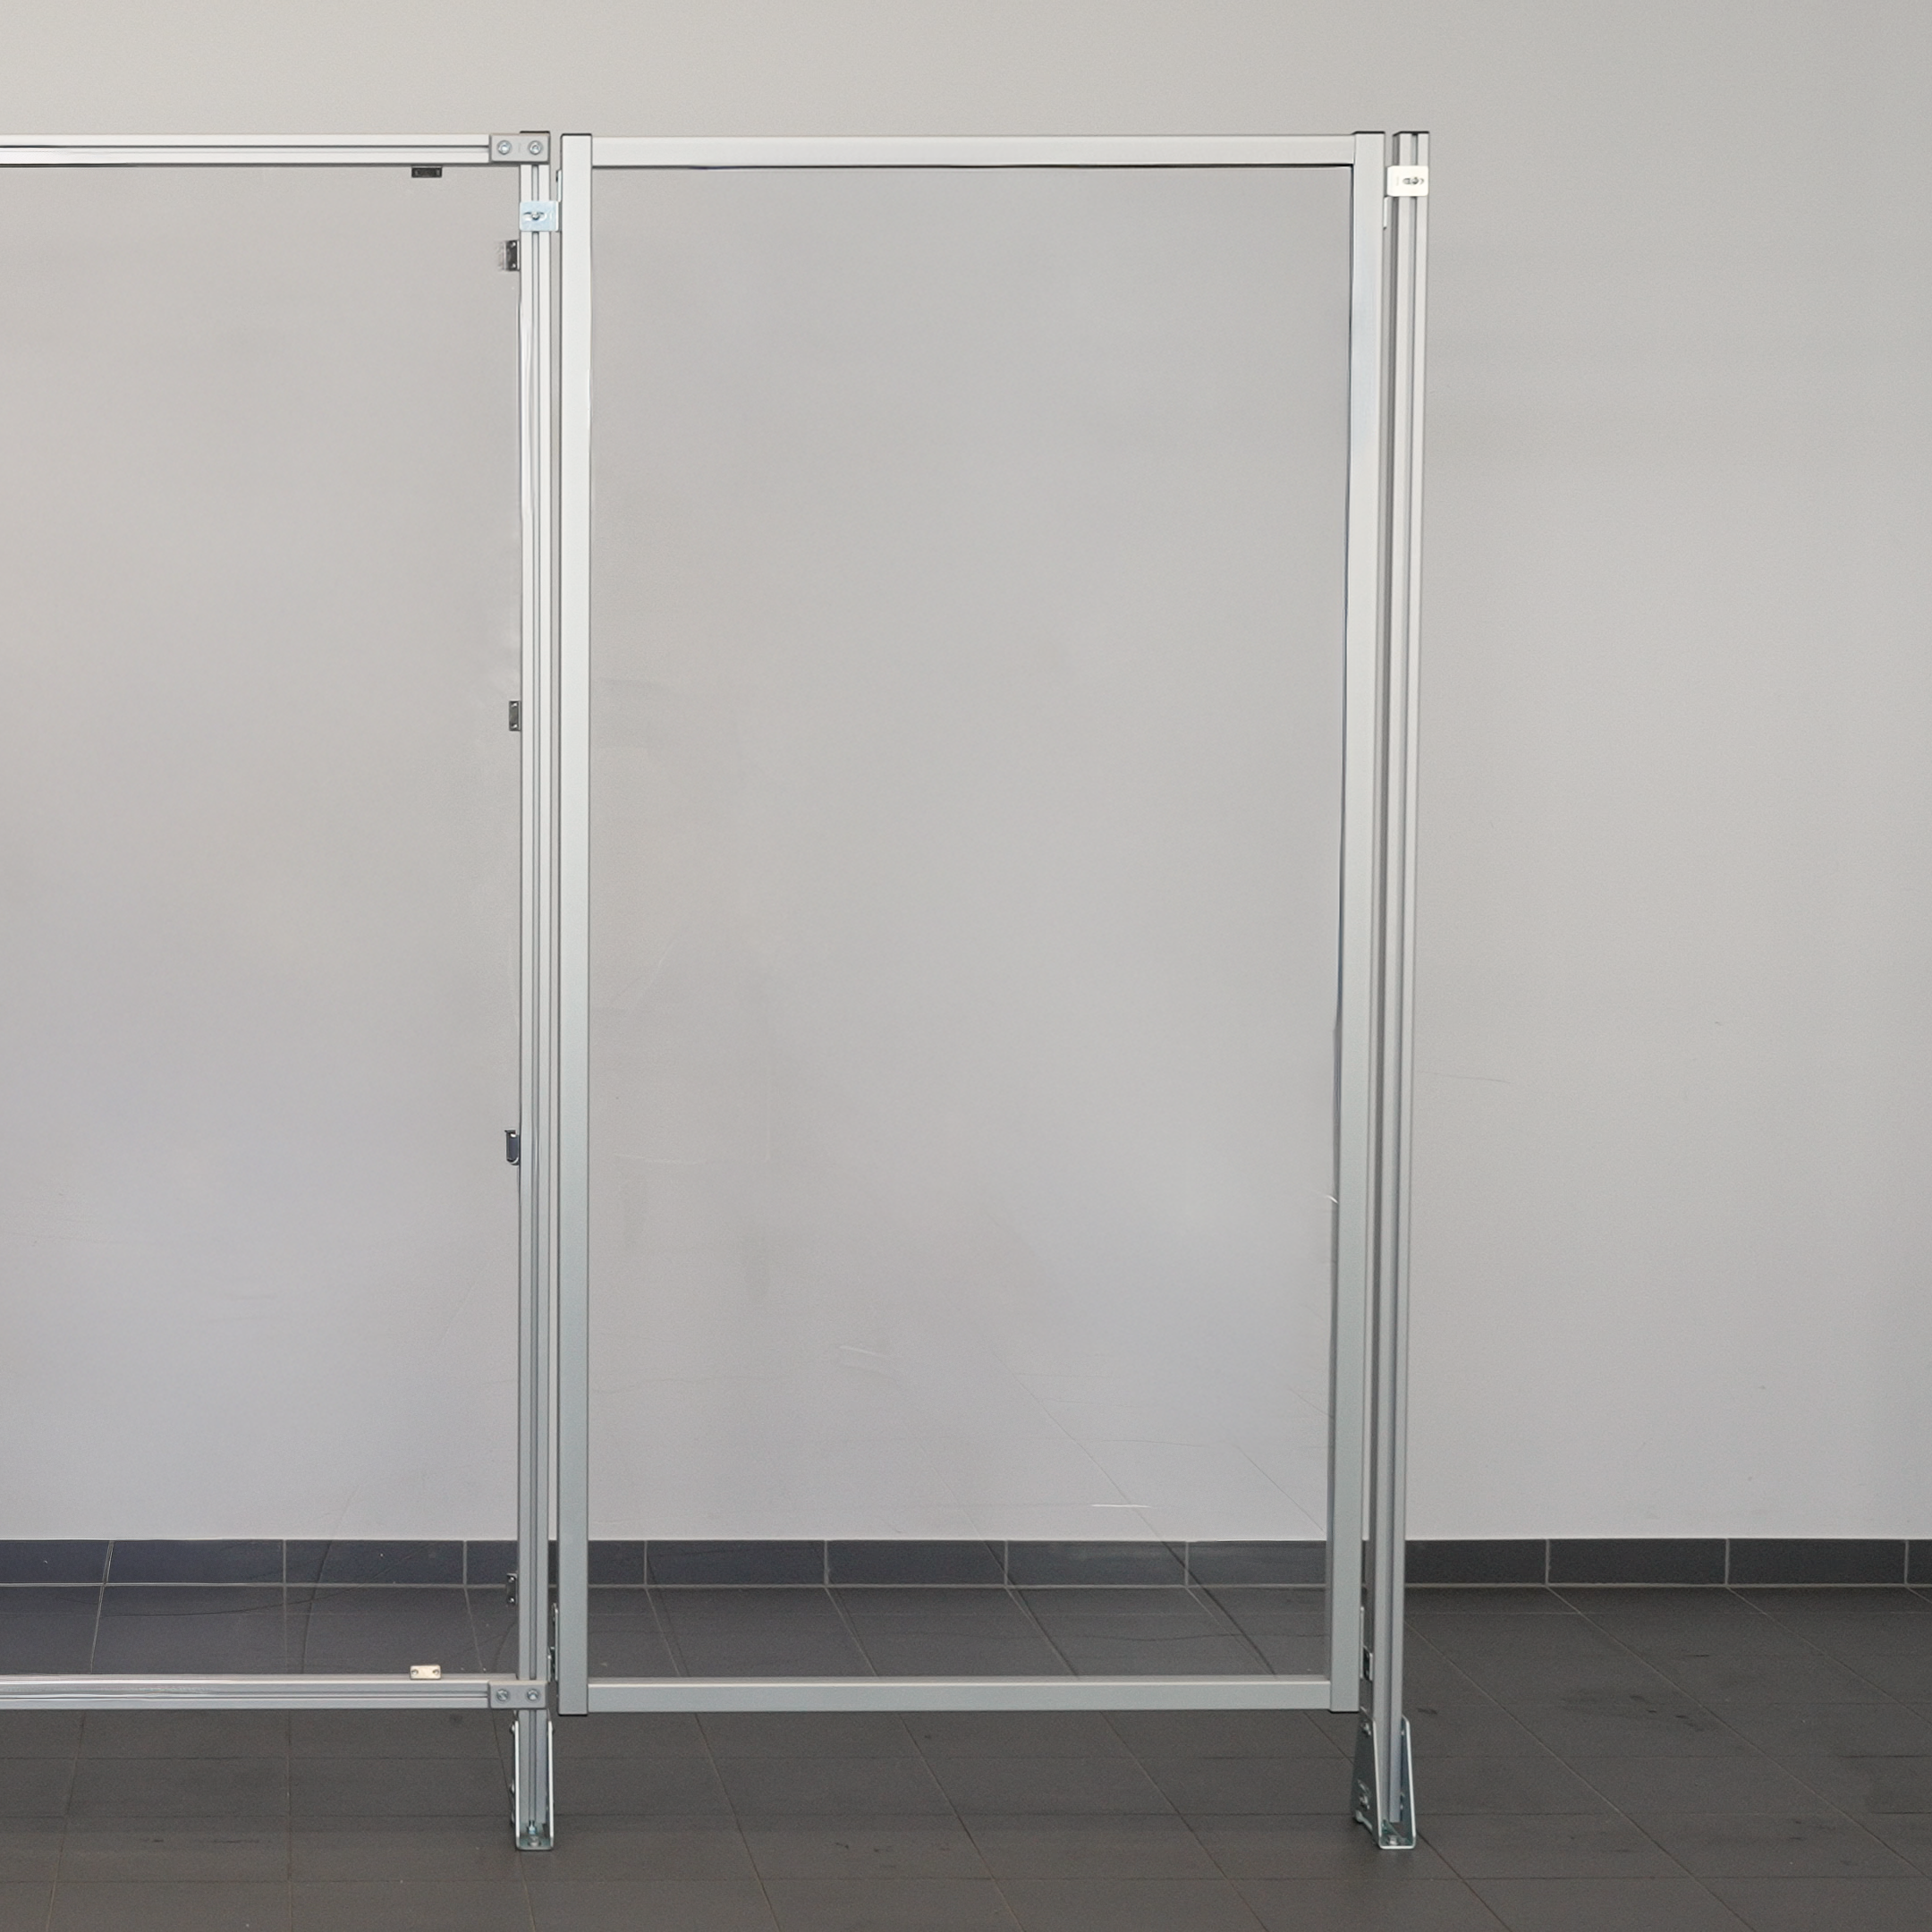
How do I install a Fixed Panel with Polycarbonate for Guard 8? This module shows you how.
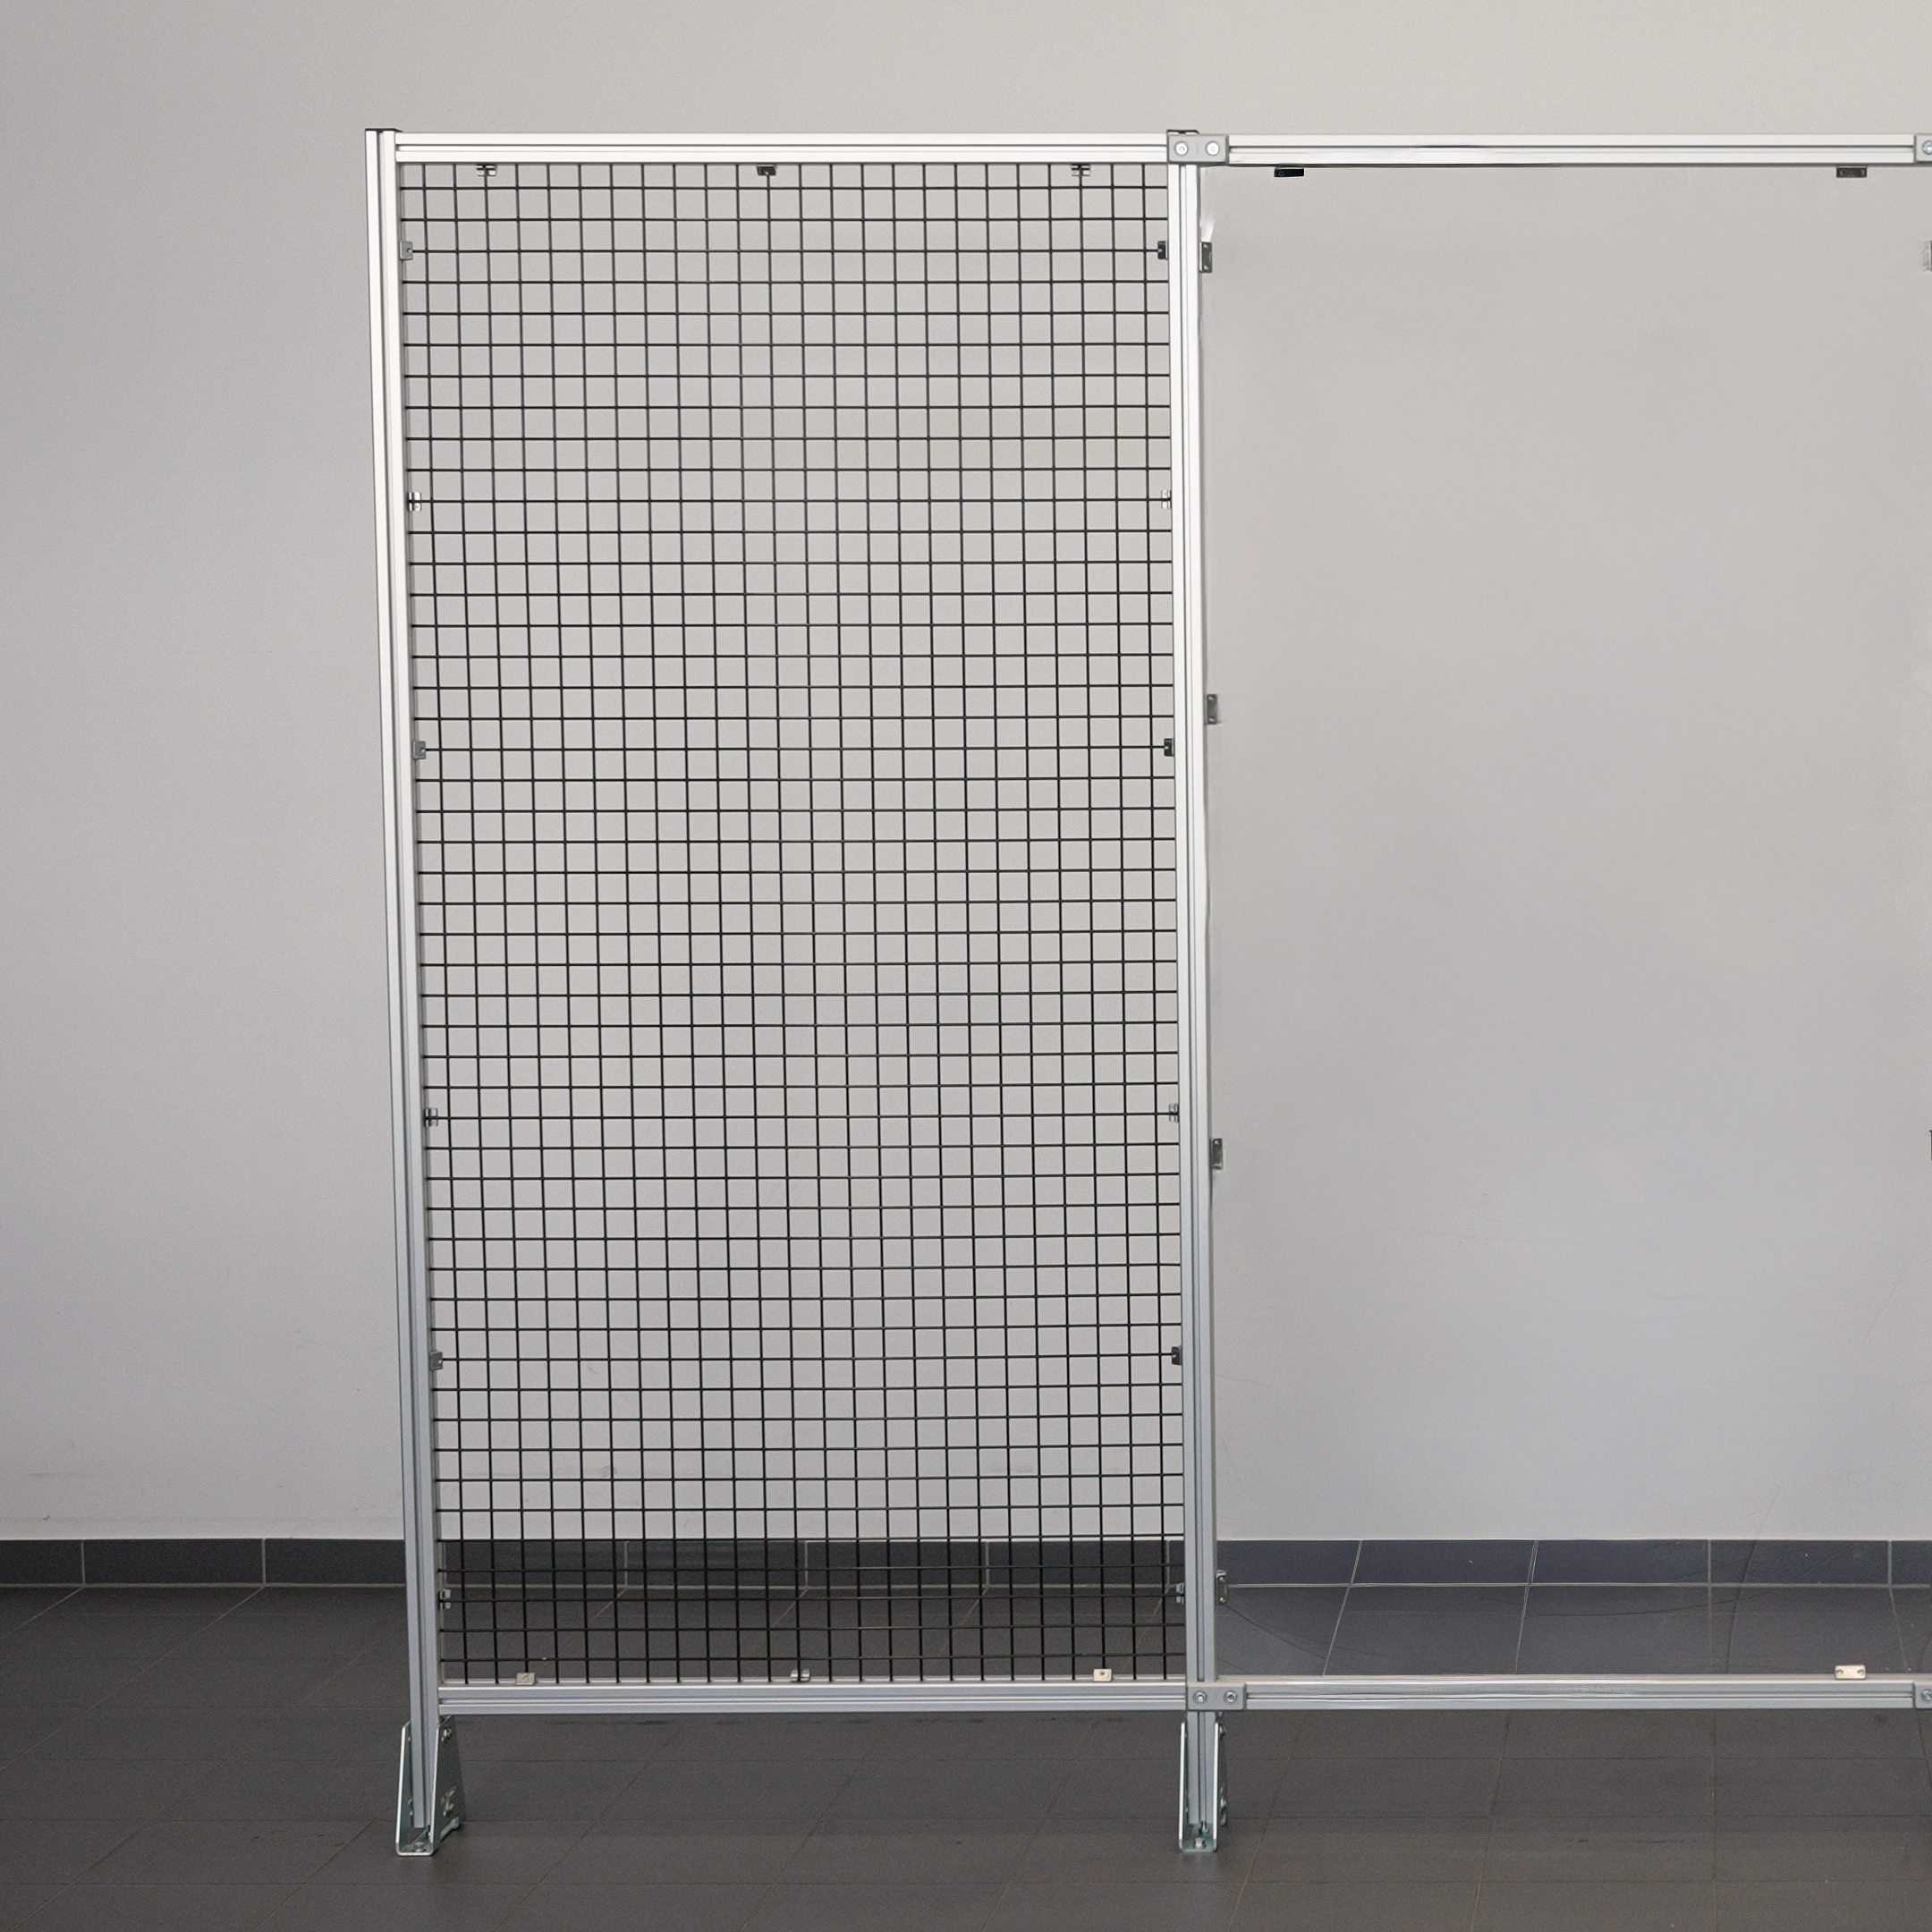
How do I build a Guard Section with Steel Mesh for Guard 8? This module shows you how.
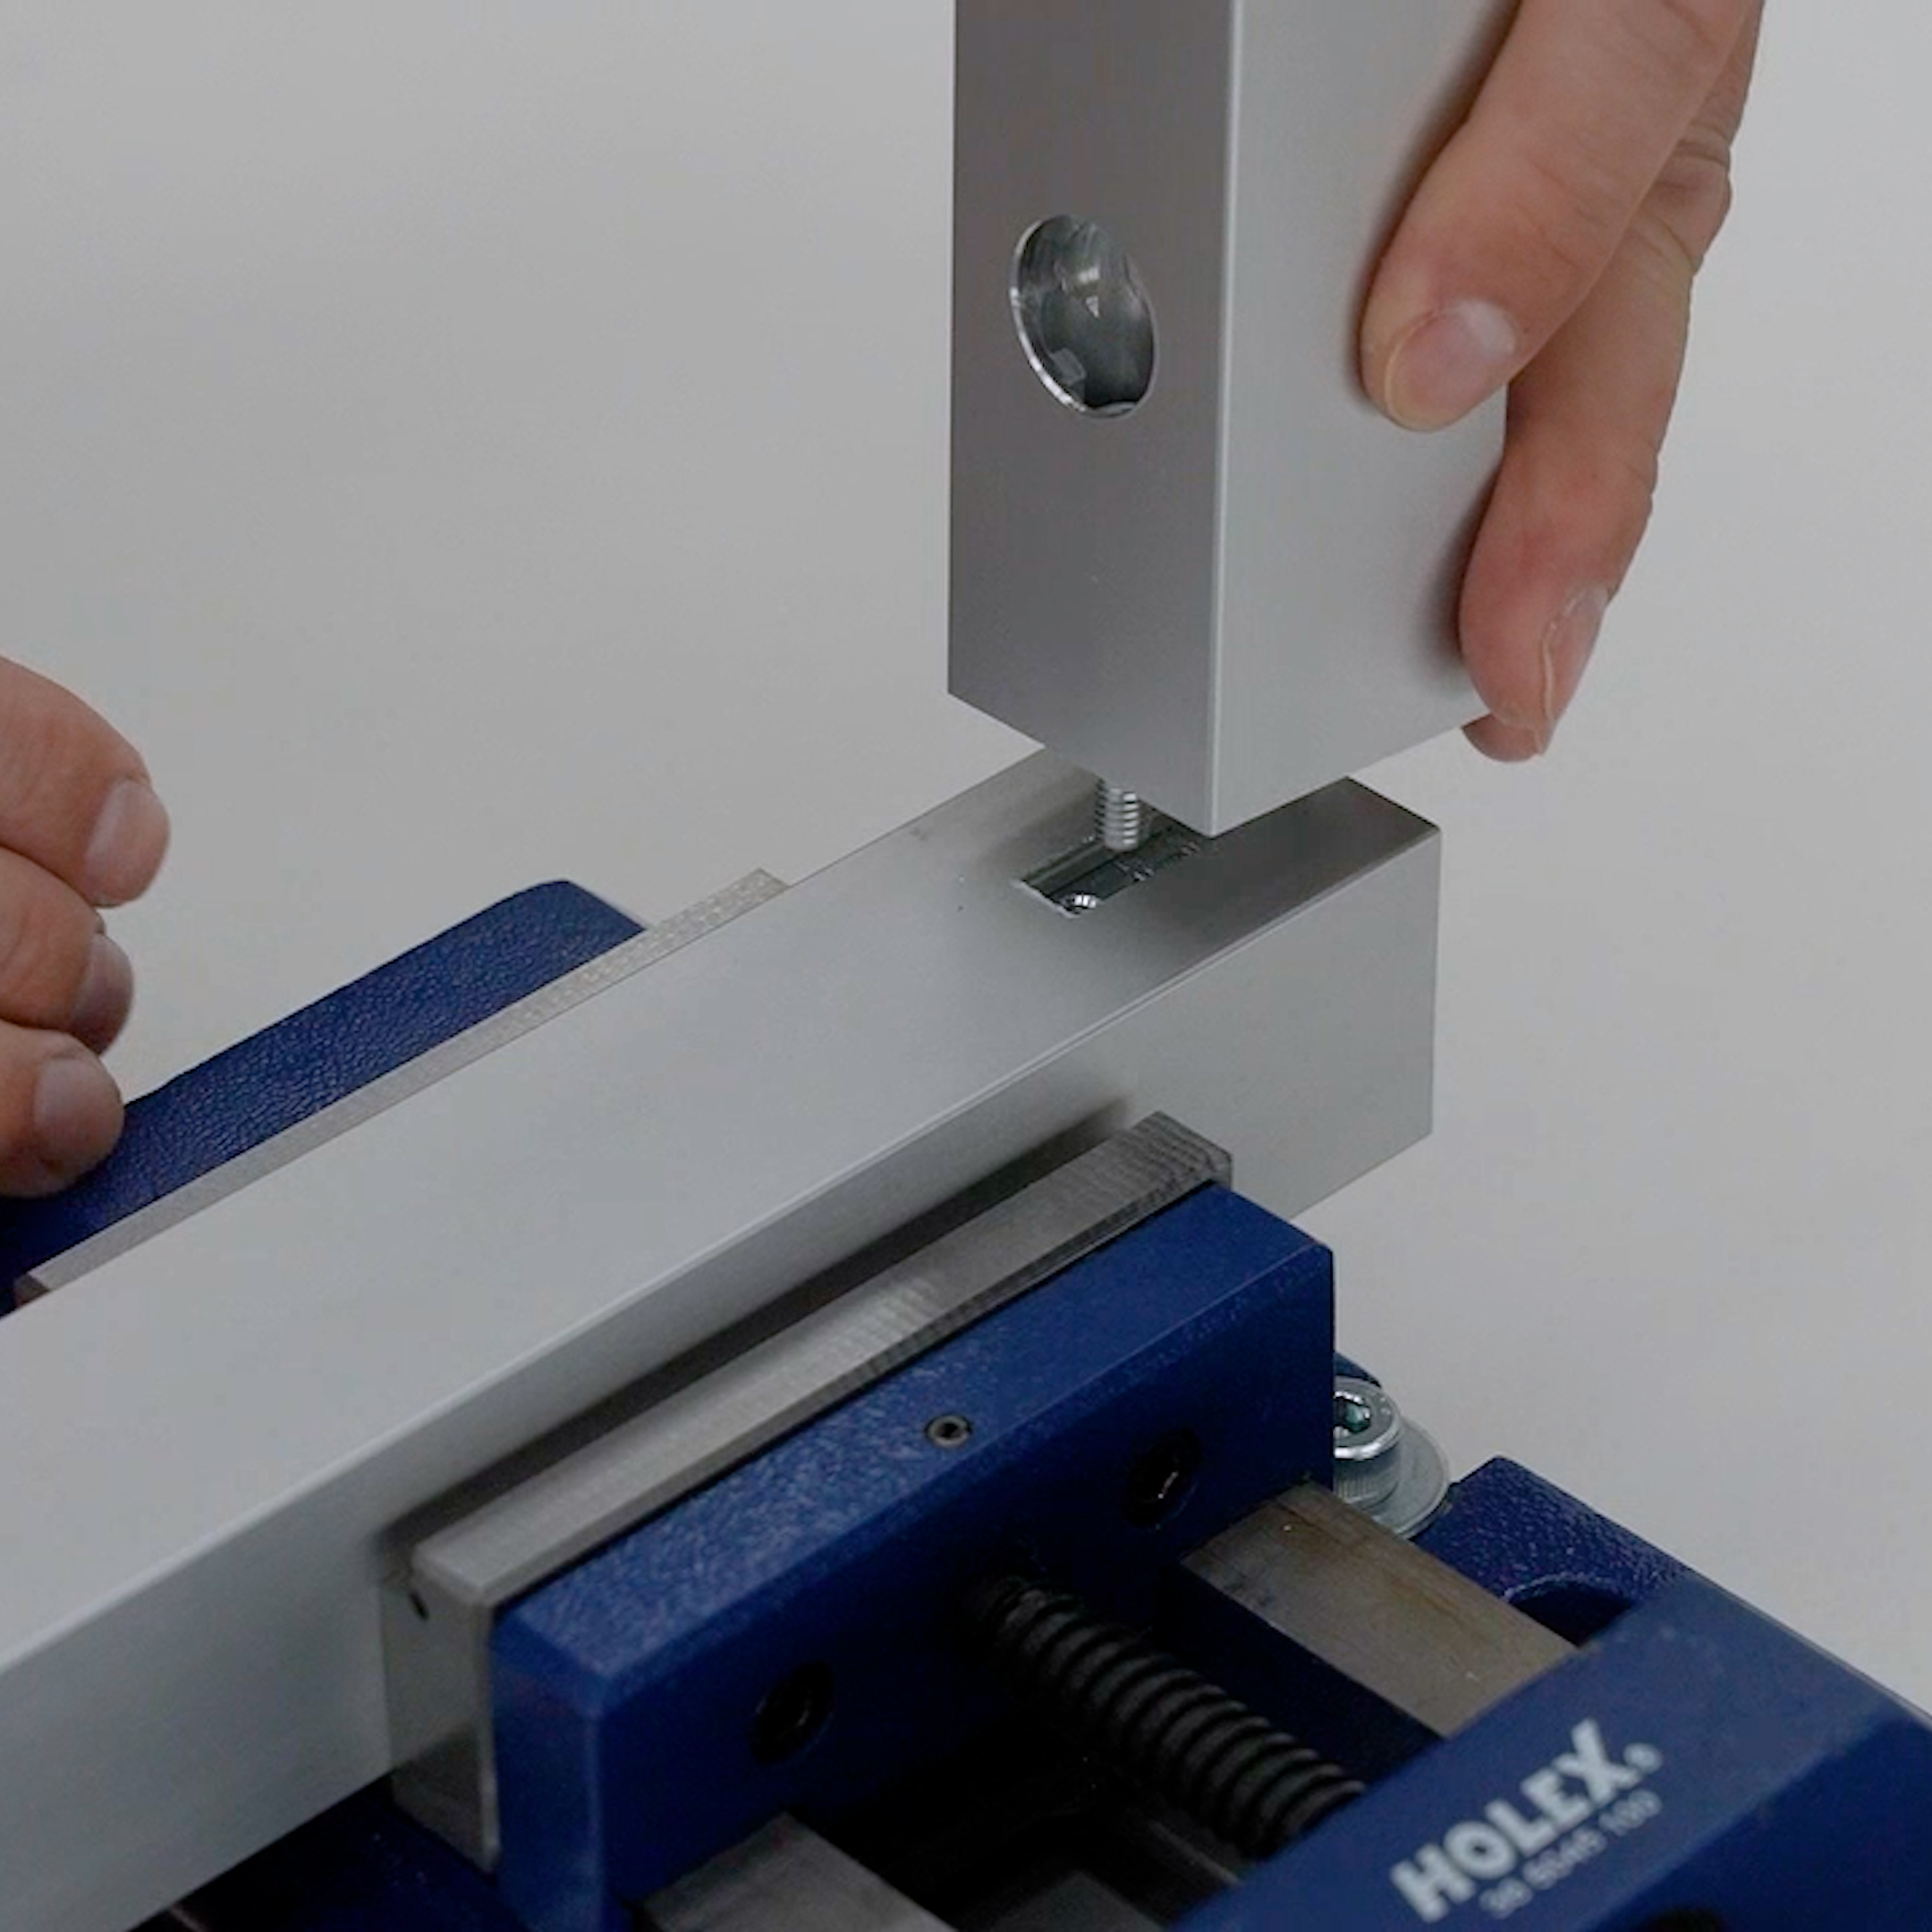
Der Automatik-Verbindungssatz 8 S verbindet zwei Profile 8 rechtwinklig mit besonders hoher Belastbarkeit gegen Verschiebung, Torsion und Biegung.
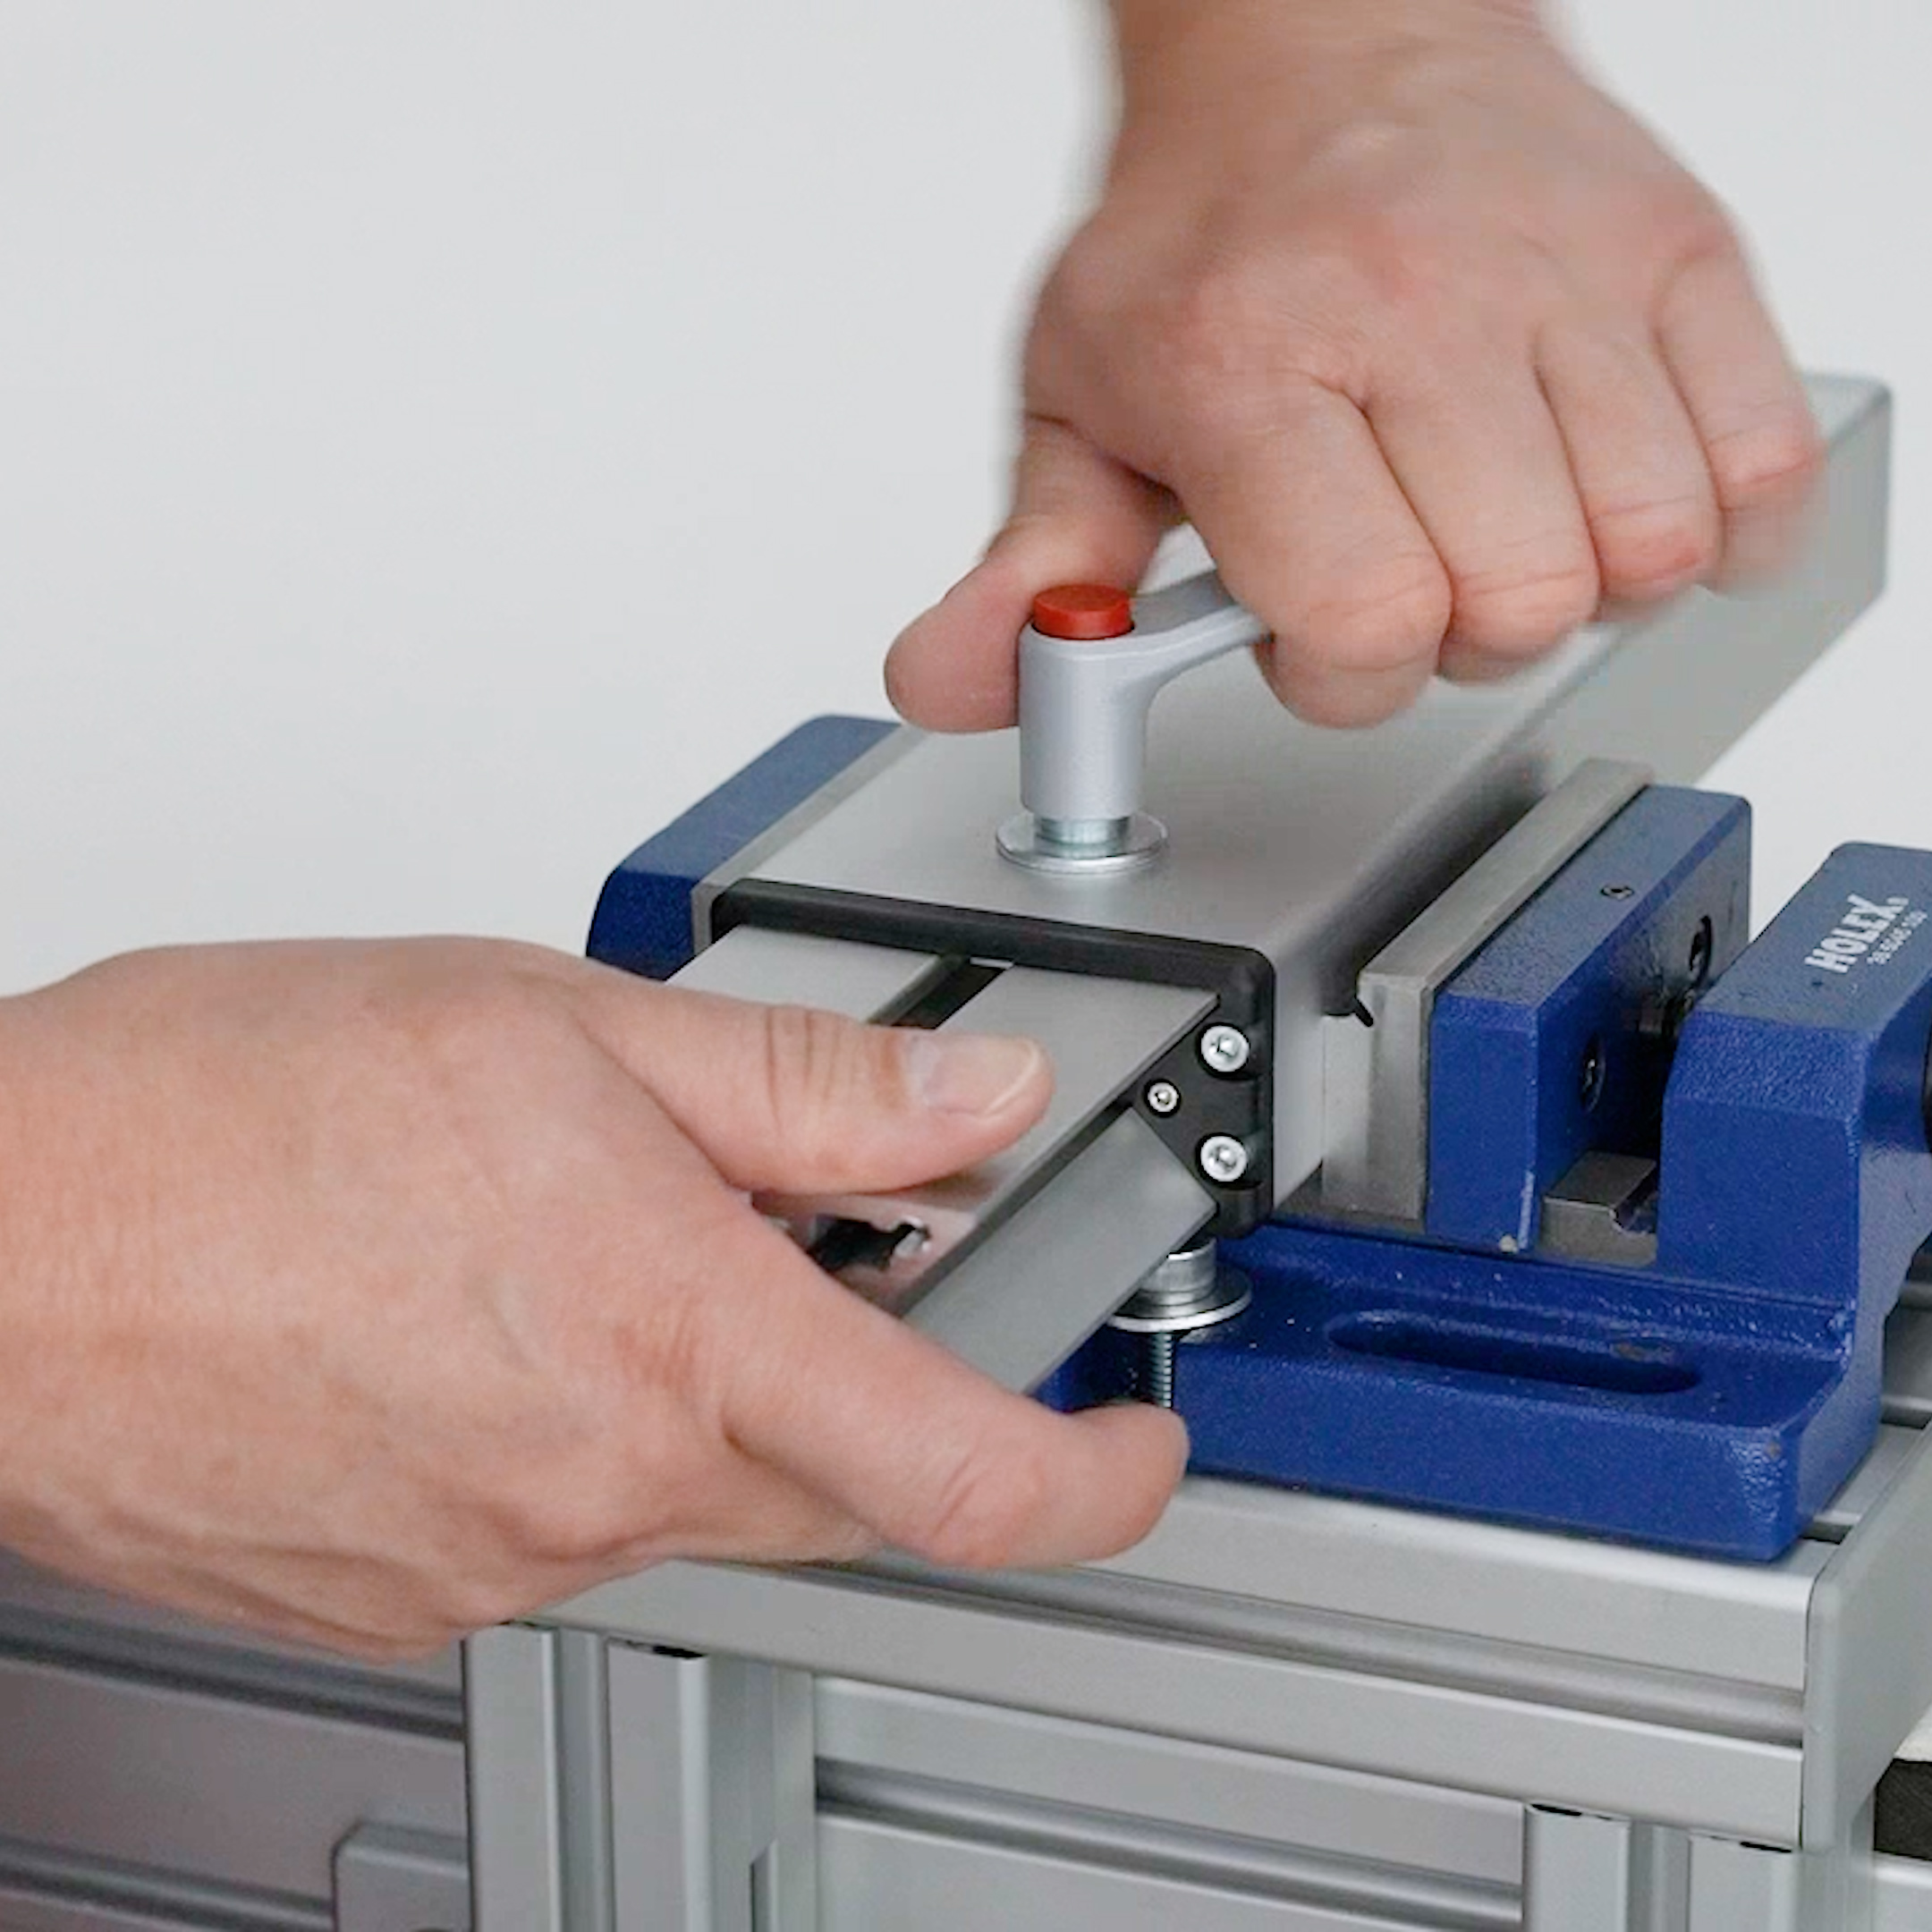
Telescope 8 80x40 is a heavy-duty strut of adjustable length. TheTelescope Inner Profile 8 80x40, which is mounted in a plain bearing, is attached here using the Telescope Securing Set 8 80x40.
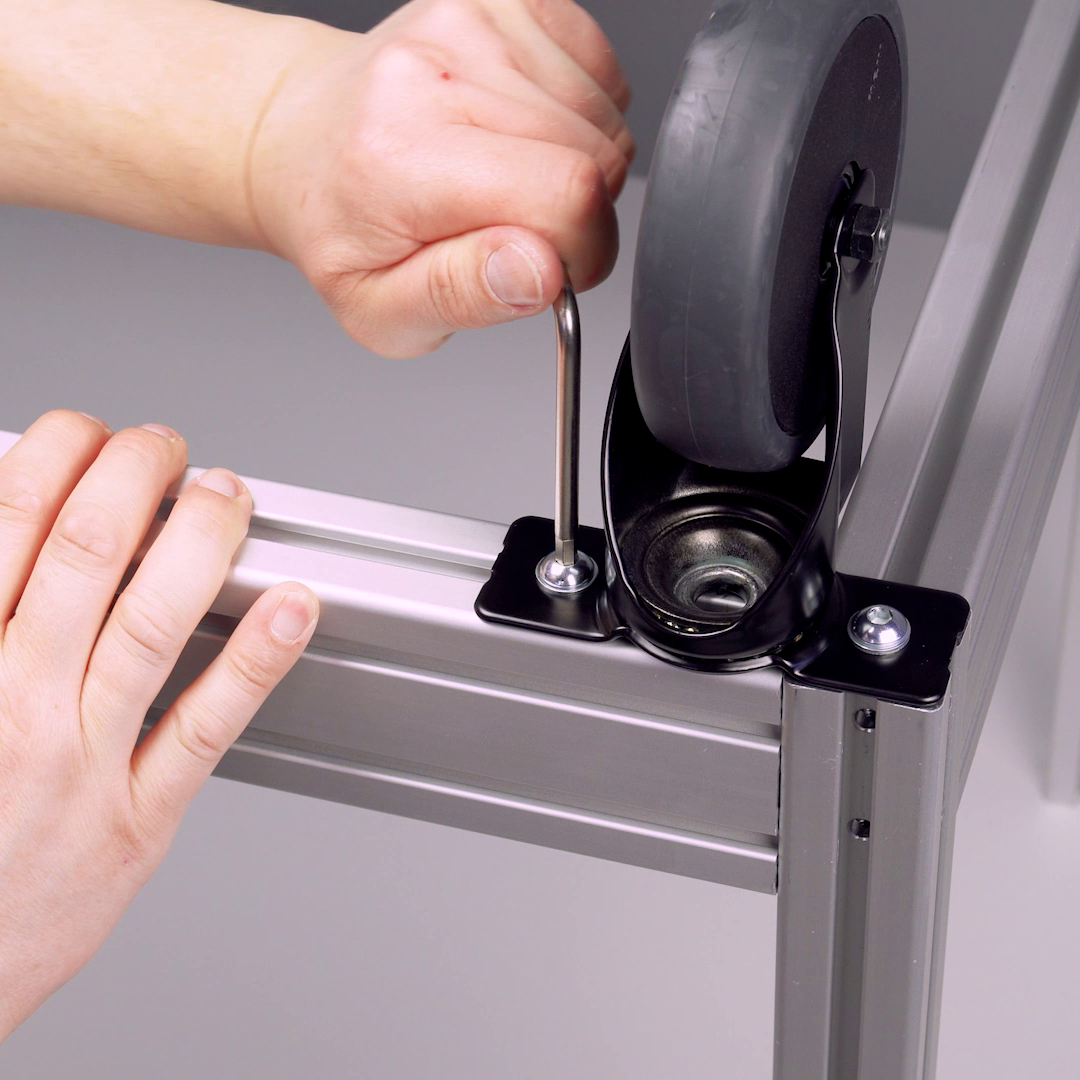
Step-by-step assembly of the Swivel Castor D125 120×40 to a Series 8 transport frame.
Mit der Interlock-Lösung erhöhen Sie die Arbeitssicherheit von Schubladenschränken und Regalen mit ausziehbaren Tabletts.
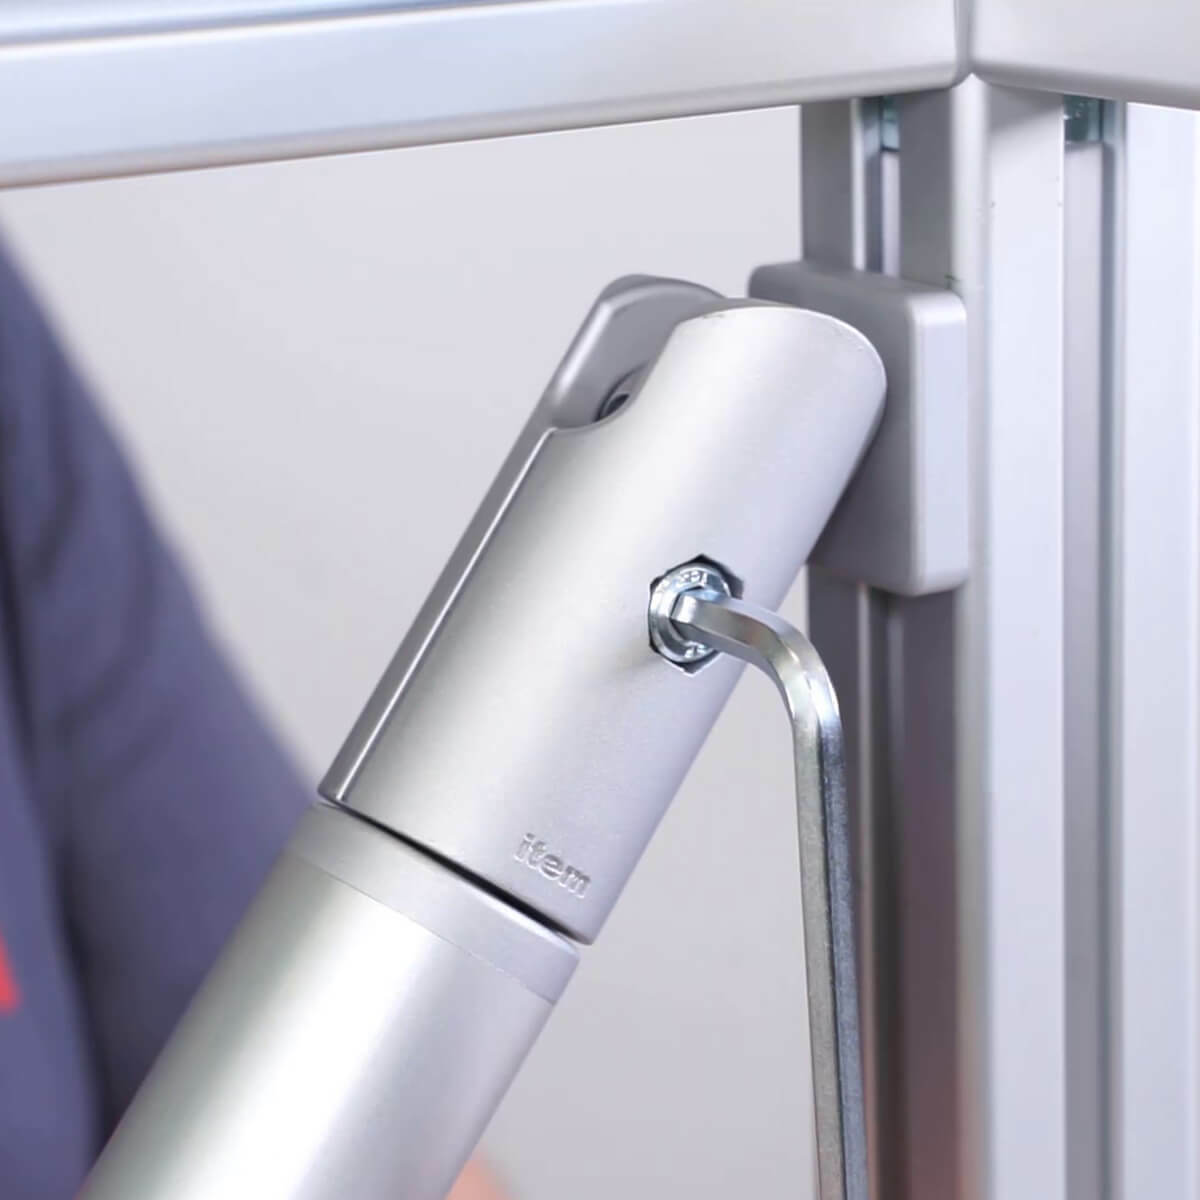
With the ball joints, you freely align profiles and accessories in two dimensions.
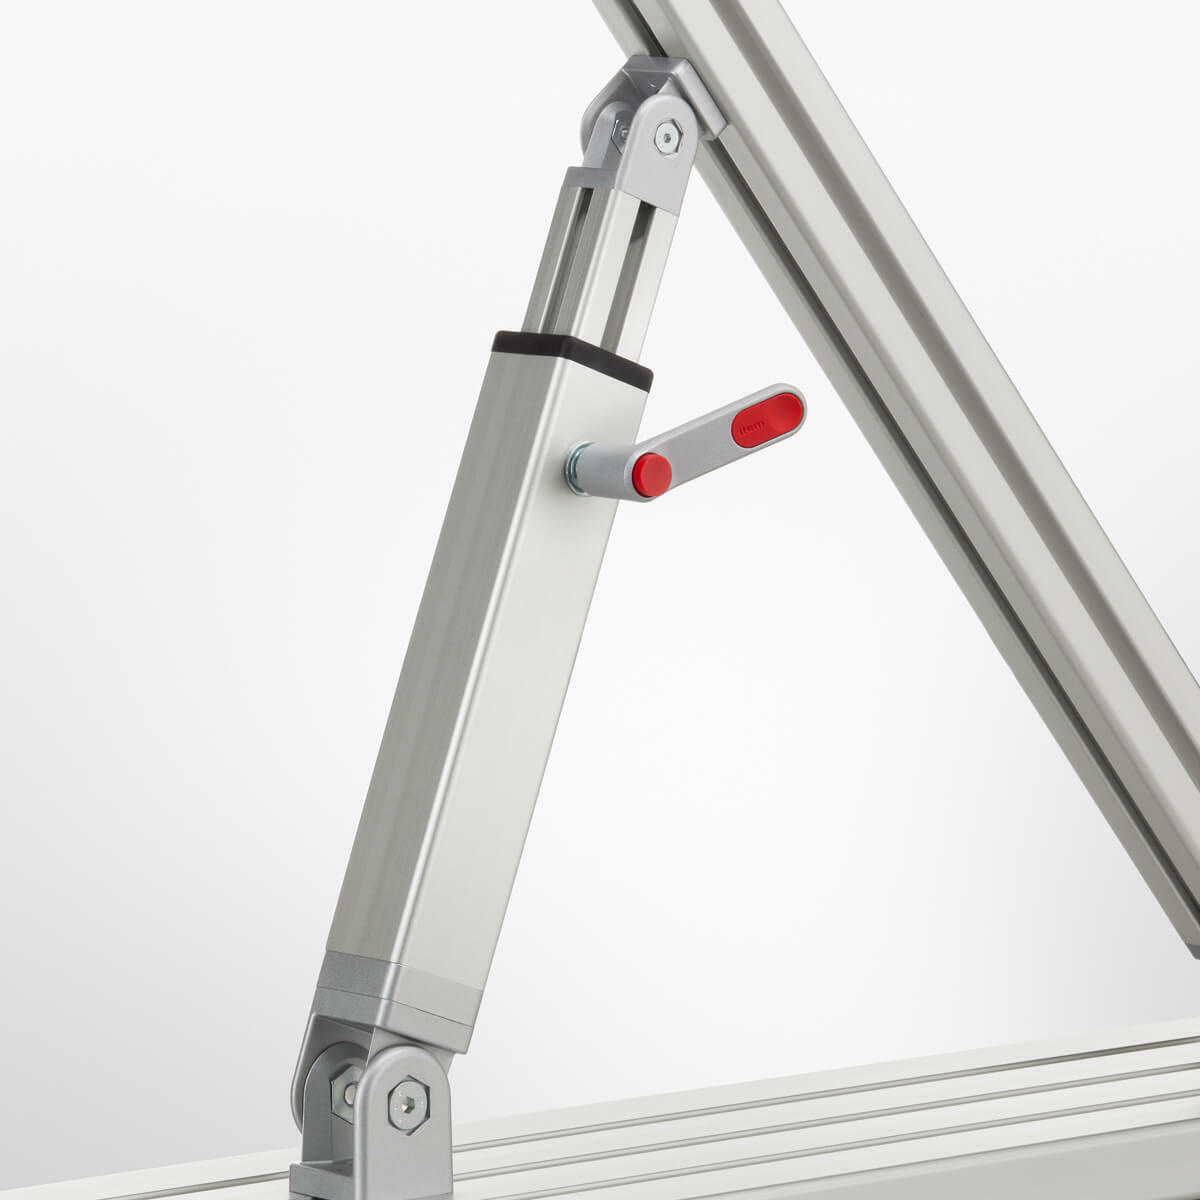
Telescope 8 40x40 is suitable for struts with adjustable length for height or inclination adjustments of operating equipment.
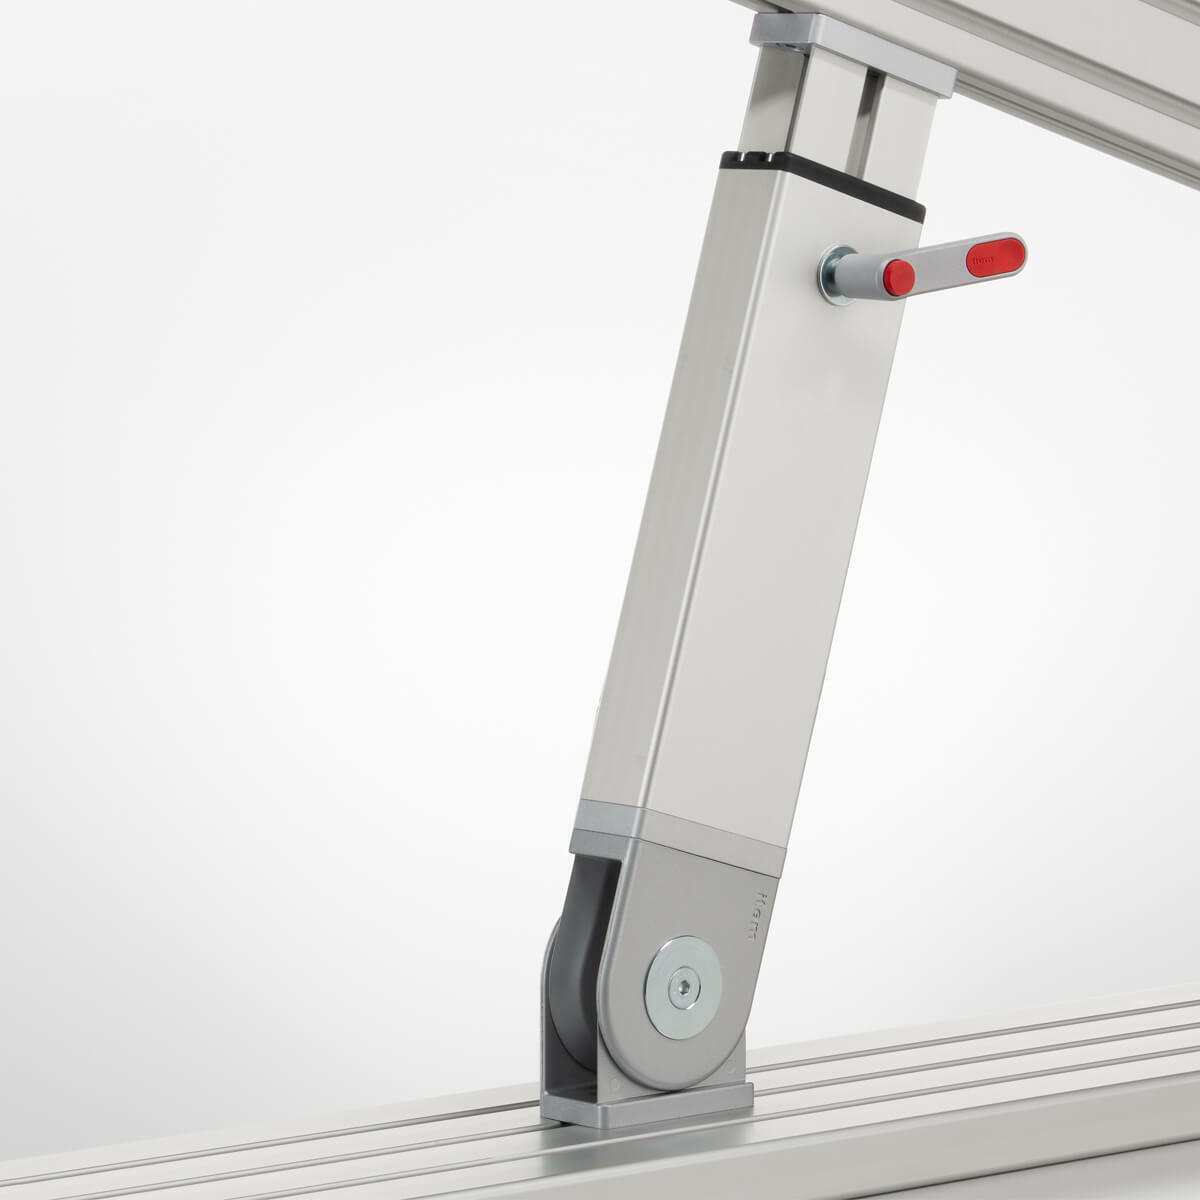
The telescope 8 80x40 is a load-bearing strut with an adjustable length and is locked using the telescope locking plunger 8 80x40.
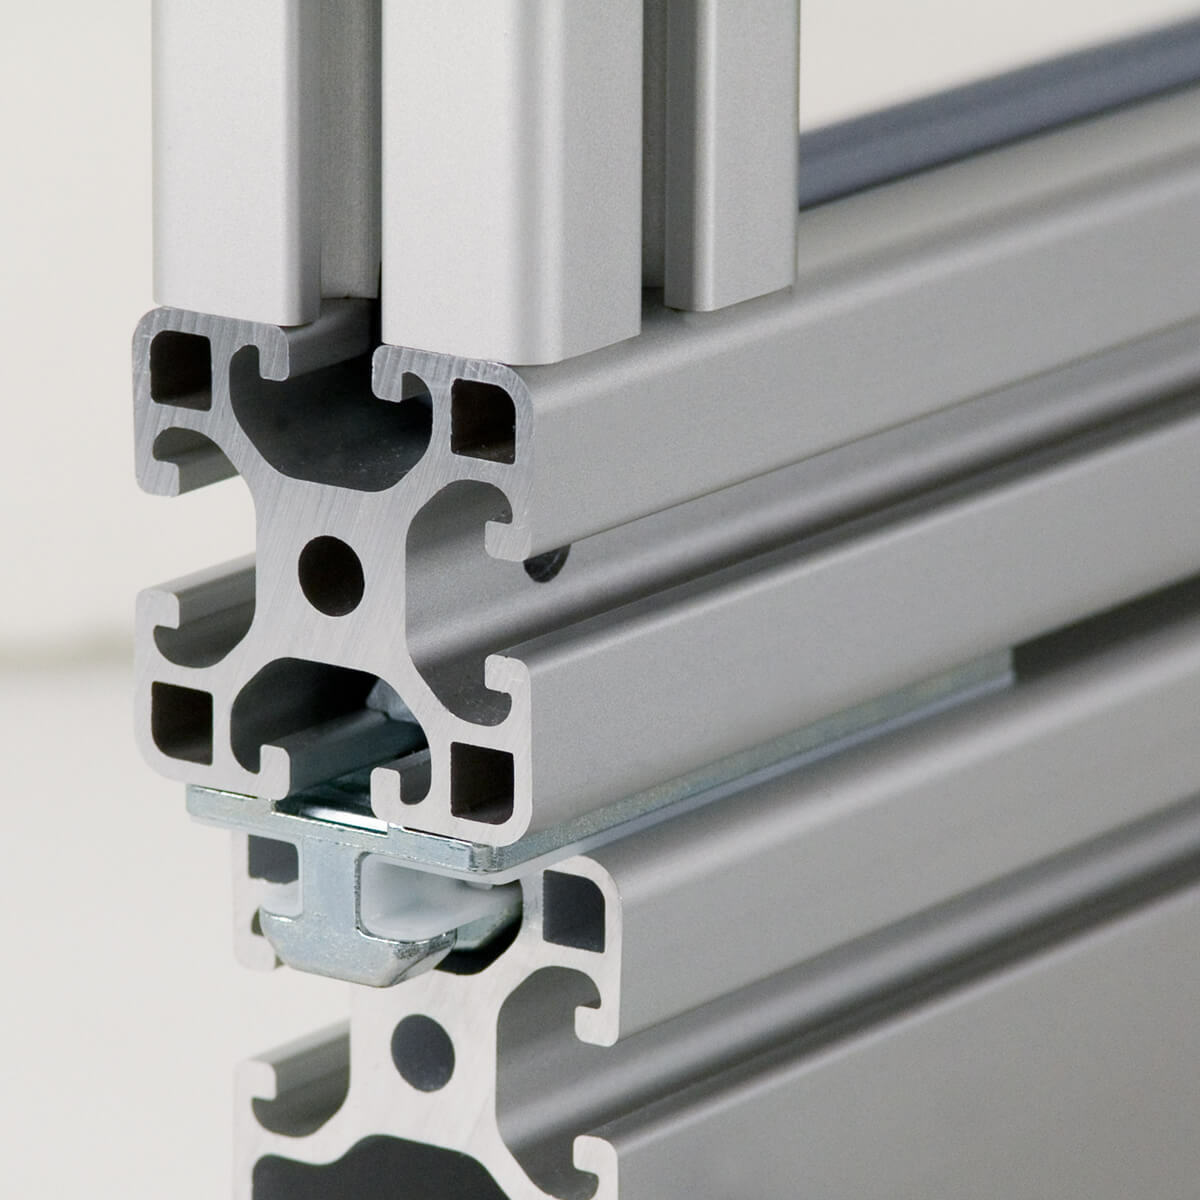
The T-Slot Slider 8 80x40 uses the t-slot groove 8 to guide a robust slide element with plain bearings.
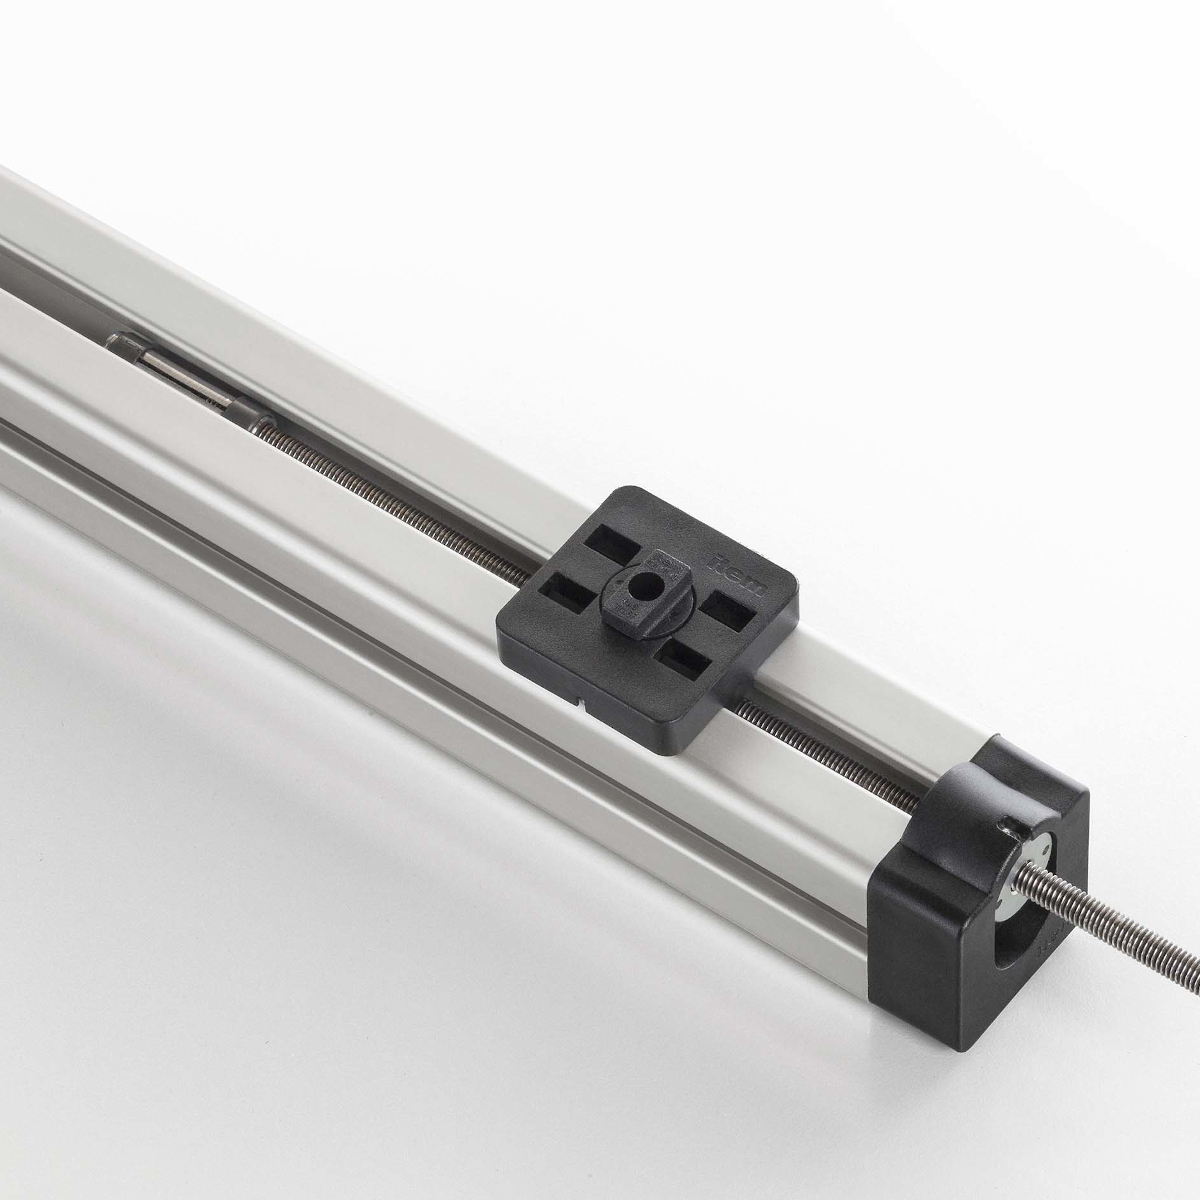
A spindle adjustment for feeders, measuring assemblies, limit switches and fixtures.
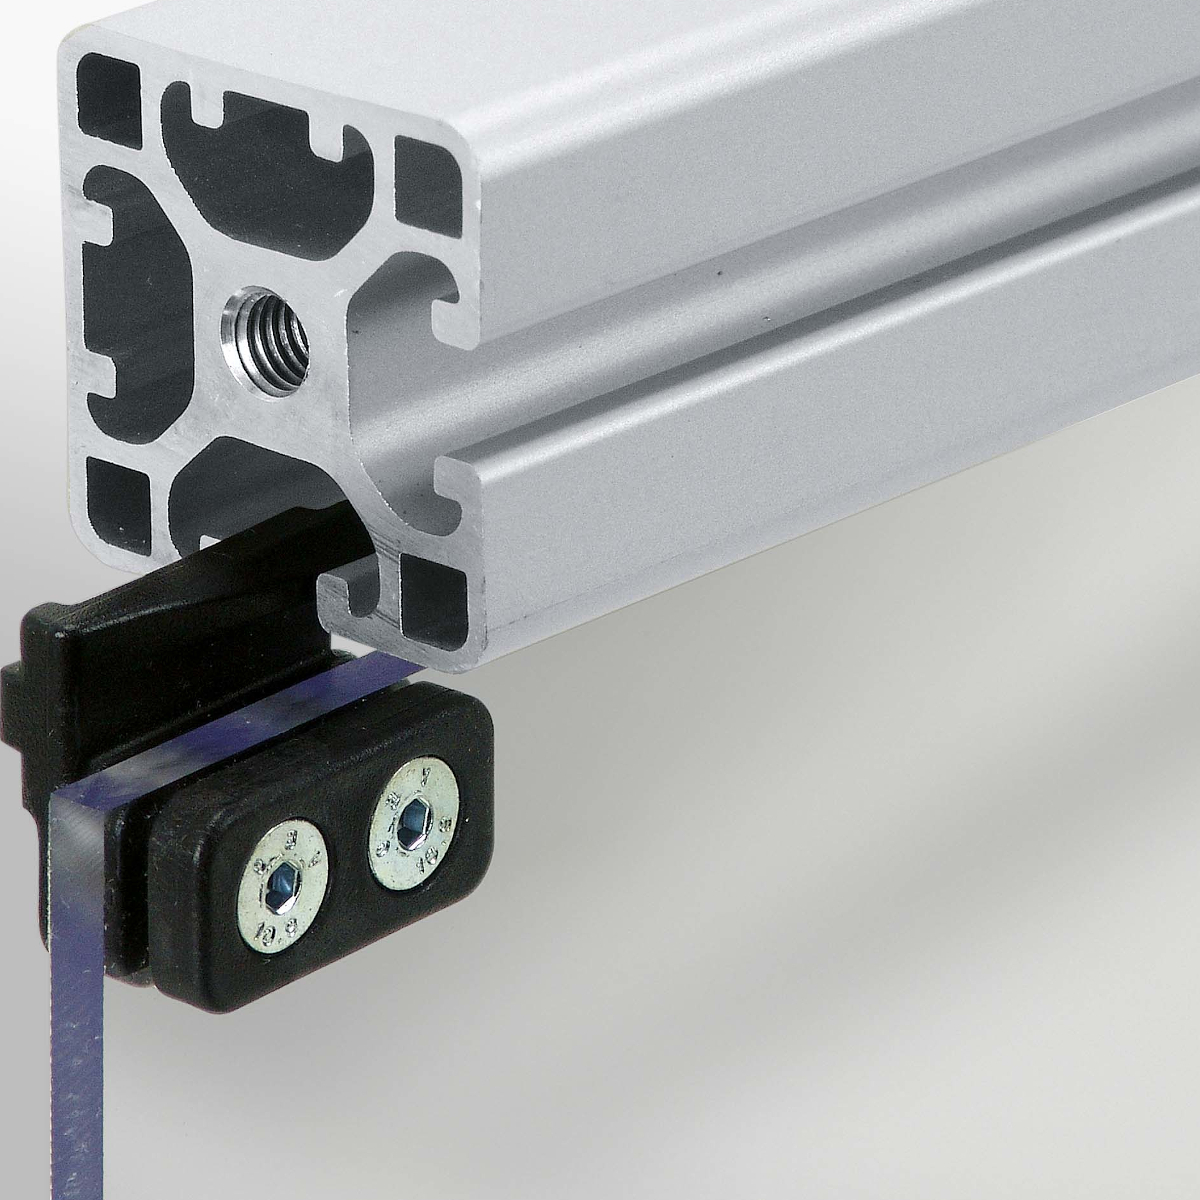
For the construction of sliding doors made of frameless panel elements that are guided in the t-slot groove with sliding pieces.
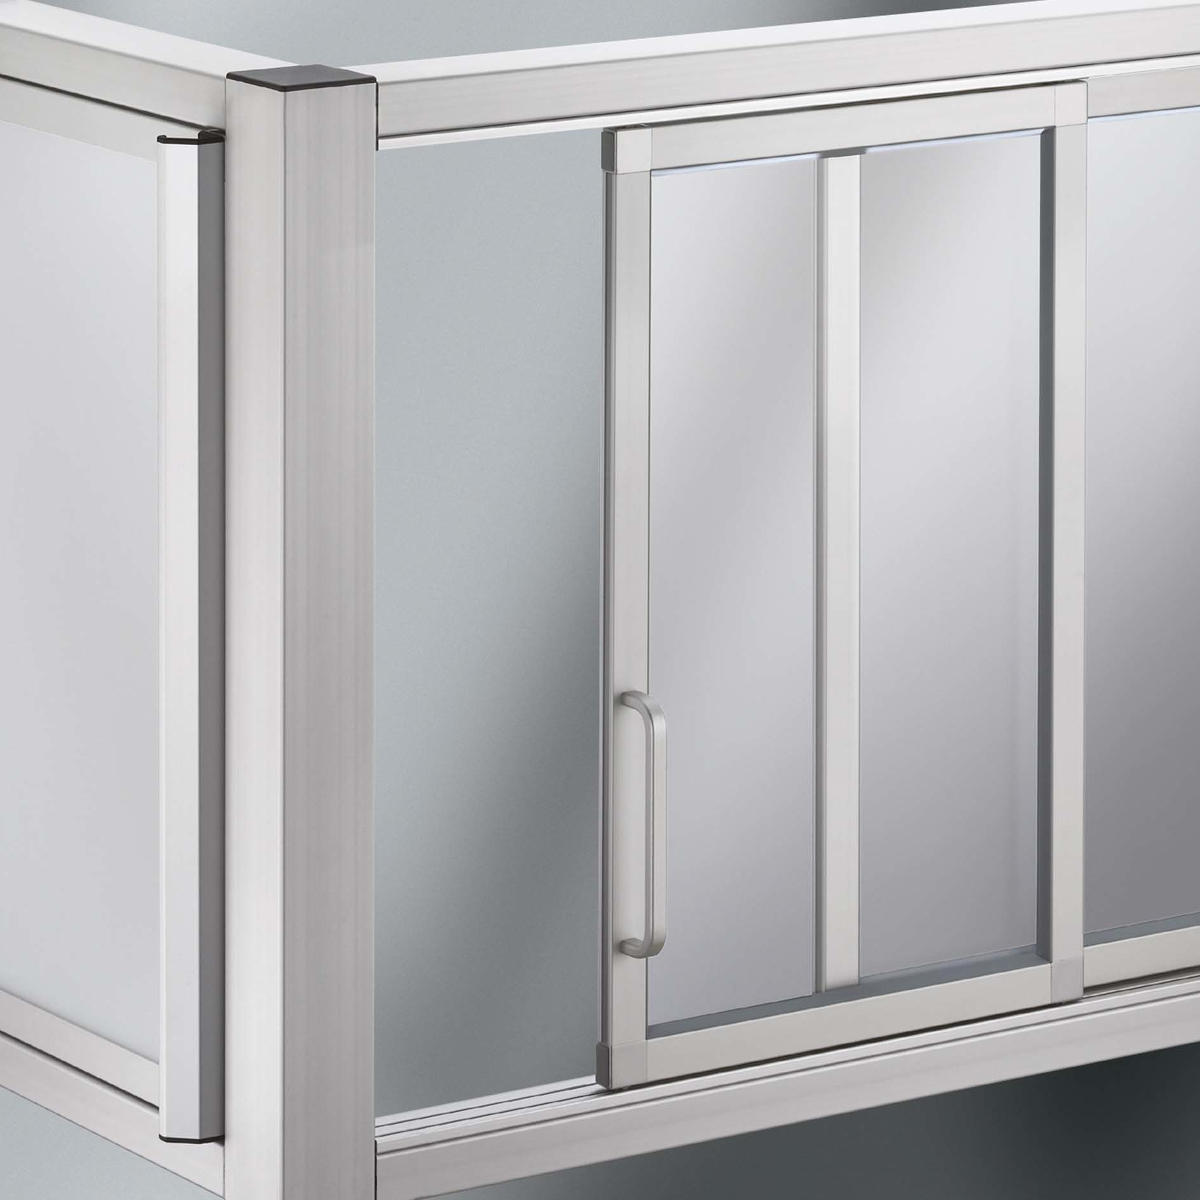
Smooth-running and stable sliding door elements for safety guards.
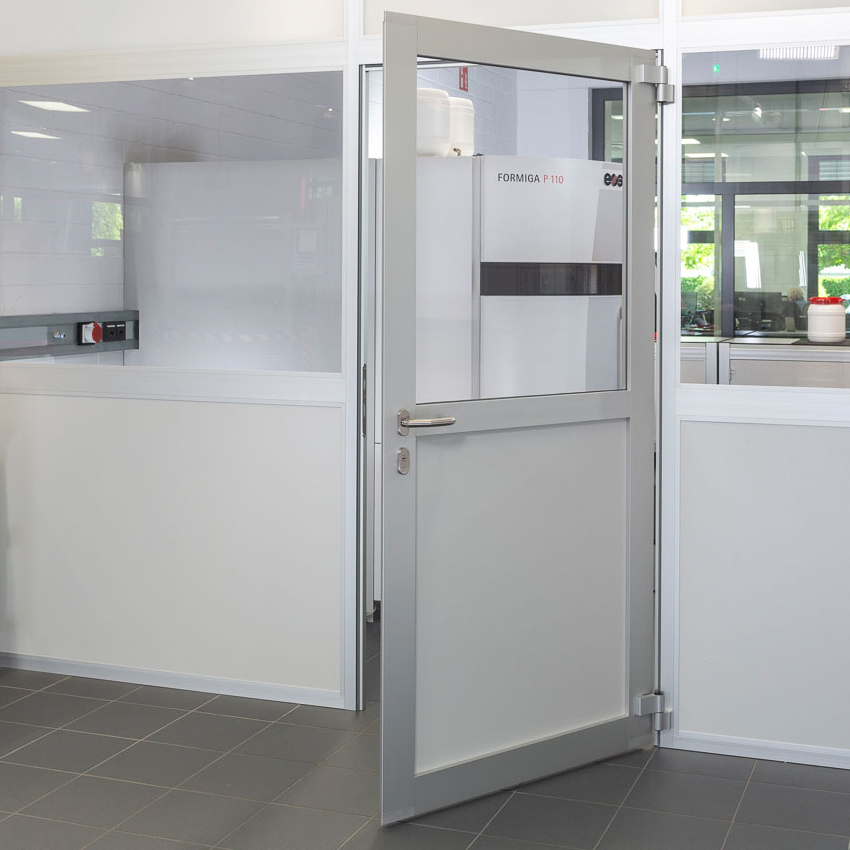
The item Access Door system is based on components that have been carefully coordinated to produce highly functional door solutions.
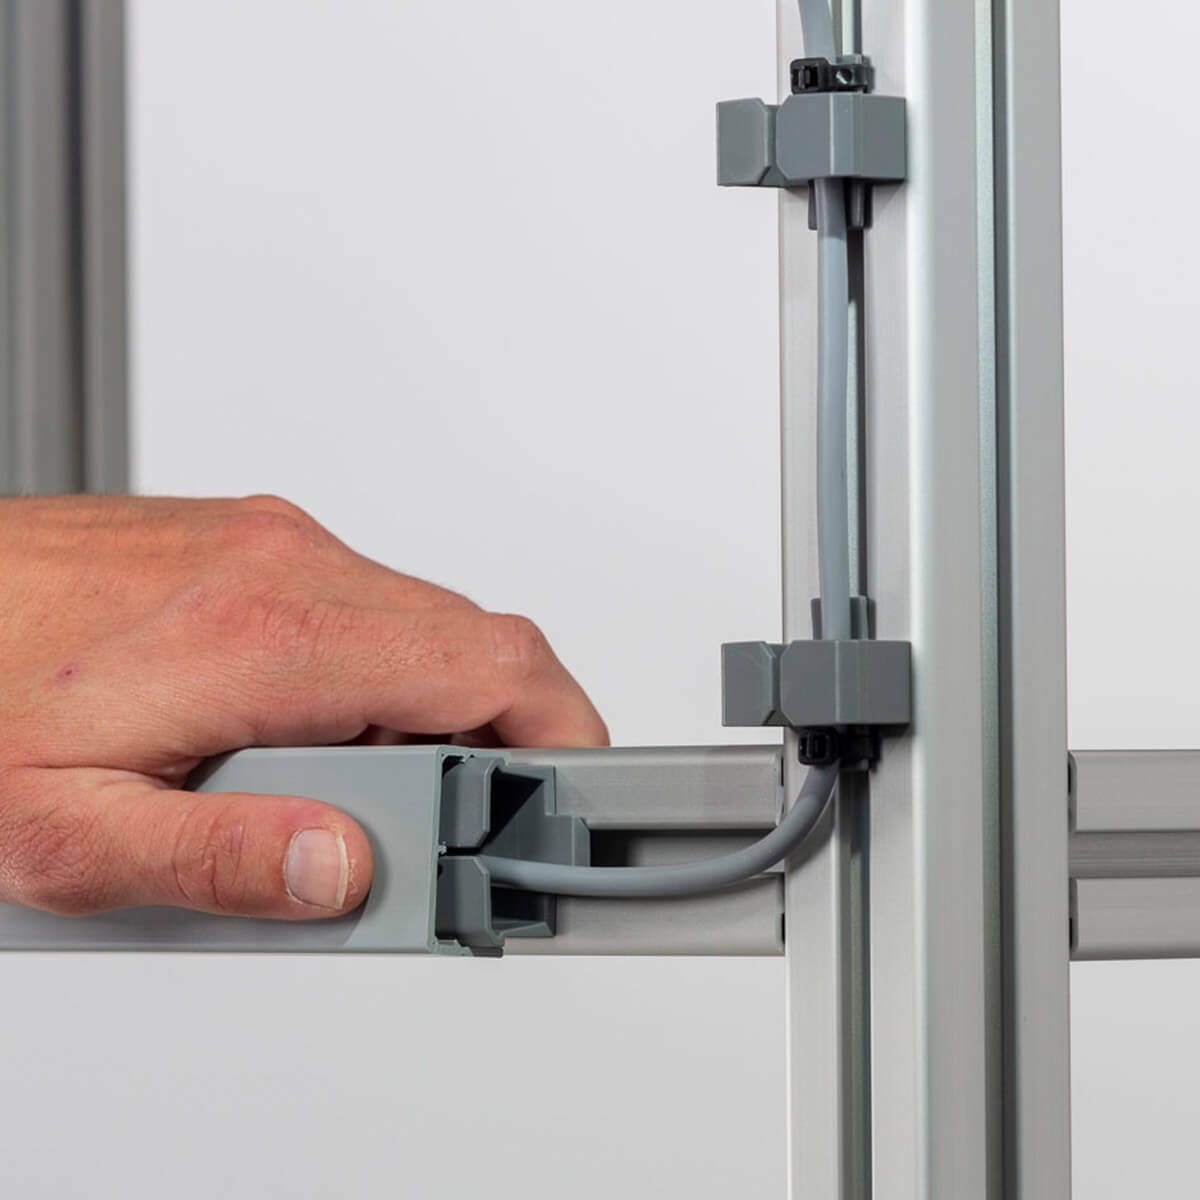
The Universal Holder 8 K is a three-part system for covered cable routing along the groove.
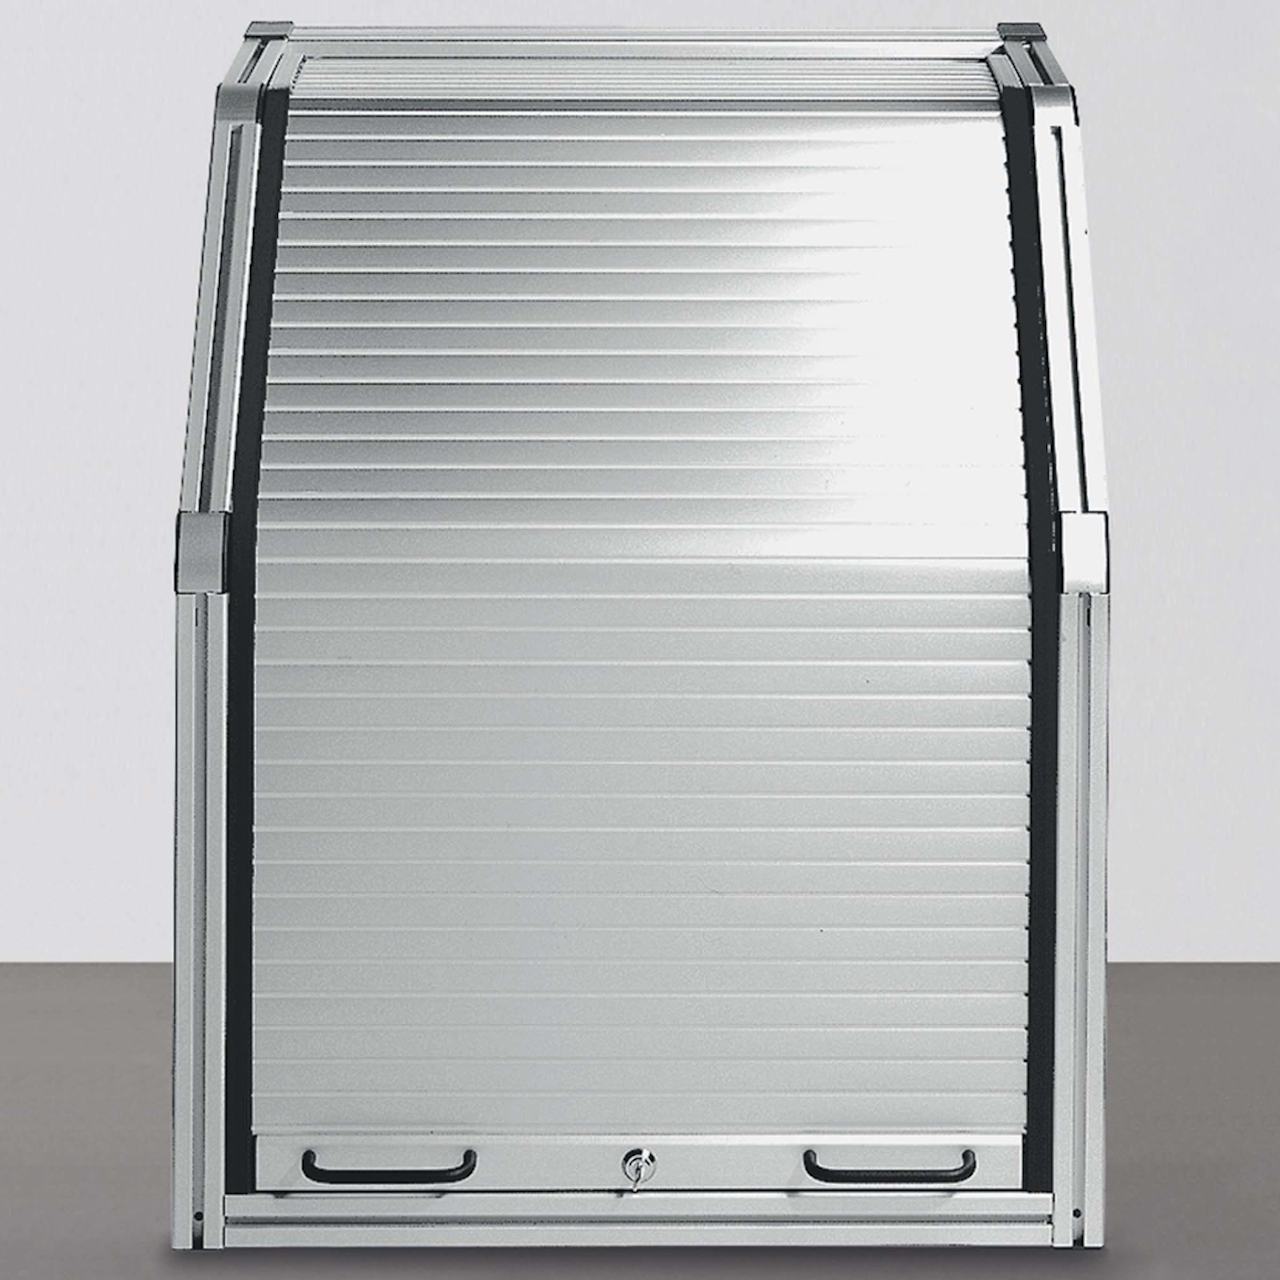
The roller shutter system is designed for the installation of manually operated roller shutters, for example, for closing cabinet systems, control panel...
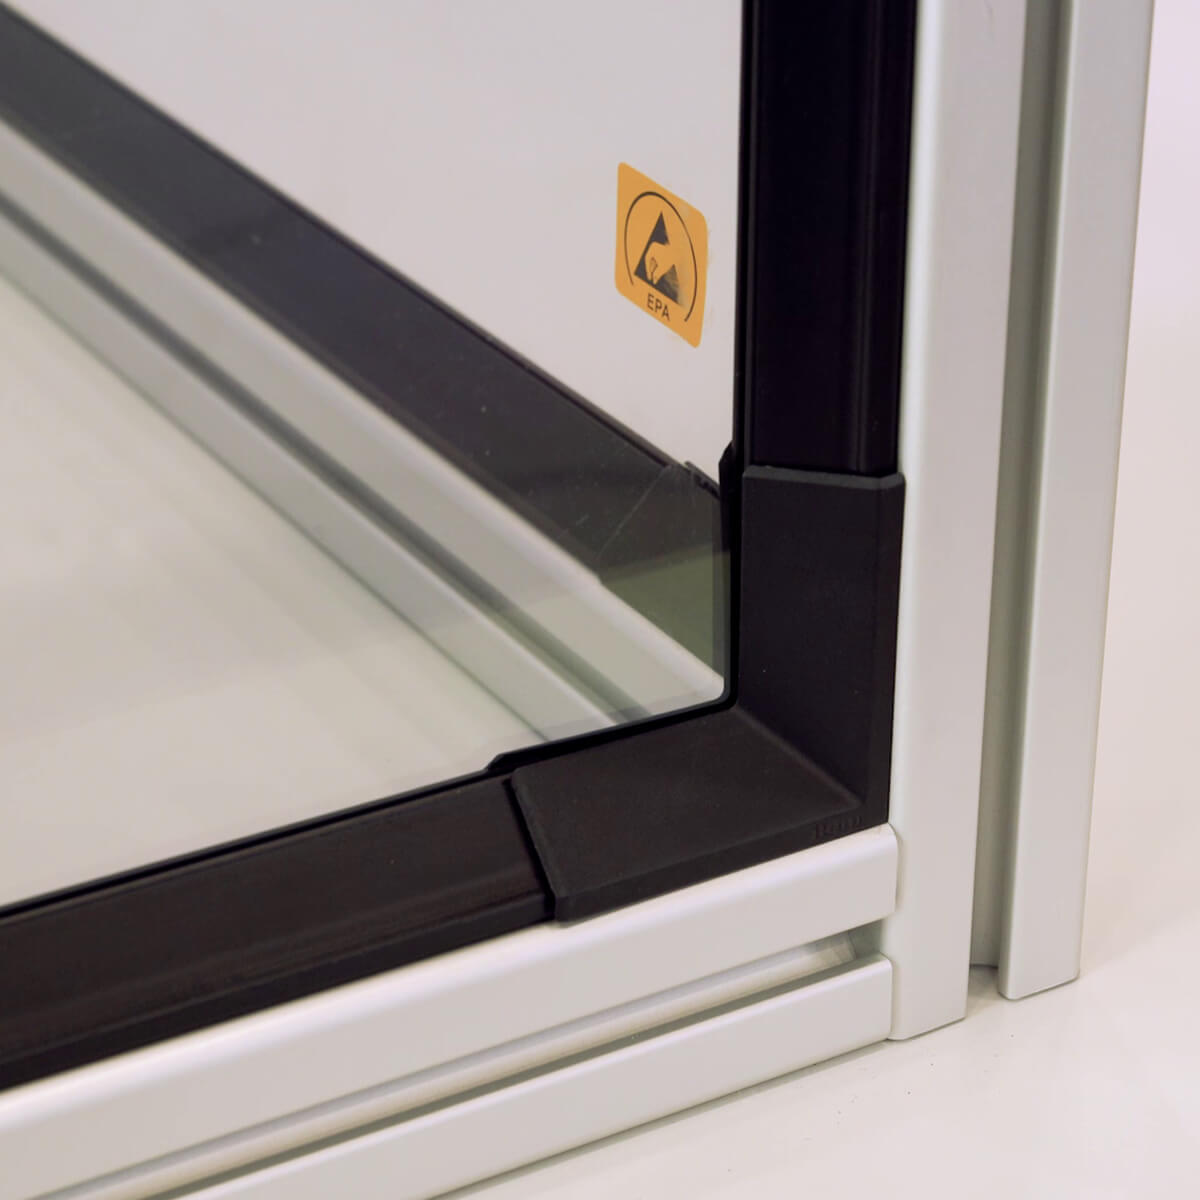
Panel-Clamping Strips are ideal for retrofitting panel elements (primarily made of Acrylic Glass, PET-G or Polycarbonate) into an assembled profile frame.
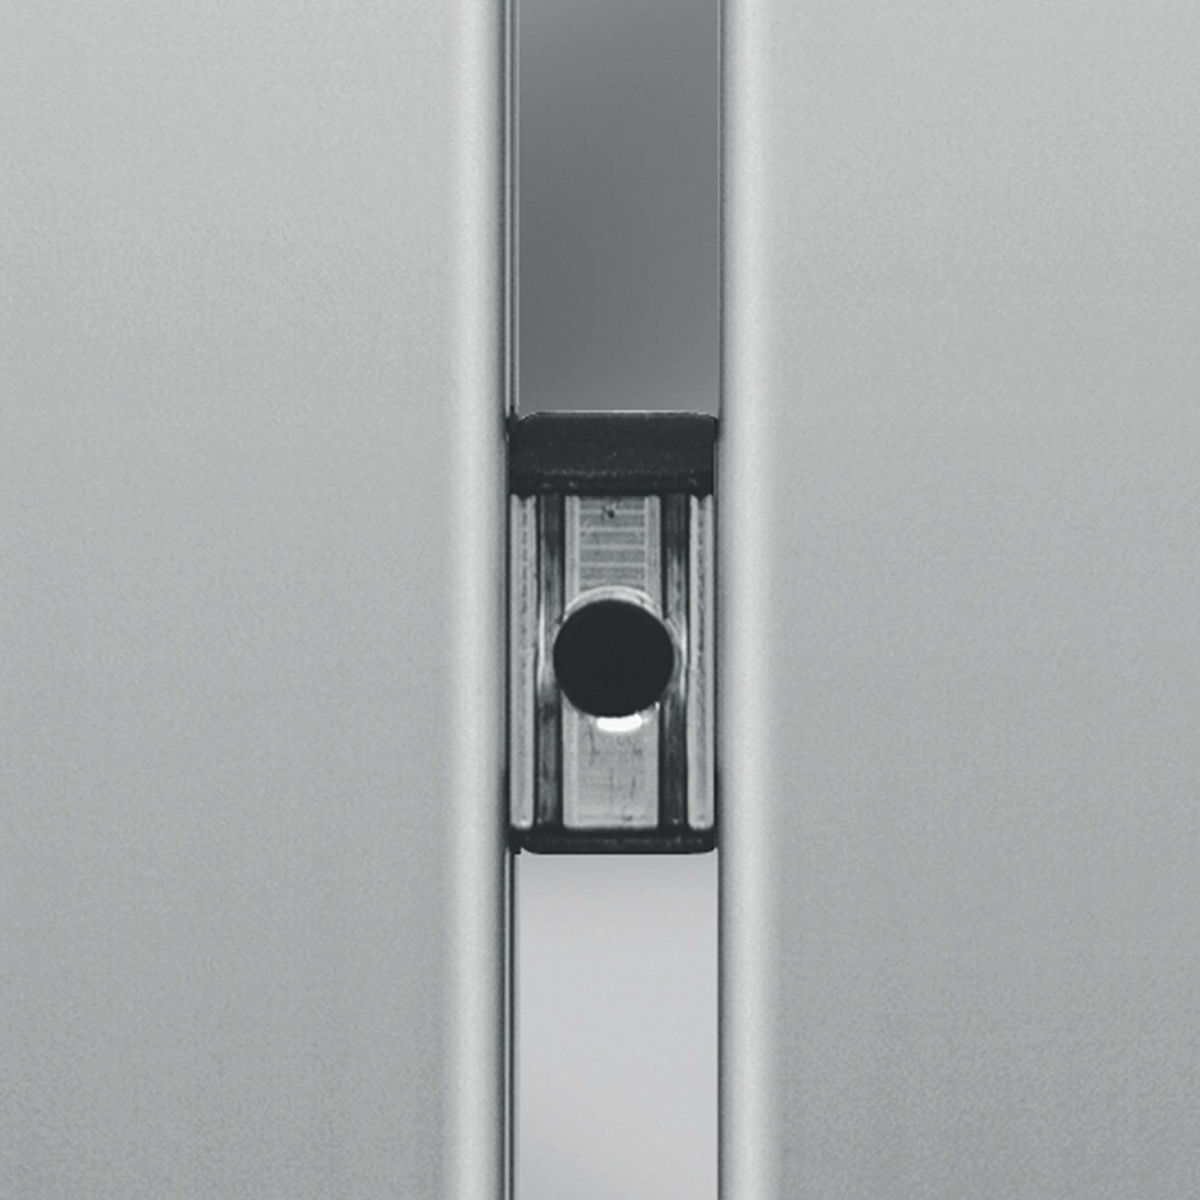
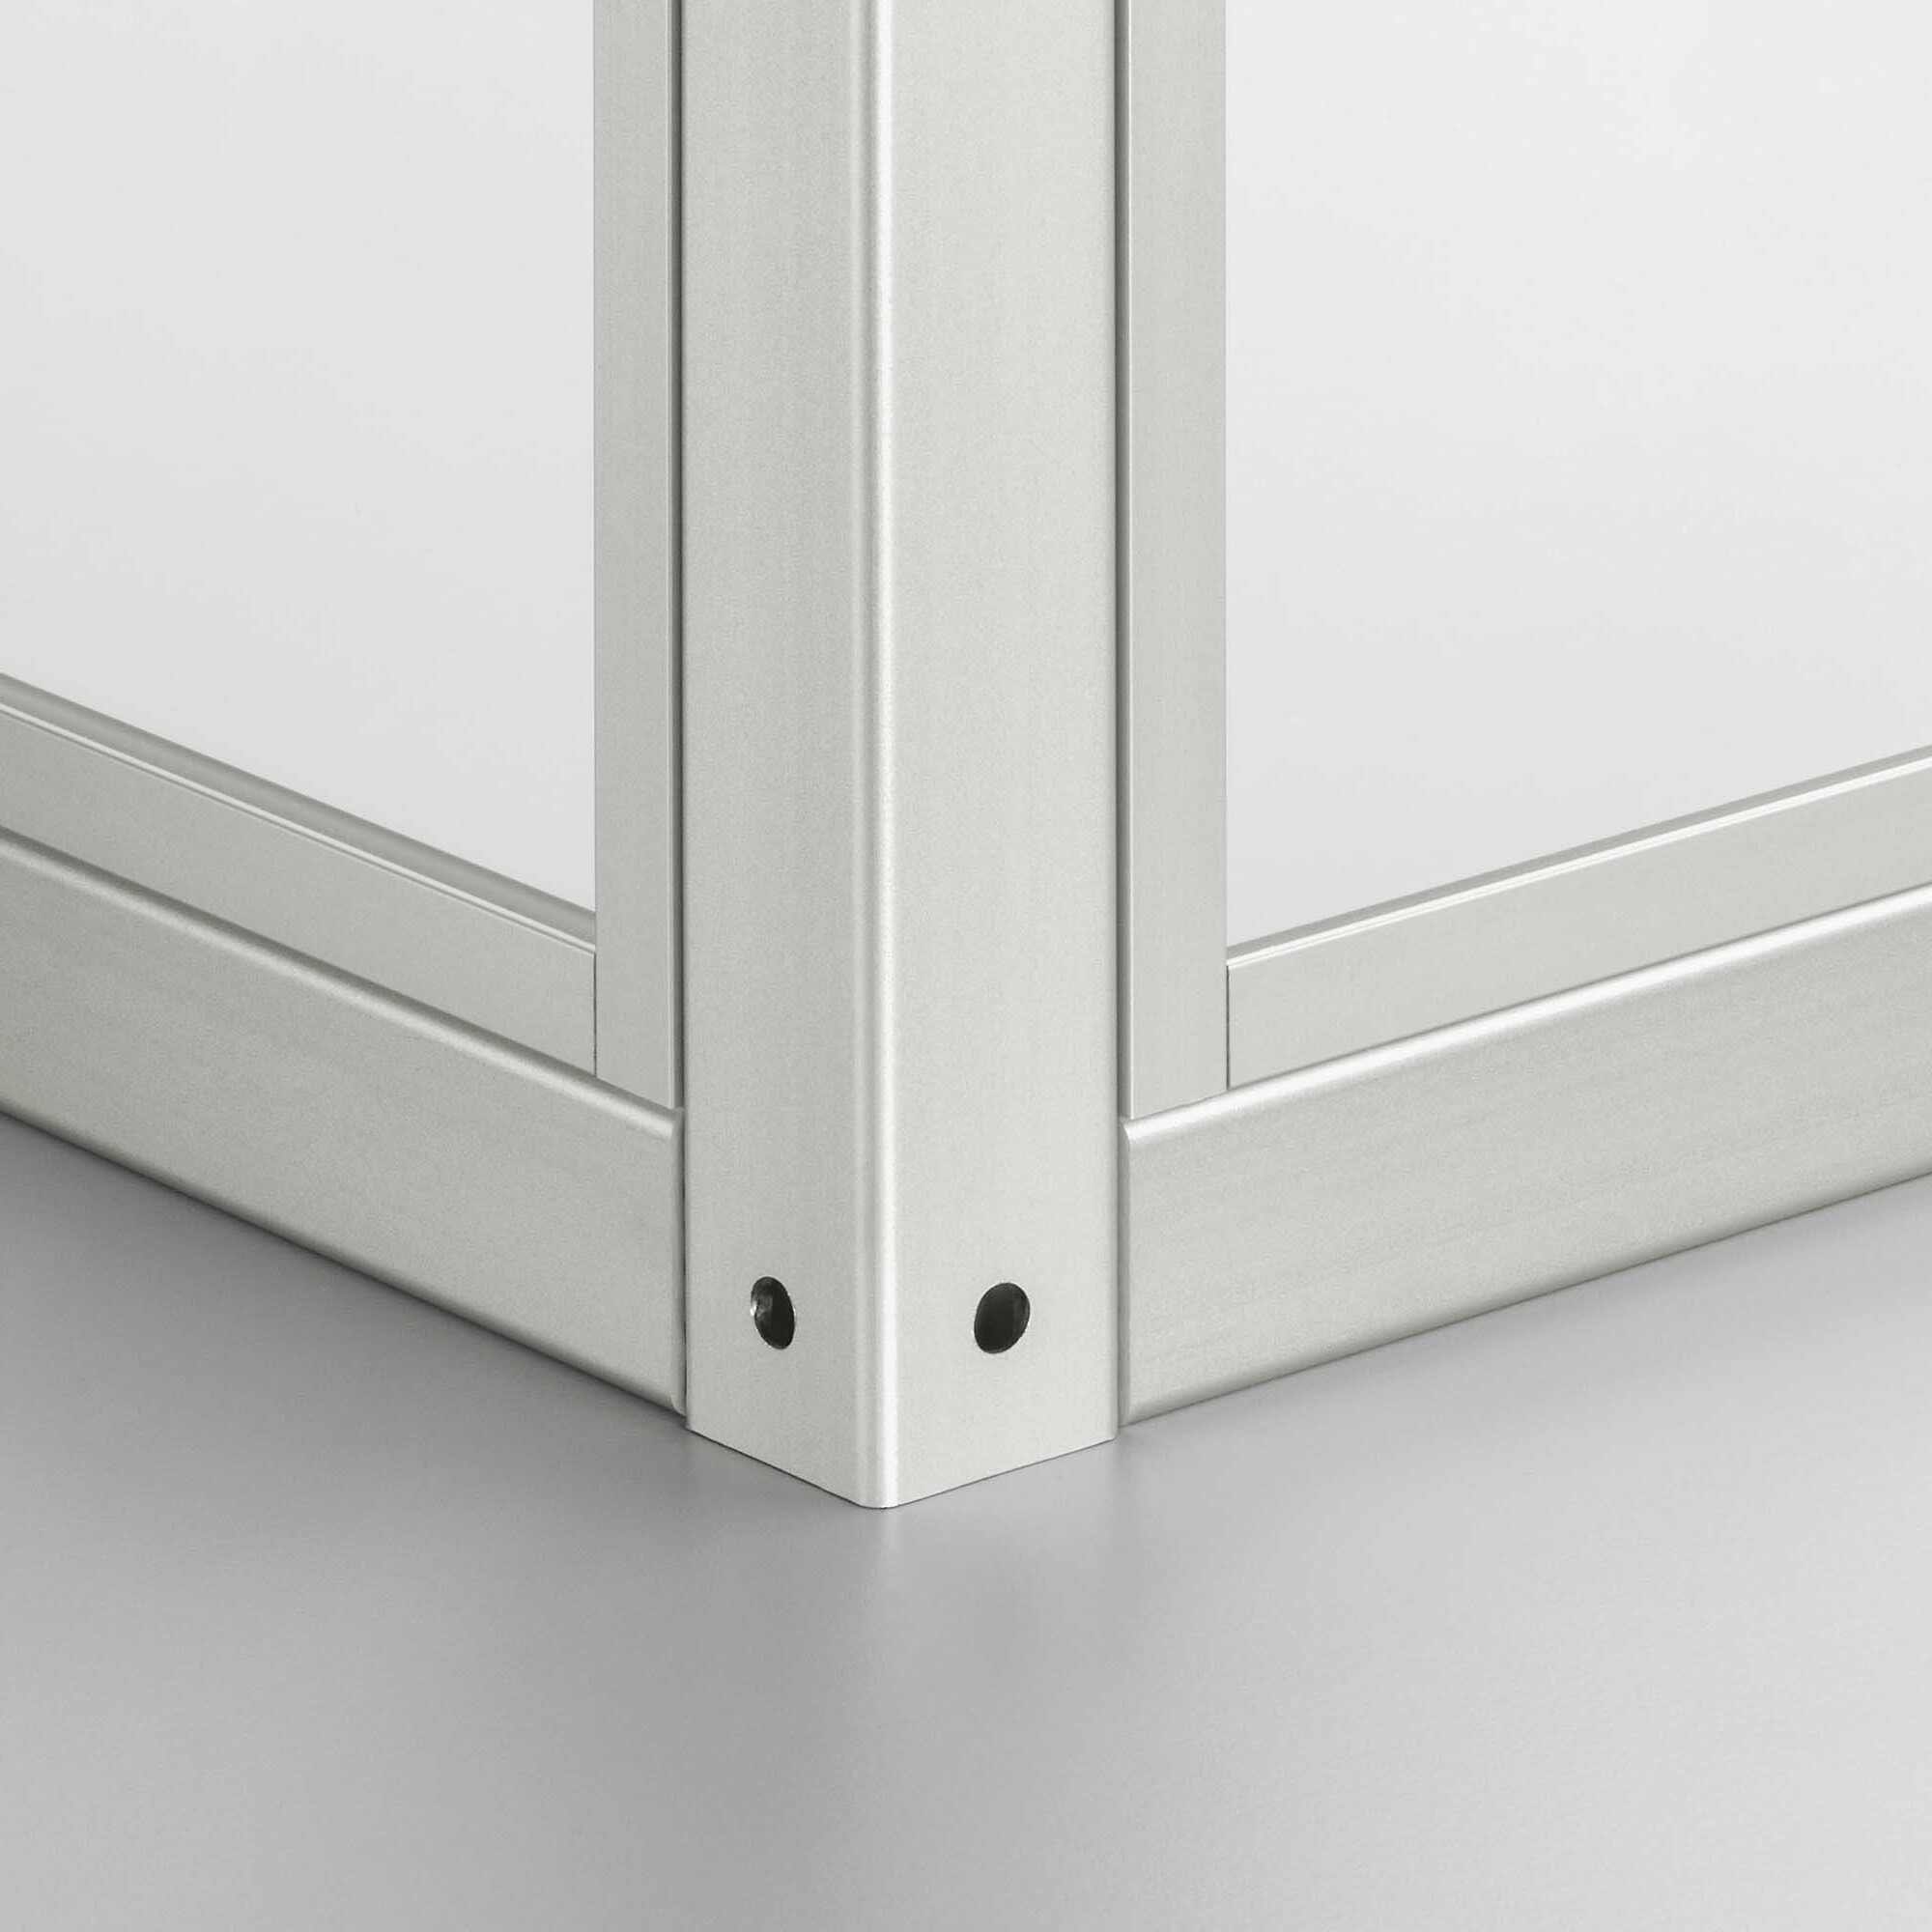
Particularly easy-to-use connecting element for two parallel profiles of Line 8.
The edging strip 8 K is used to retrofit panel elements into a closed profile frame.
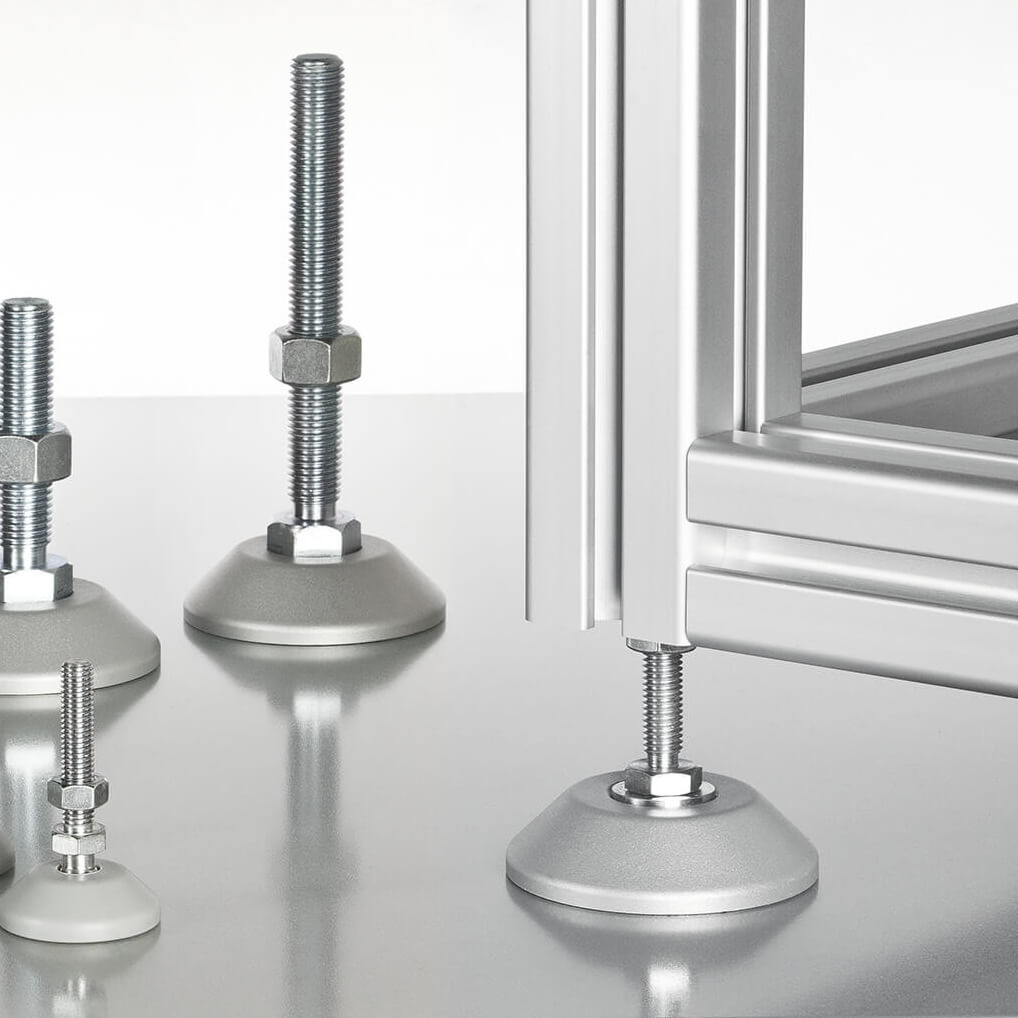
Die stufenlos höhenverstellbaren Stellfüße gleichen Bodenunebenheiten zusätzlich durch ihren neigbaren Tellerfuß aus.
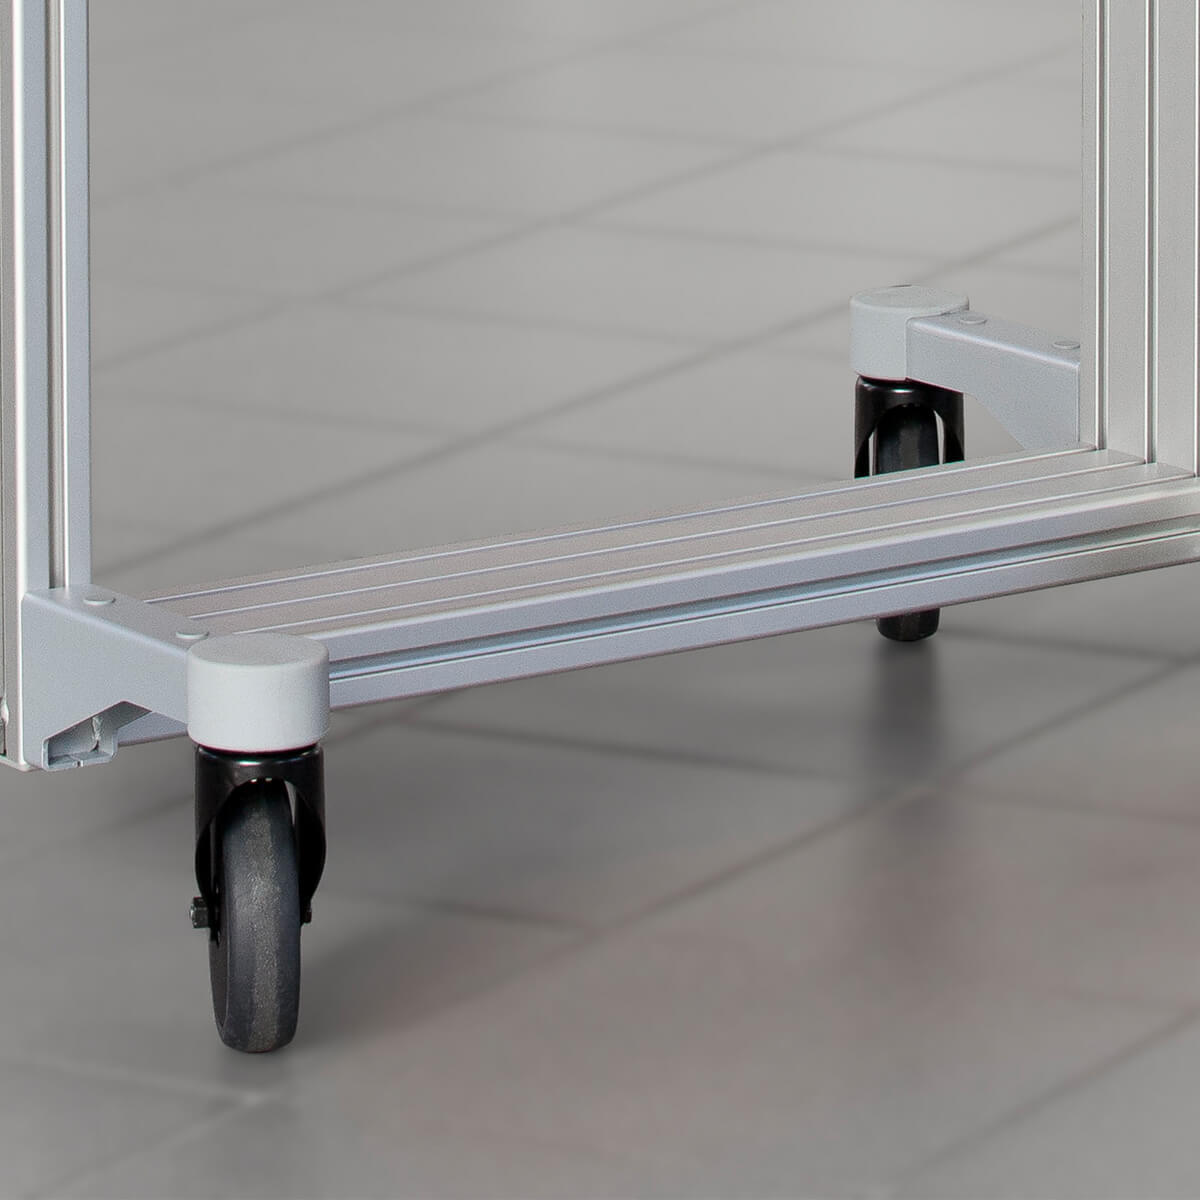
Die Apparaterollen sind in mehreren Baugrößen in den Ausführungen als Lenkrolle, Lenkrolle mit Doppelfeststeller (Bremse für Ra…

Perfekt für Türen: Wenn Flächenelemente in den Profilnuten befestigt werden sollen, müssen mit dem Zentral-Verbindungssatz die …

Stabile Befestigungsplatten zur Aufnahme von Stellfüßen, Rollen und anderen Elementen.
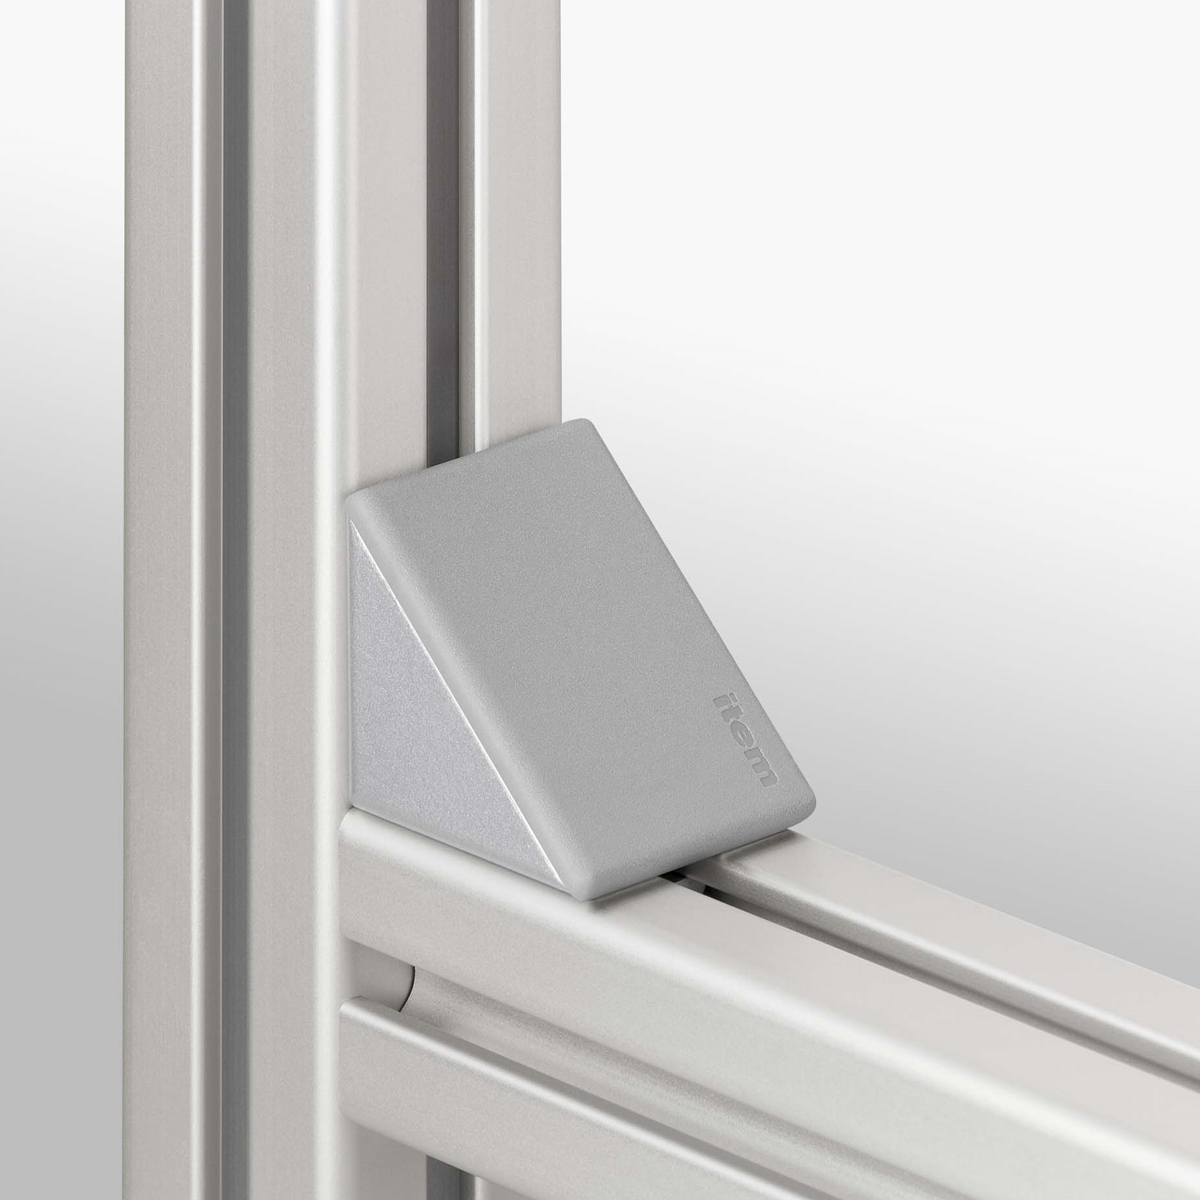
Die Winkelsätze 8 dienen als kraftschlüssige Verbindung von Profilen, ohne dass eine Bearbeitung notwendig ist.
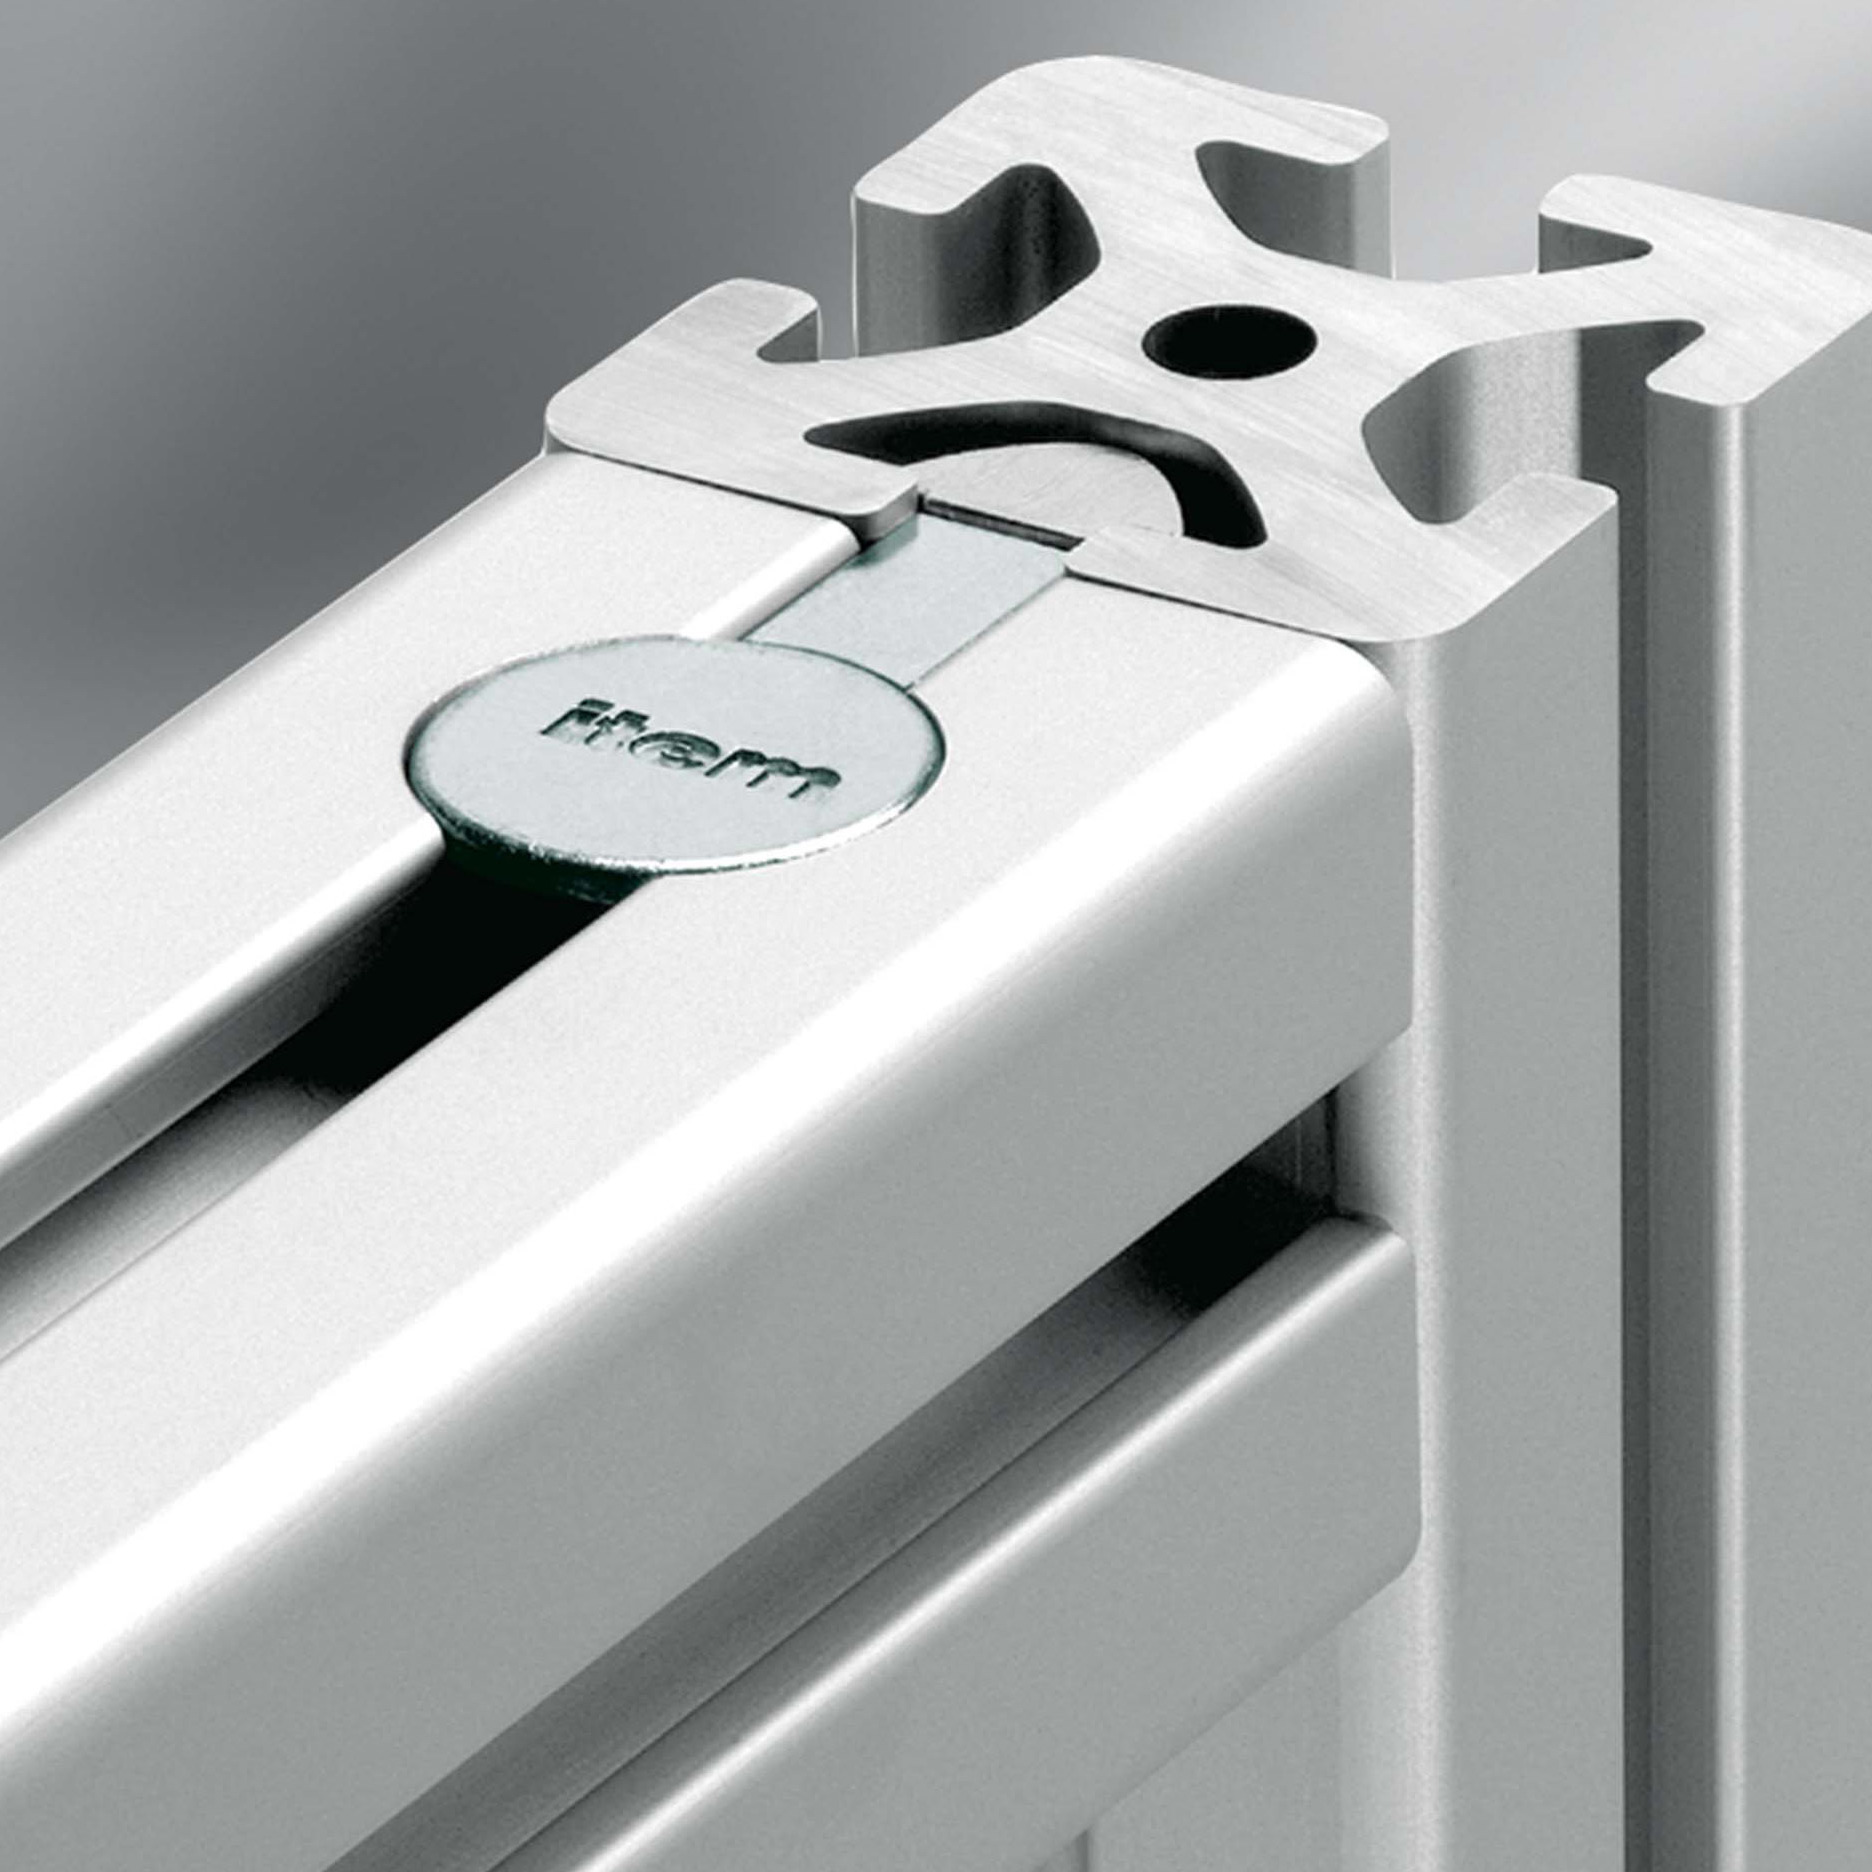
Universelle, kraftschlüssige Verbindung aller Profile einer Baureihe mit der Möglichkeit der nachträglichen Verschiebung, da di…
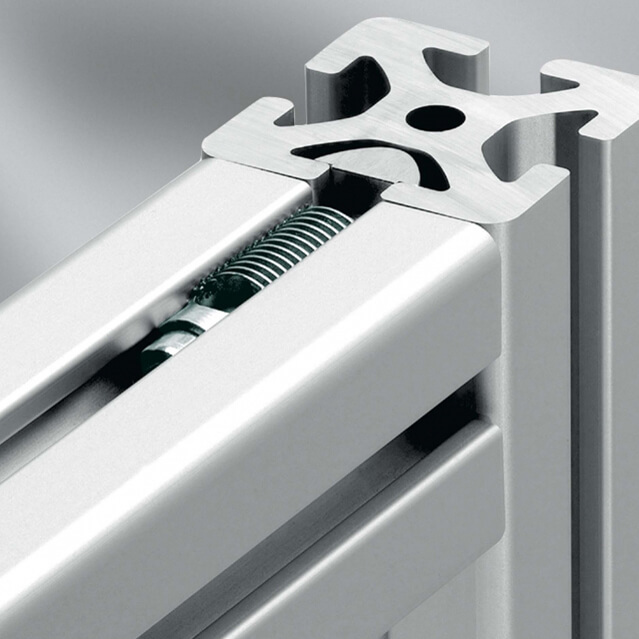
Universelle, kraftschlüssige Verbindung aller Profile einer Baureihe mit der Möglichkeit der nachträglichen Verschiebung, da di…
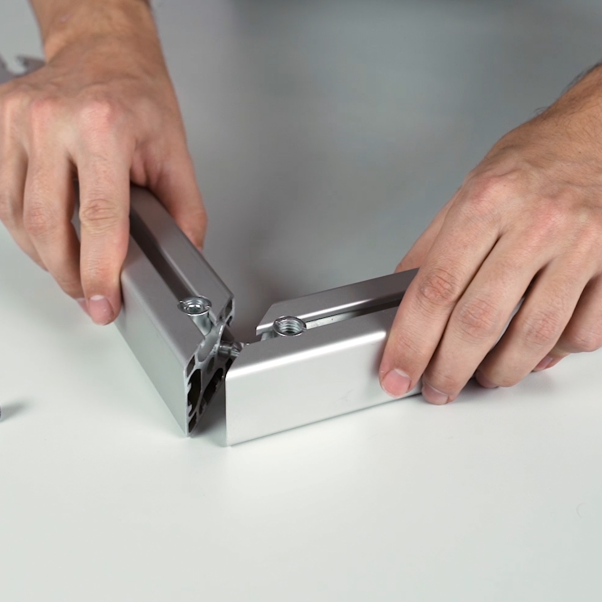
Gehrungs-Stoß-Verbindungssätze ermöglichen eine stirnseitige Profilverbindung im freien Winkel.
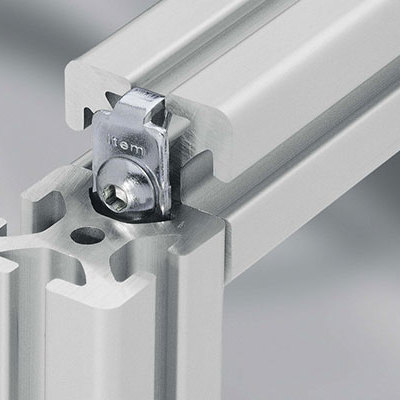
Der item Standard-Verbindungssatz verbindet zwei Profile rechtwinklig mit hoher Festigkeit. Sein Verbindungsblech dient der opt…
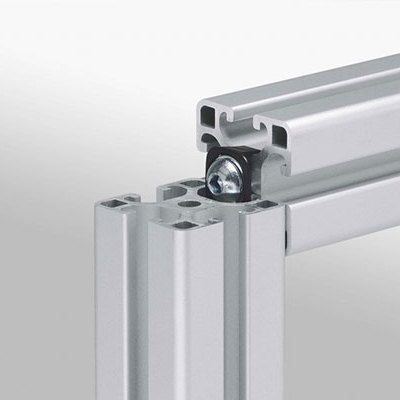
To enable panel elements to be fixed in the groove without an additional recess in the area of the connecting elements, the sta…
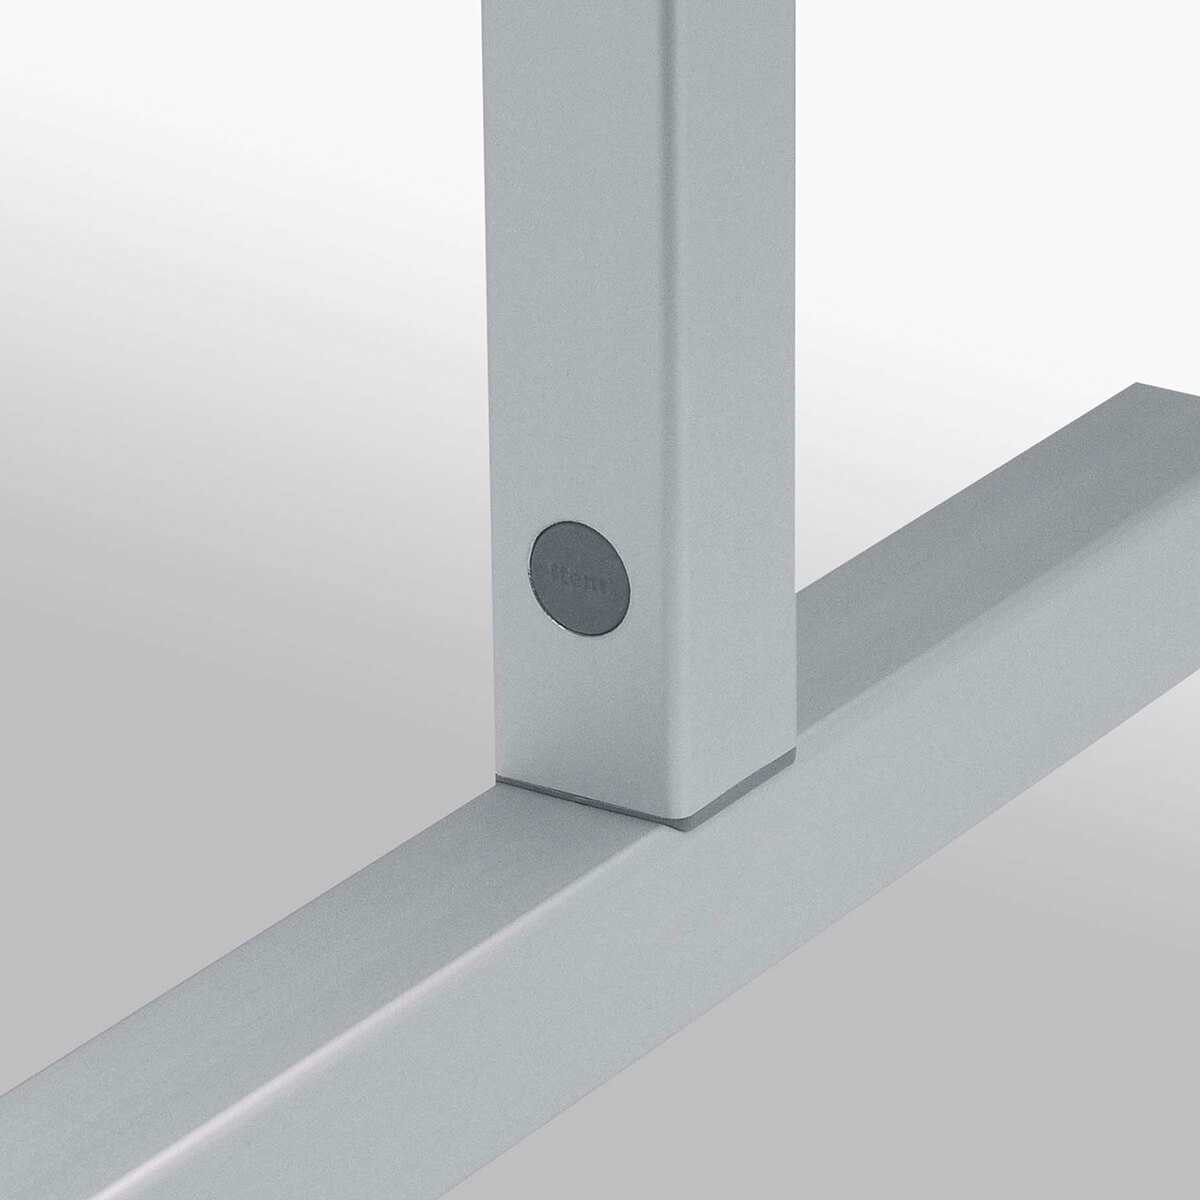
Der Automatik-Verbindungssatz 8 NO eignet sich für geschlossene Nuten.
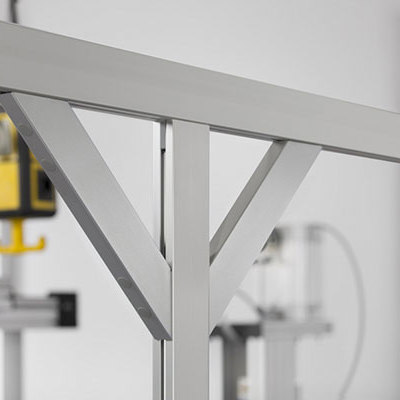
Mit dem Diagonalstrebensatz 8 300x30 erhöhen Sie die Belastbarkeit von horizontal verlaufenden Profilen auf elegante und einfa…
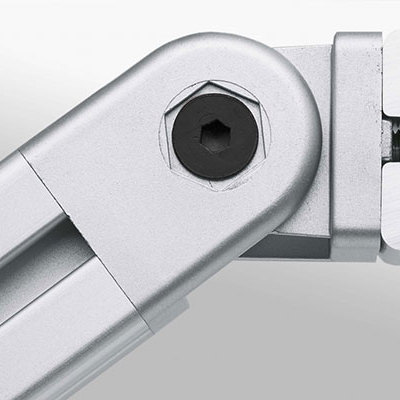
Das Gelenk verbindet Profile in einem beliebigen Winkel bis 180°. Durch Entfernen der Distanzringe entsteht ein starres Winkele…
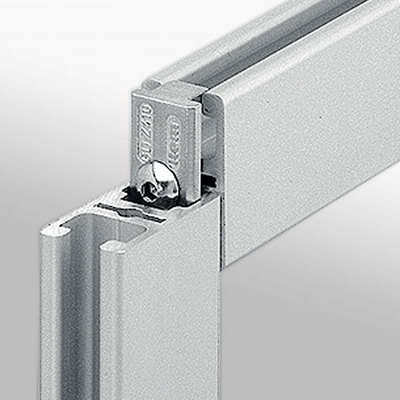
Der Klemmprofil-Verbindungssatz stellt eine lagerichtige Eckverbindung der Profile her.

Mit dem Verbindungssatz 8 40x40x40 ist eine Verbindung von zwei oder drei Profilen unter 90° möglich.
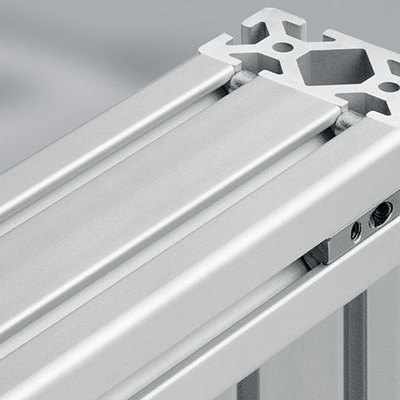
Zusätzlicher Halt für belastete Profile: Mit dem item Verstiftungselement sichern Sie eine kraftschlüssige Verbindung zusätzlic…
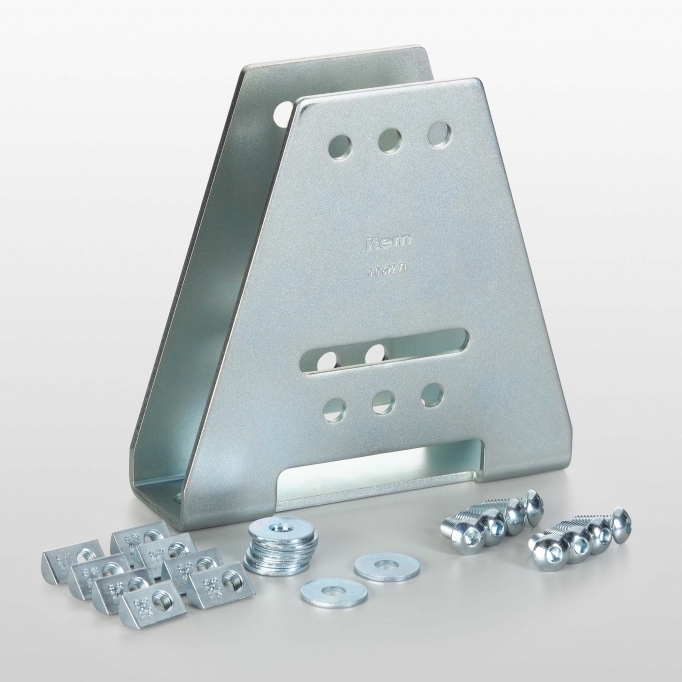
Der Stellfußsatz 8 St 160x160 vereint besten Schutz und geringen Platzbedarf bei der Montage von frei stehenden Schutz- und Tre…
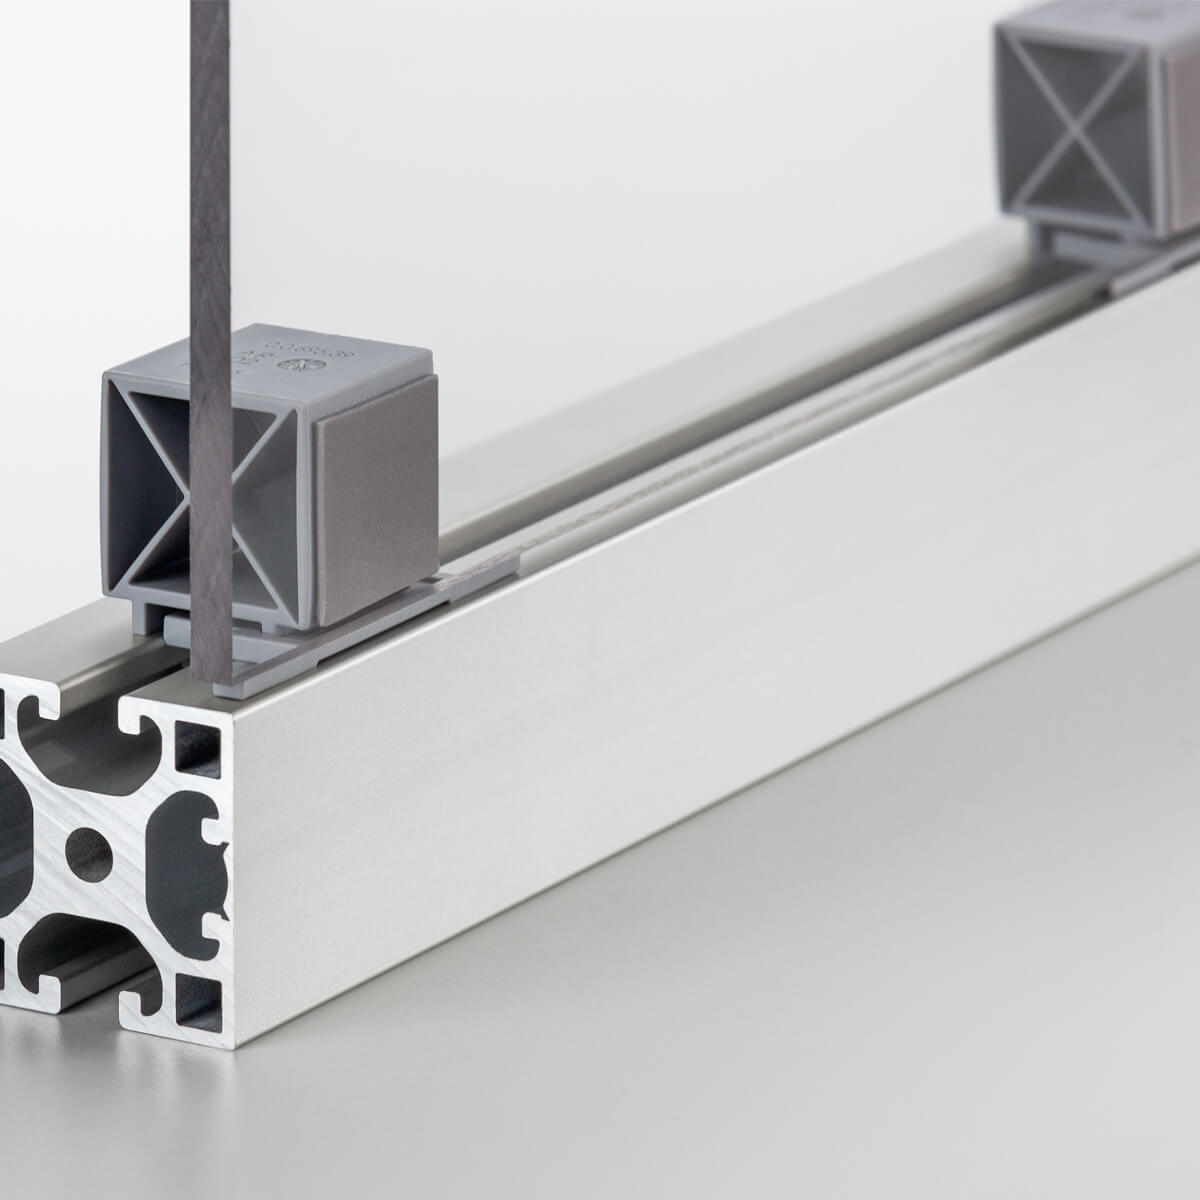
item Adhesive Multiblocks are the solution for quick, easy and flush fixing of surfaces in profile frames.
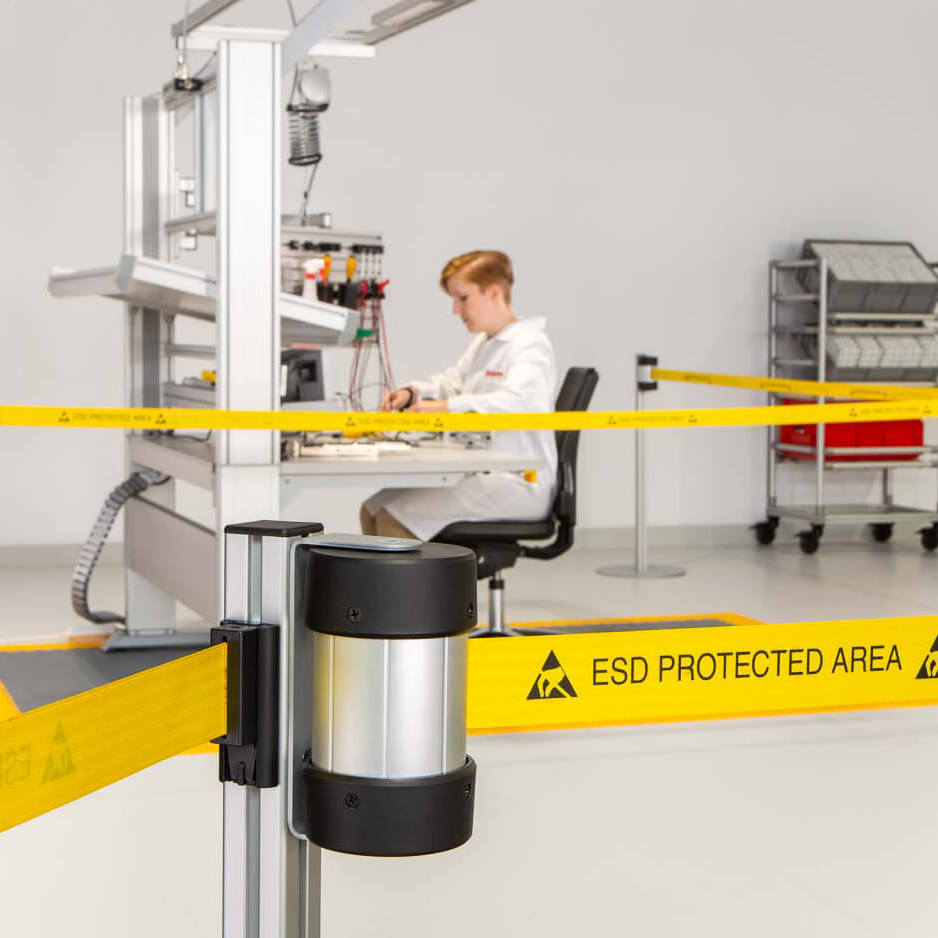
Additional protection for sensitive areas! With the barrier tape you limit the
access and avoid carelessly entering work areas.
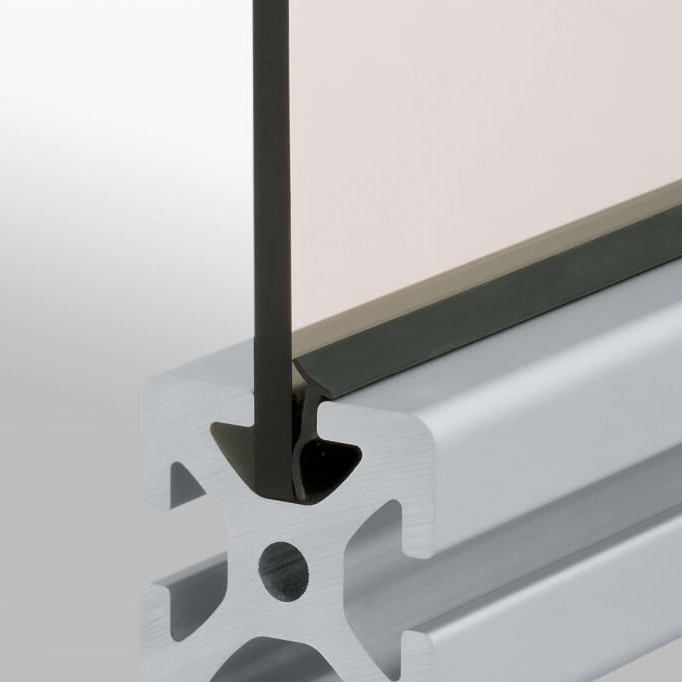
Dichtprofile befestigen Flächenelemente unterschiedlicher Dicke in der Profilnut 5, 6, 8 oder 12. Die dauerelastischen Leisten …
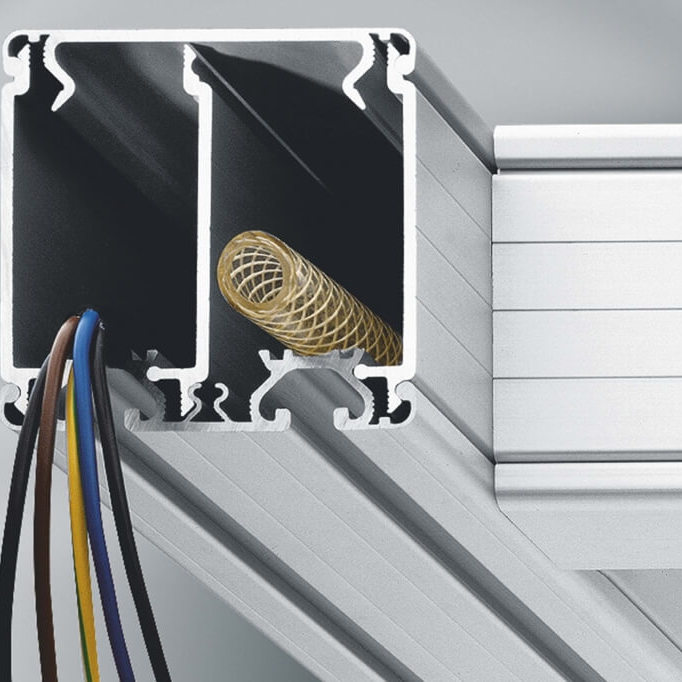
Mit dem modularen Kanalsystem lassen sich individuelle Kanäle für Kabel und Schläuche aufbauen.
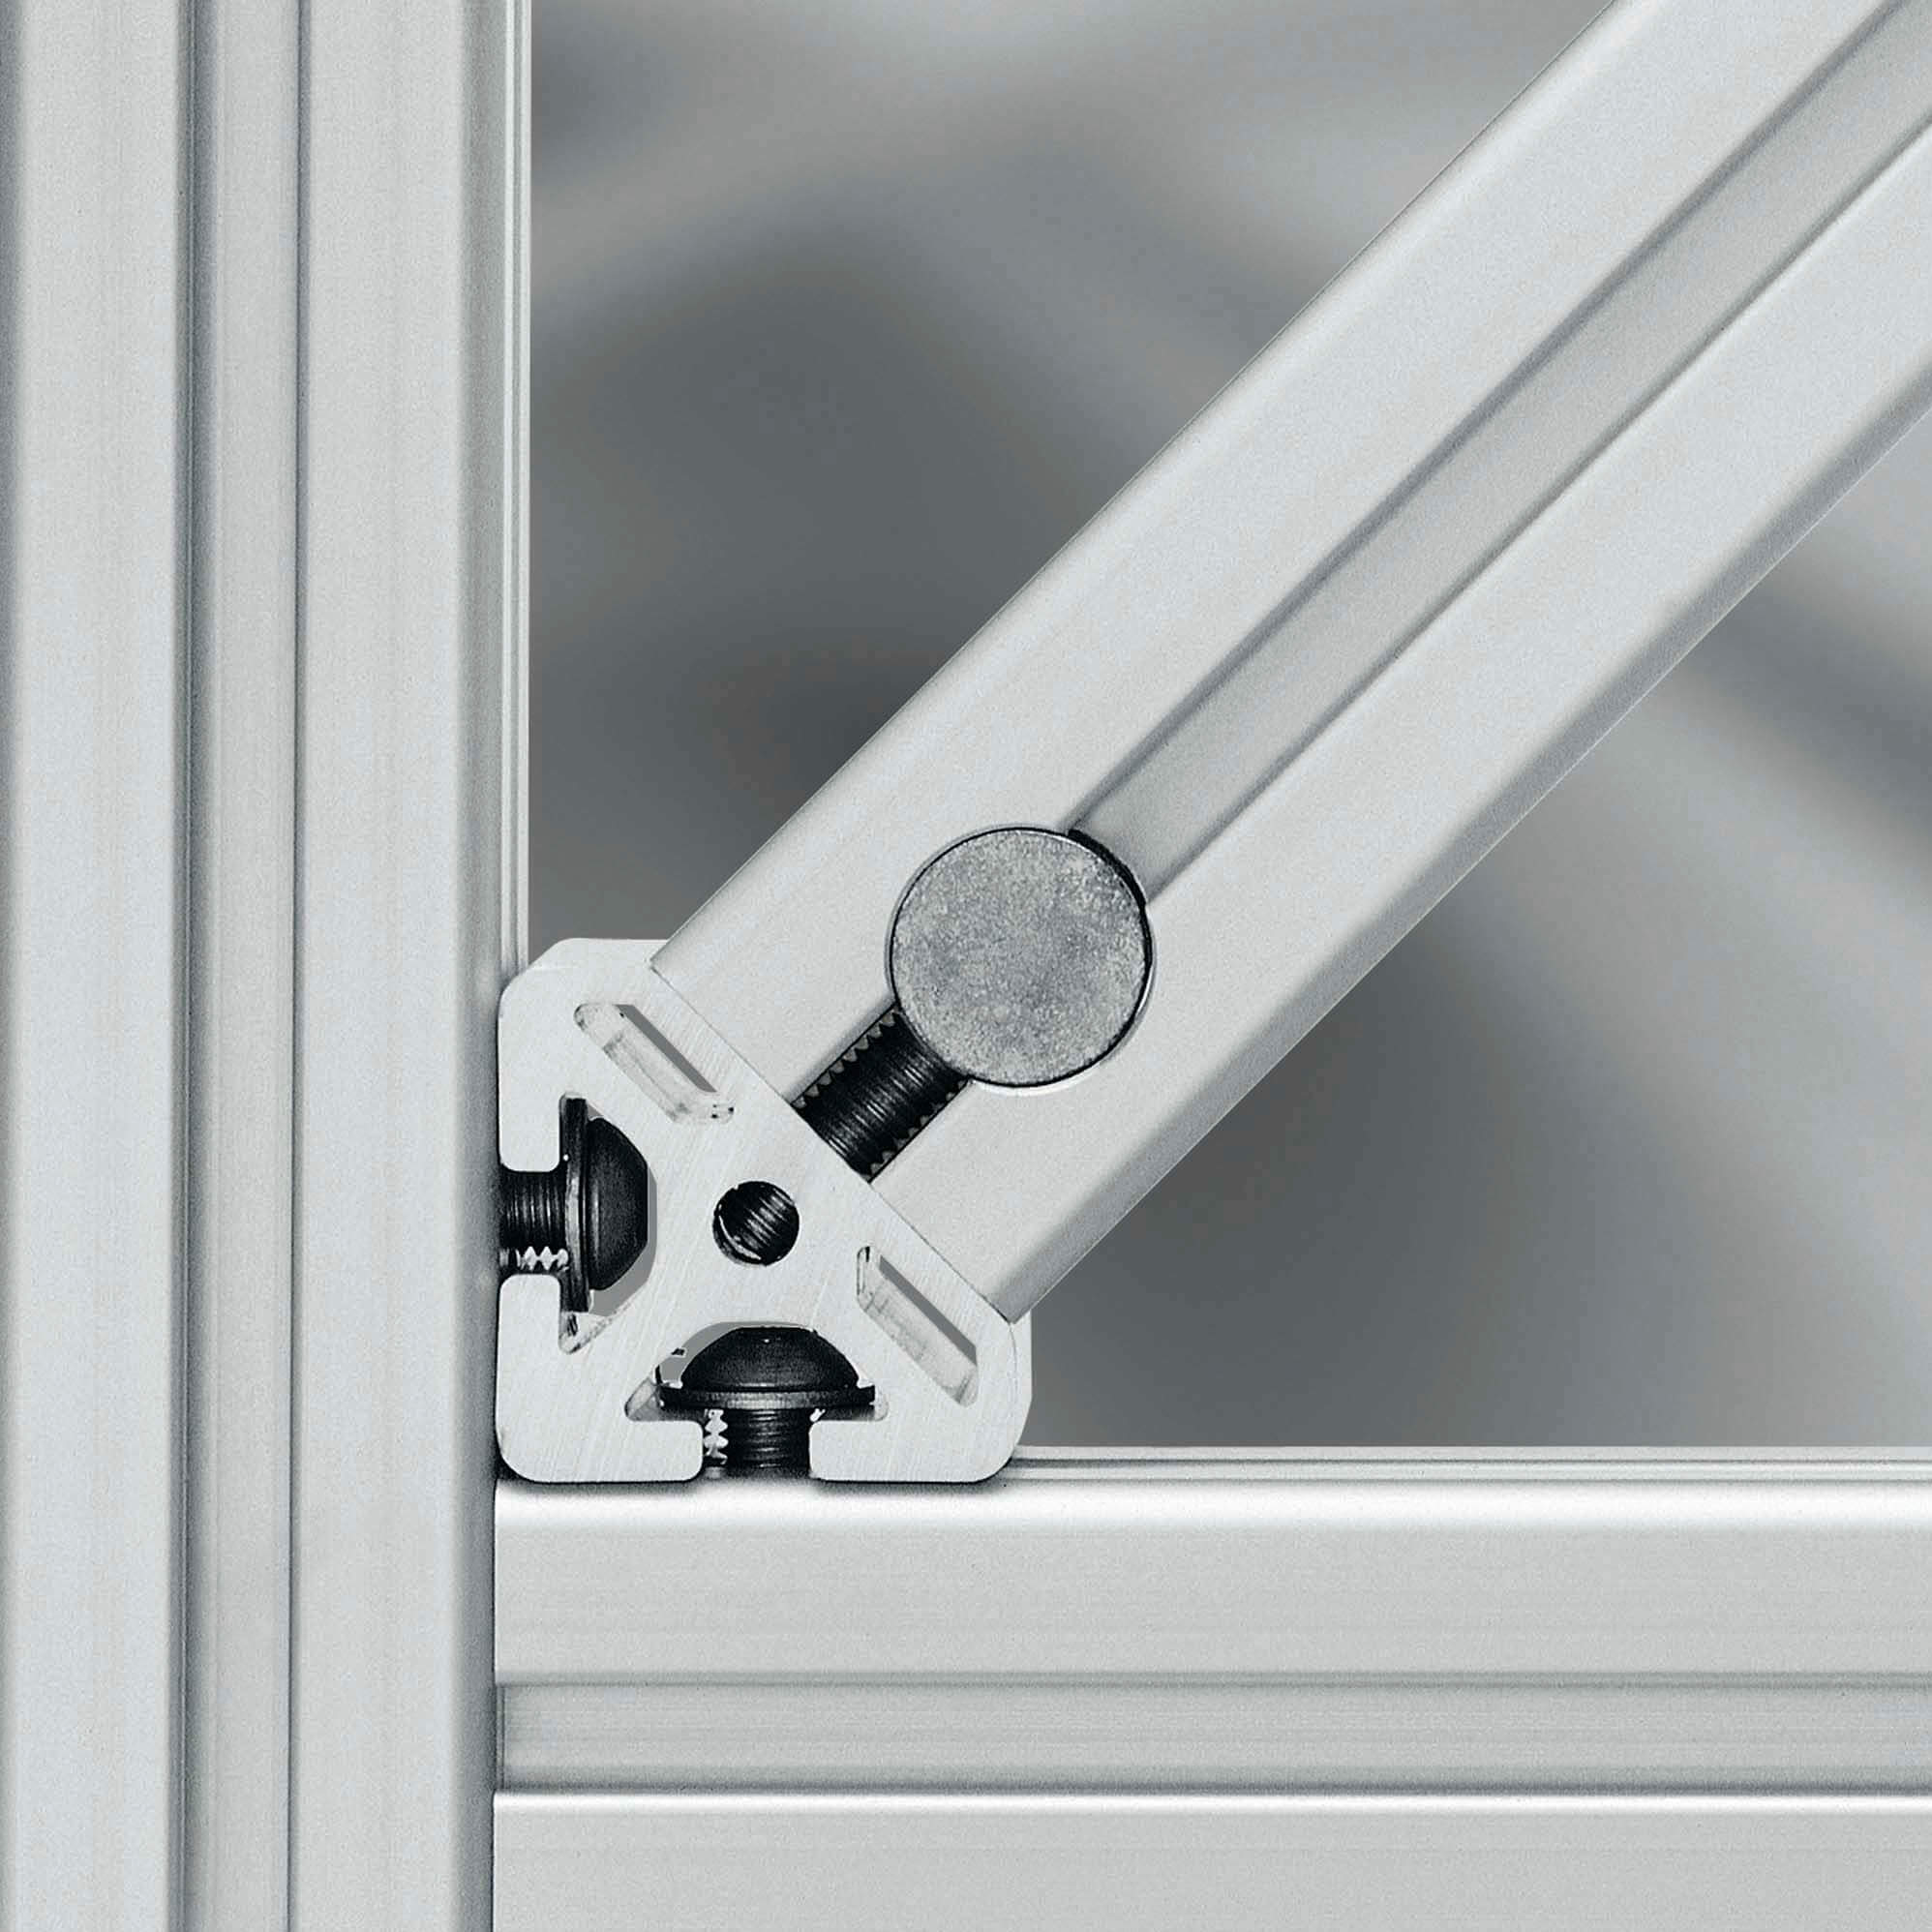
Fasteners for fixing a profile at an angle of 45° when constructing joints and trusses.
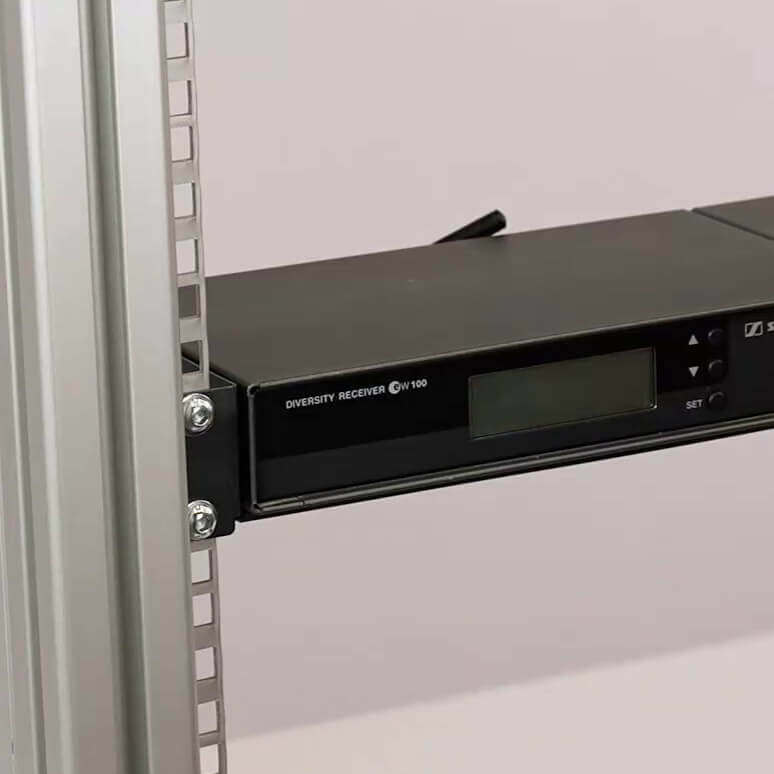
Rebate Profile for universal fastening of various elements to Profiles.

Bed Plate Profiles 8 for producing areas of any size with groove 8 and modular dimension 40 mm.

The Automatic Butt-Fastening Sets can be used to connect the end faces of two profiles from the same Line without mechanical processing.
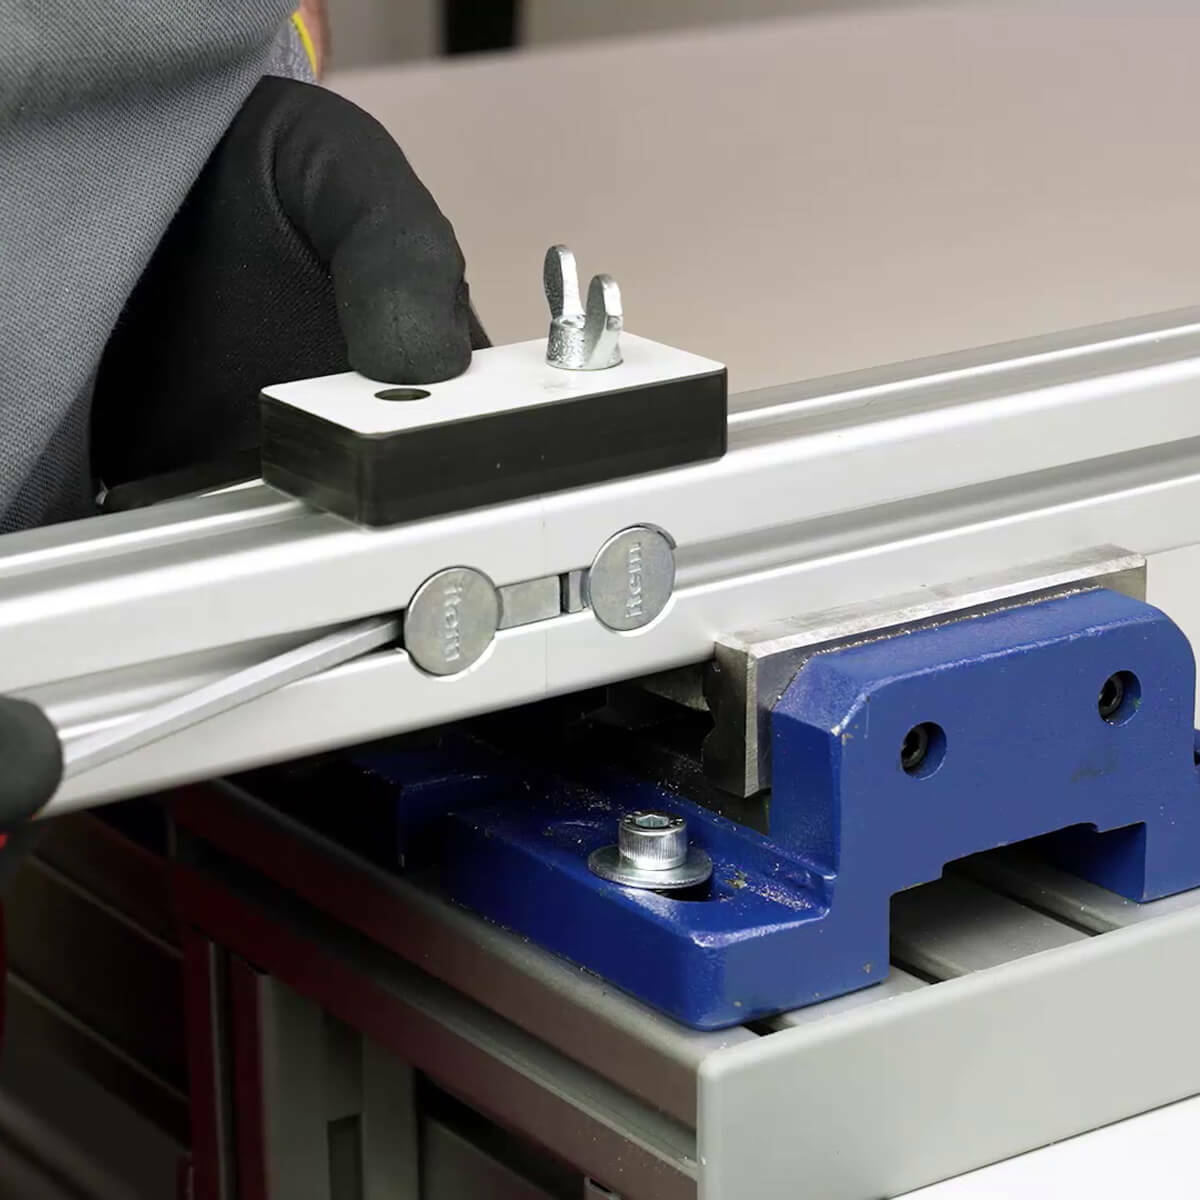
Mit den Universal-Stoß-Verbindungssätzen können zwei Profile der gleichen Baureihe stirnseitig miteinander verbunden werden.
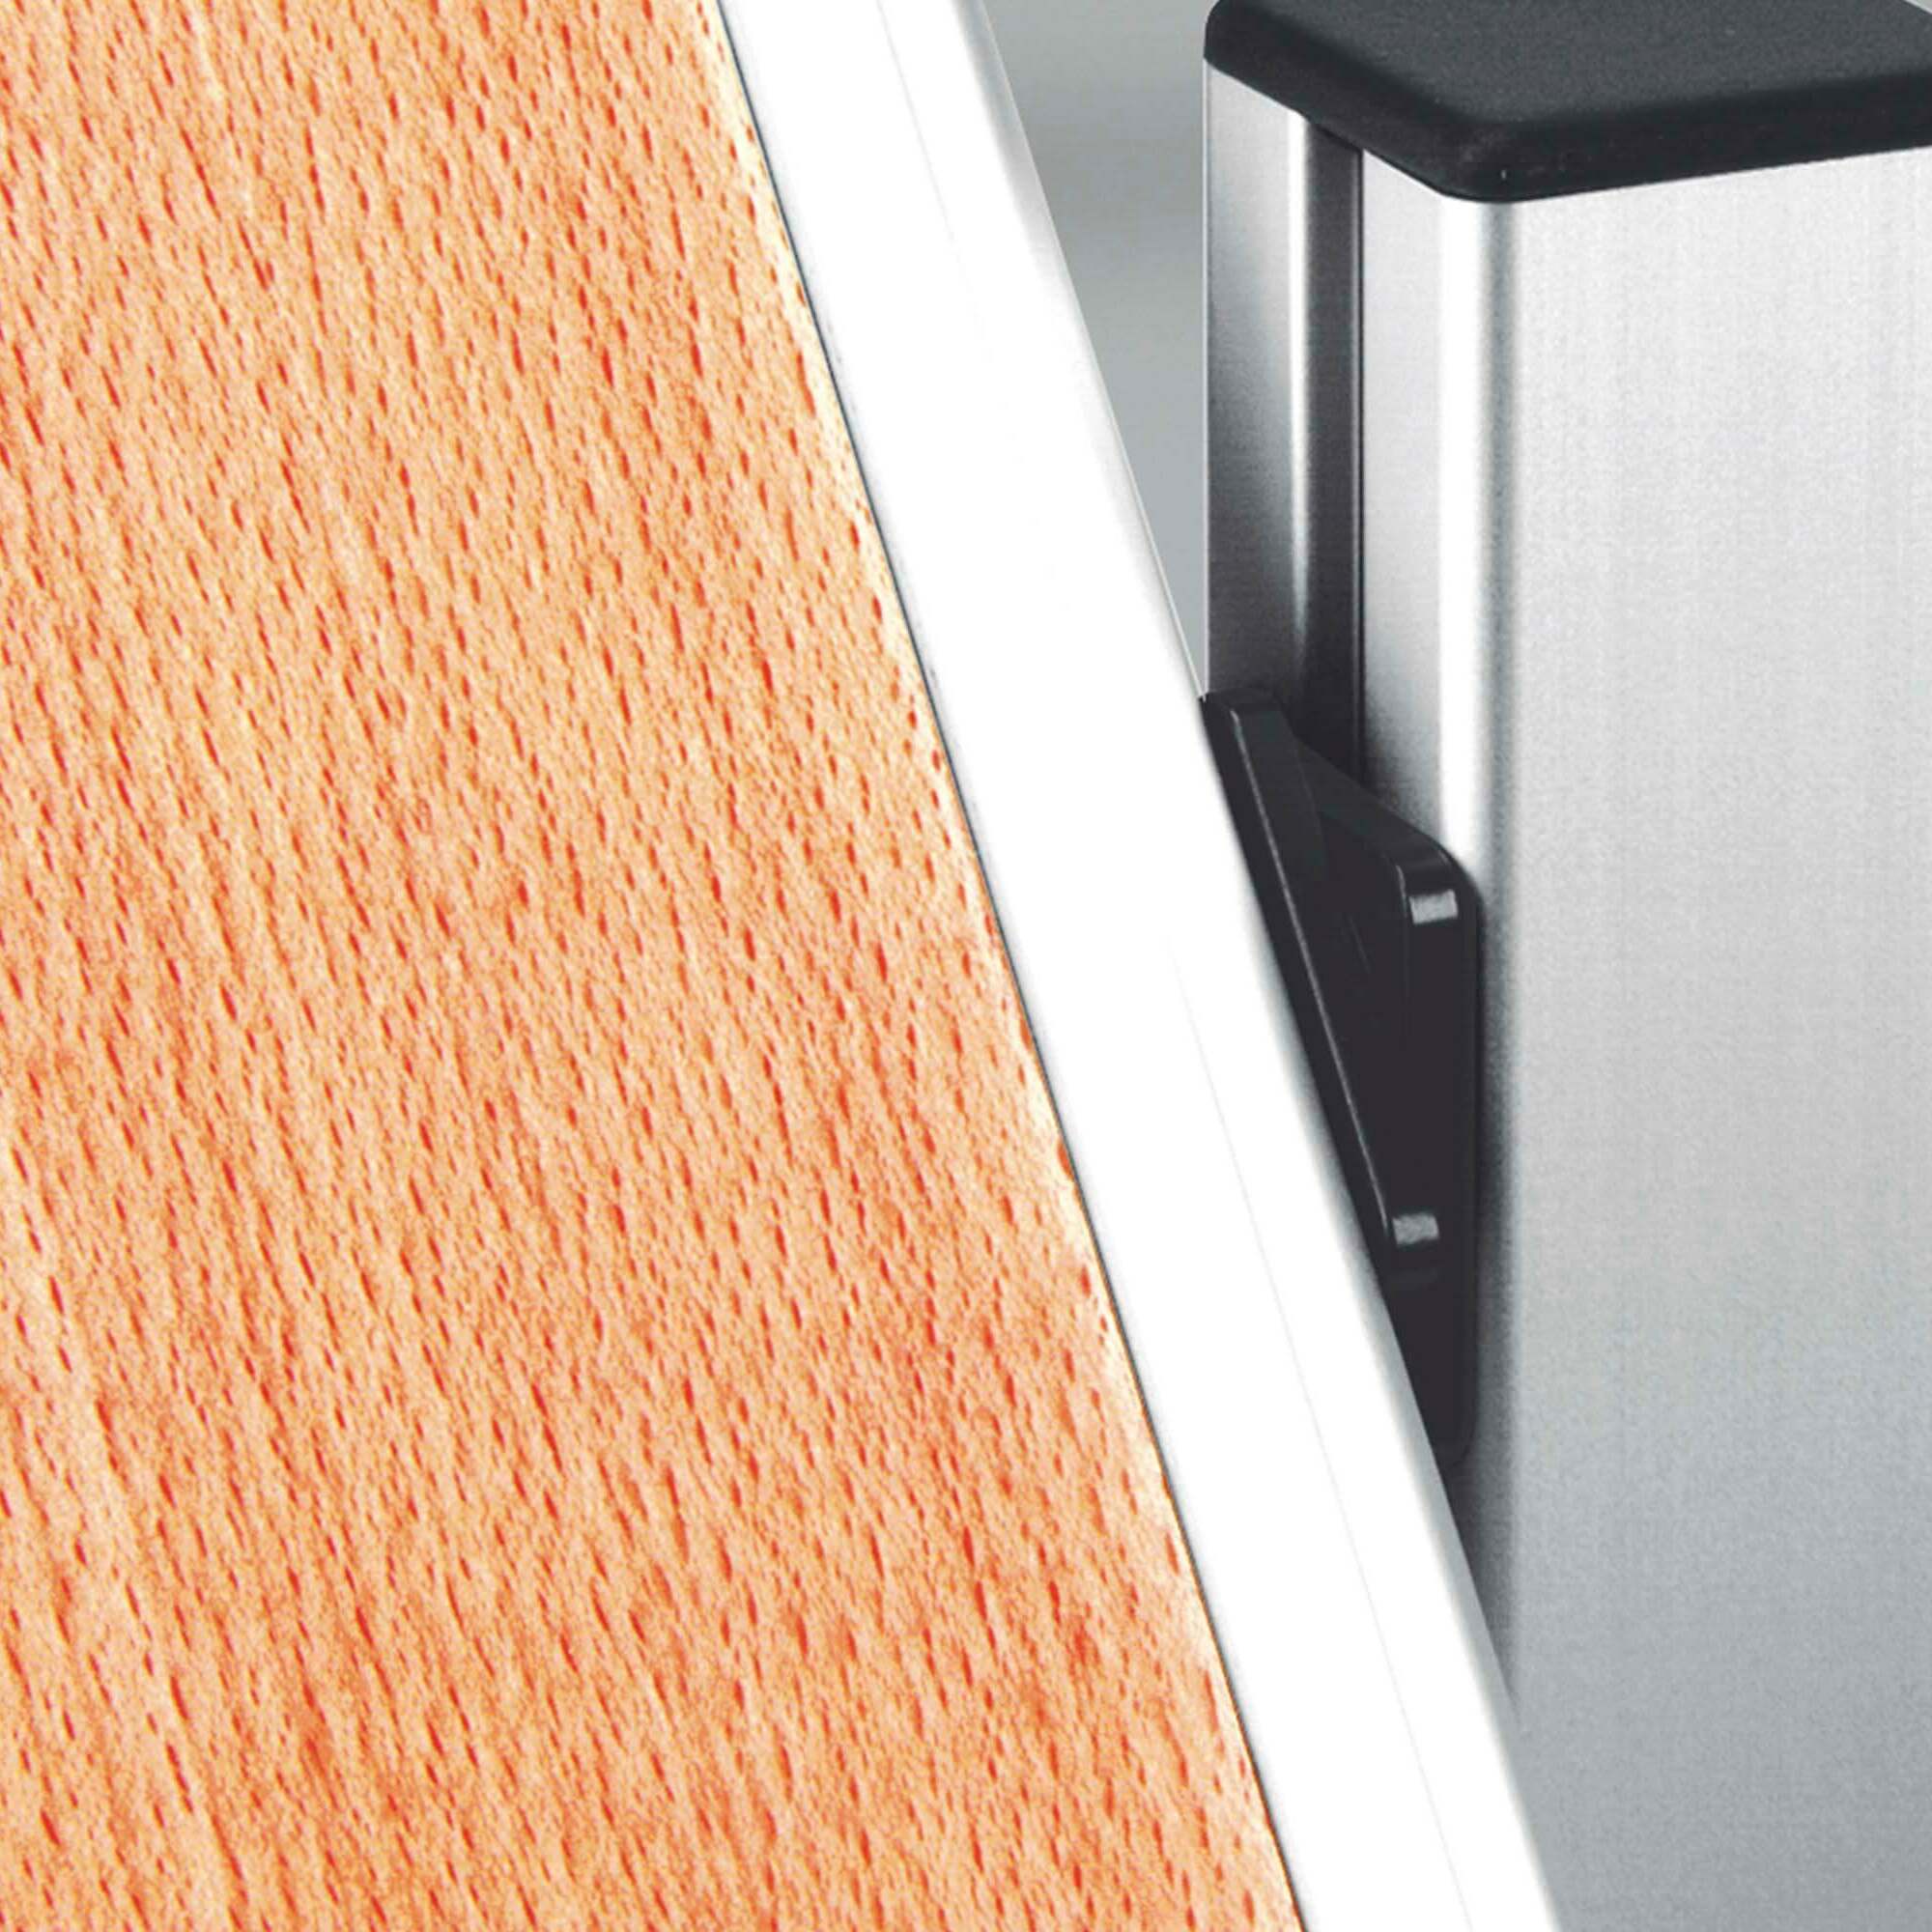
Der Positions-Verbindungssatz 8 dient zur formschlüssigen Winkelverbindung von zwei Profilen, deren Nutseiten sich gegenüberlieg…
Smart Products
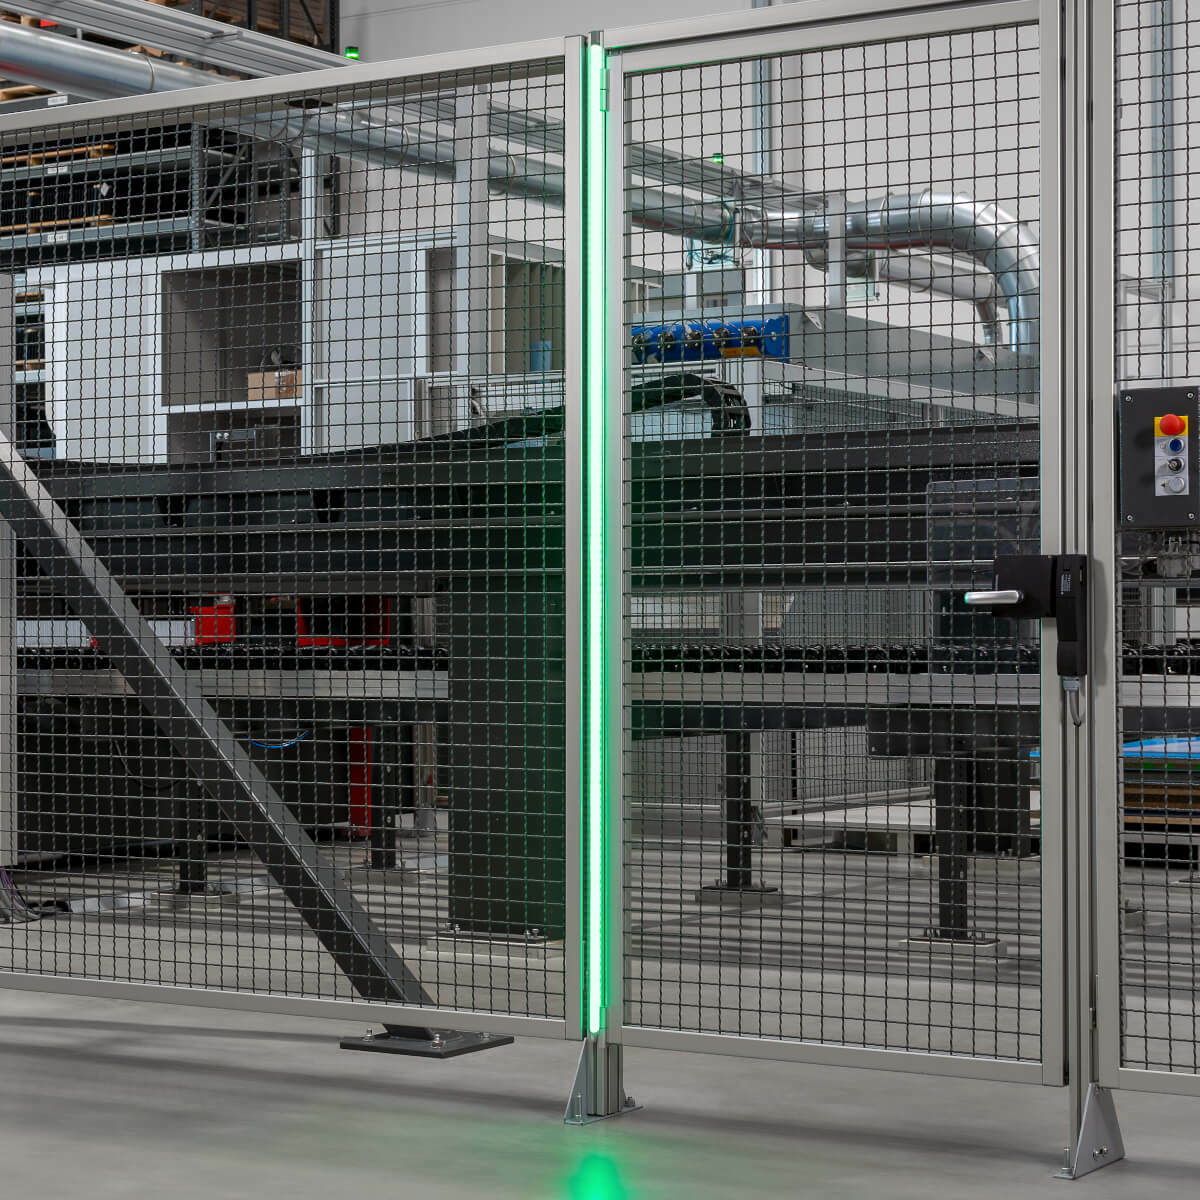
This module shows the installation of the LED strip RGB 24V with accessories.
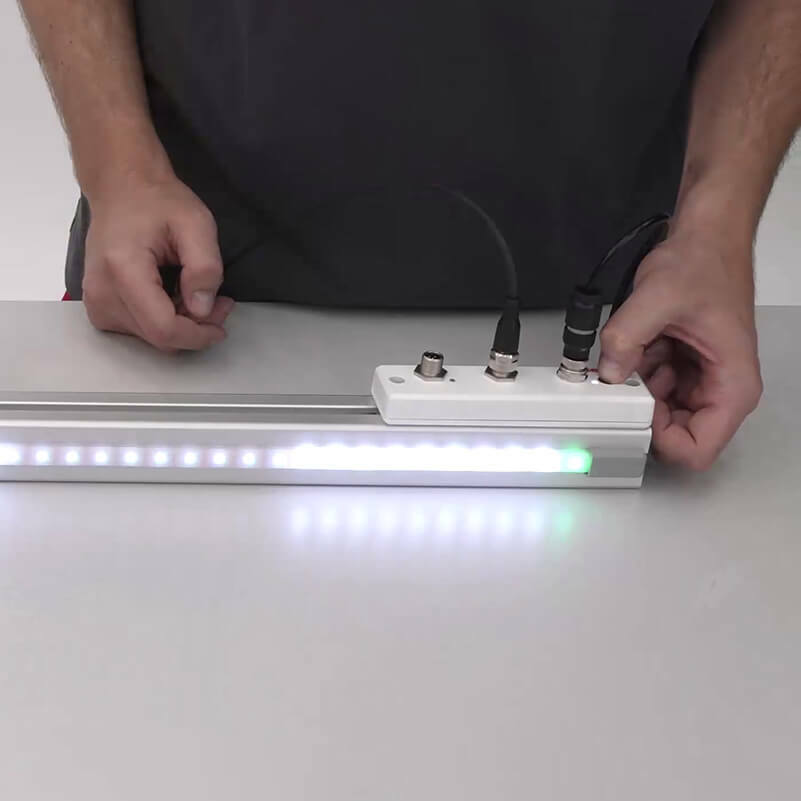
Der Multi-Segment RGB LED-Streifen ist ein flexibles, durch IO-Link ansteuerbares, LED-Band.
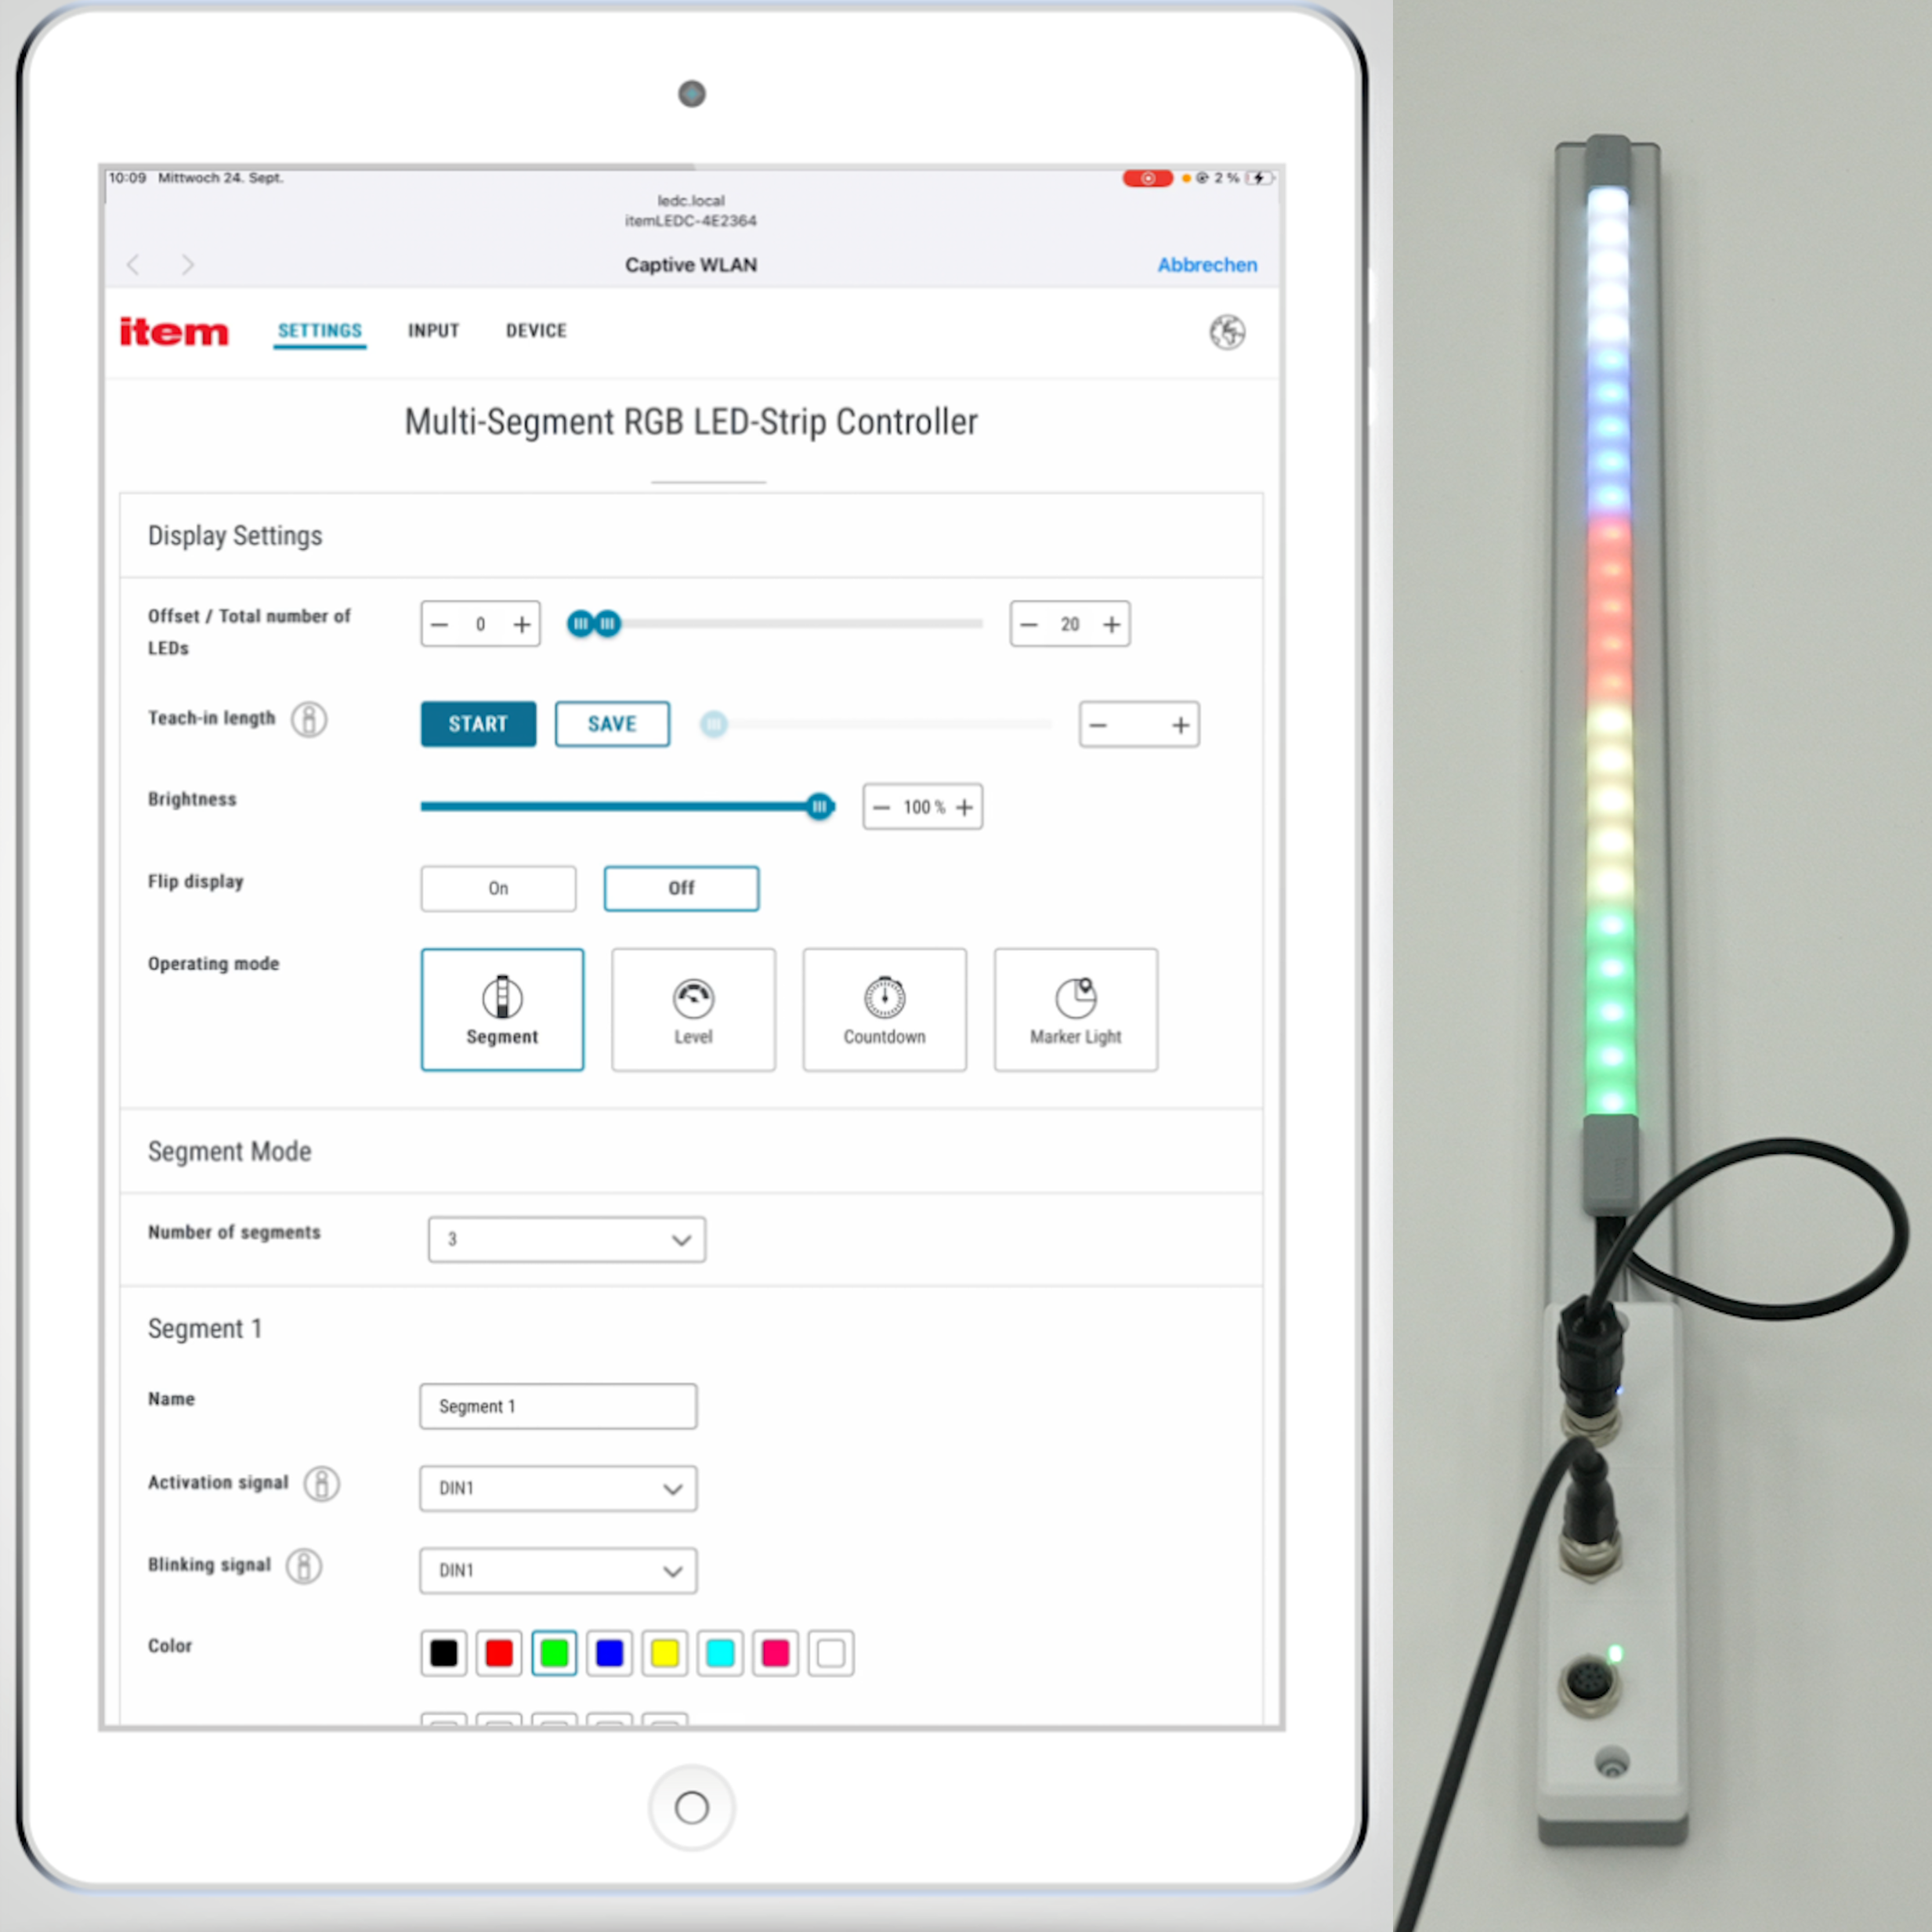
How do I configure the basic settings for the Multi-Segment RGB LED Strip Controller DIN/AIN 24VDC in the web interface? This module shows you how.
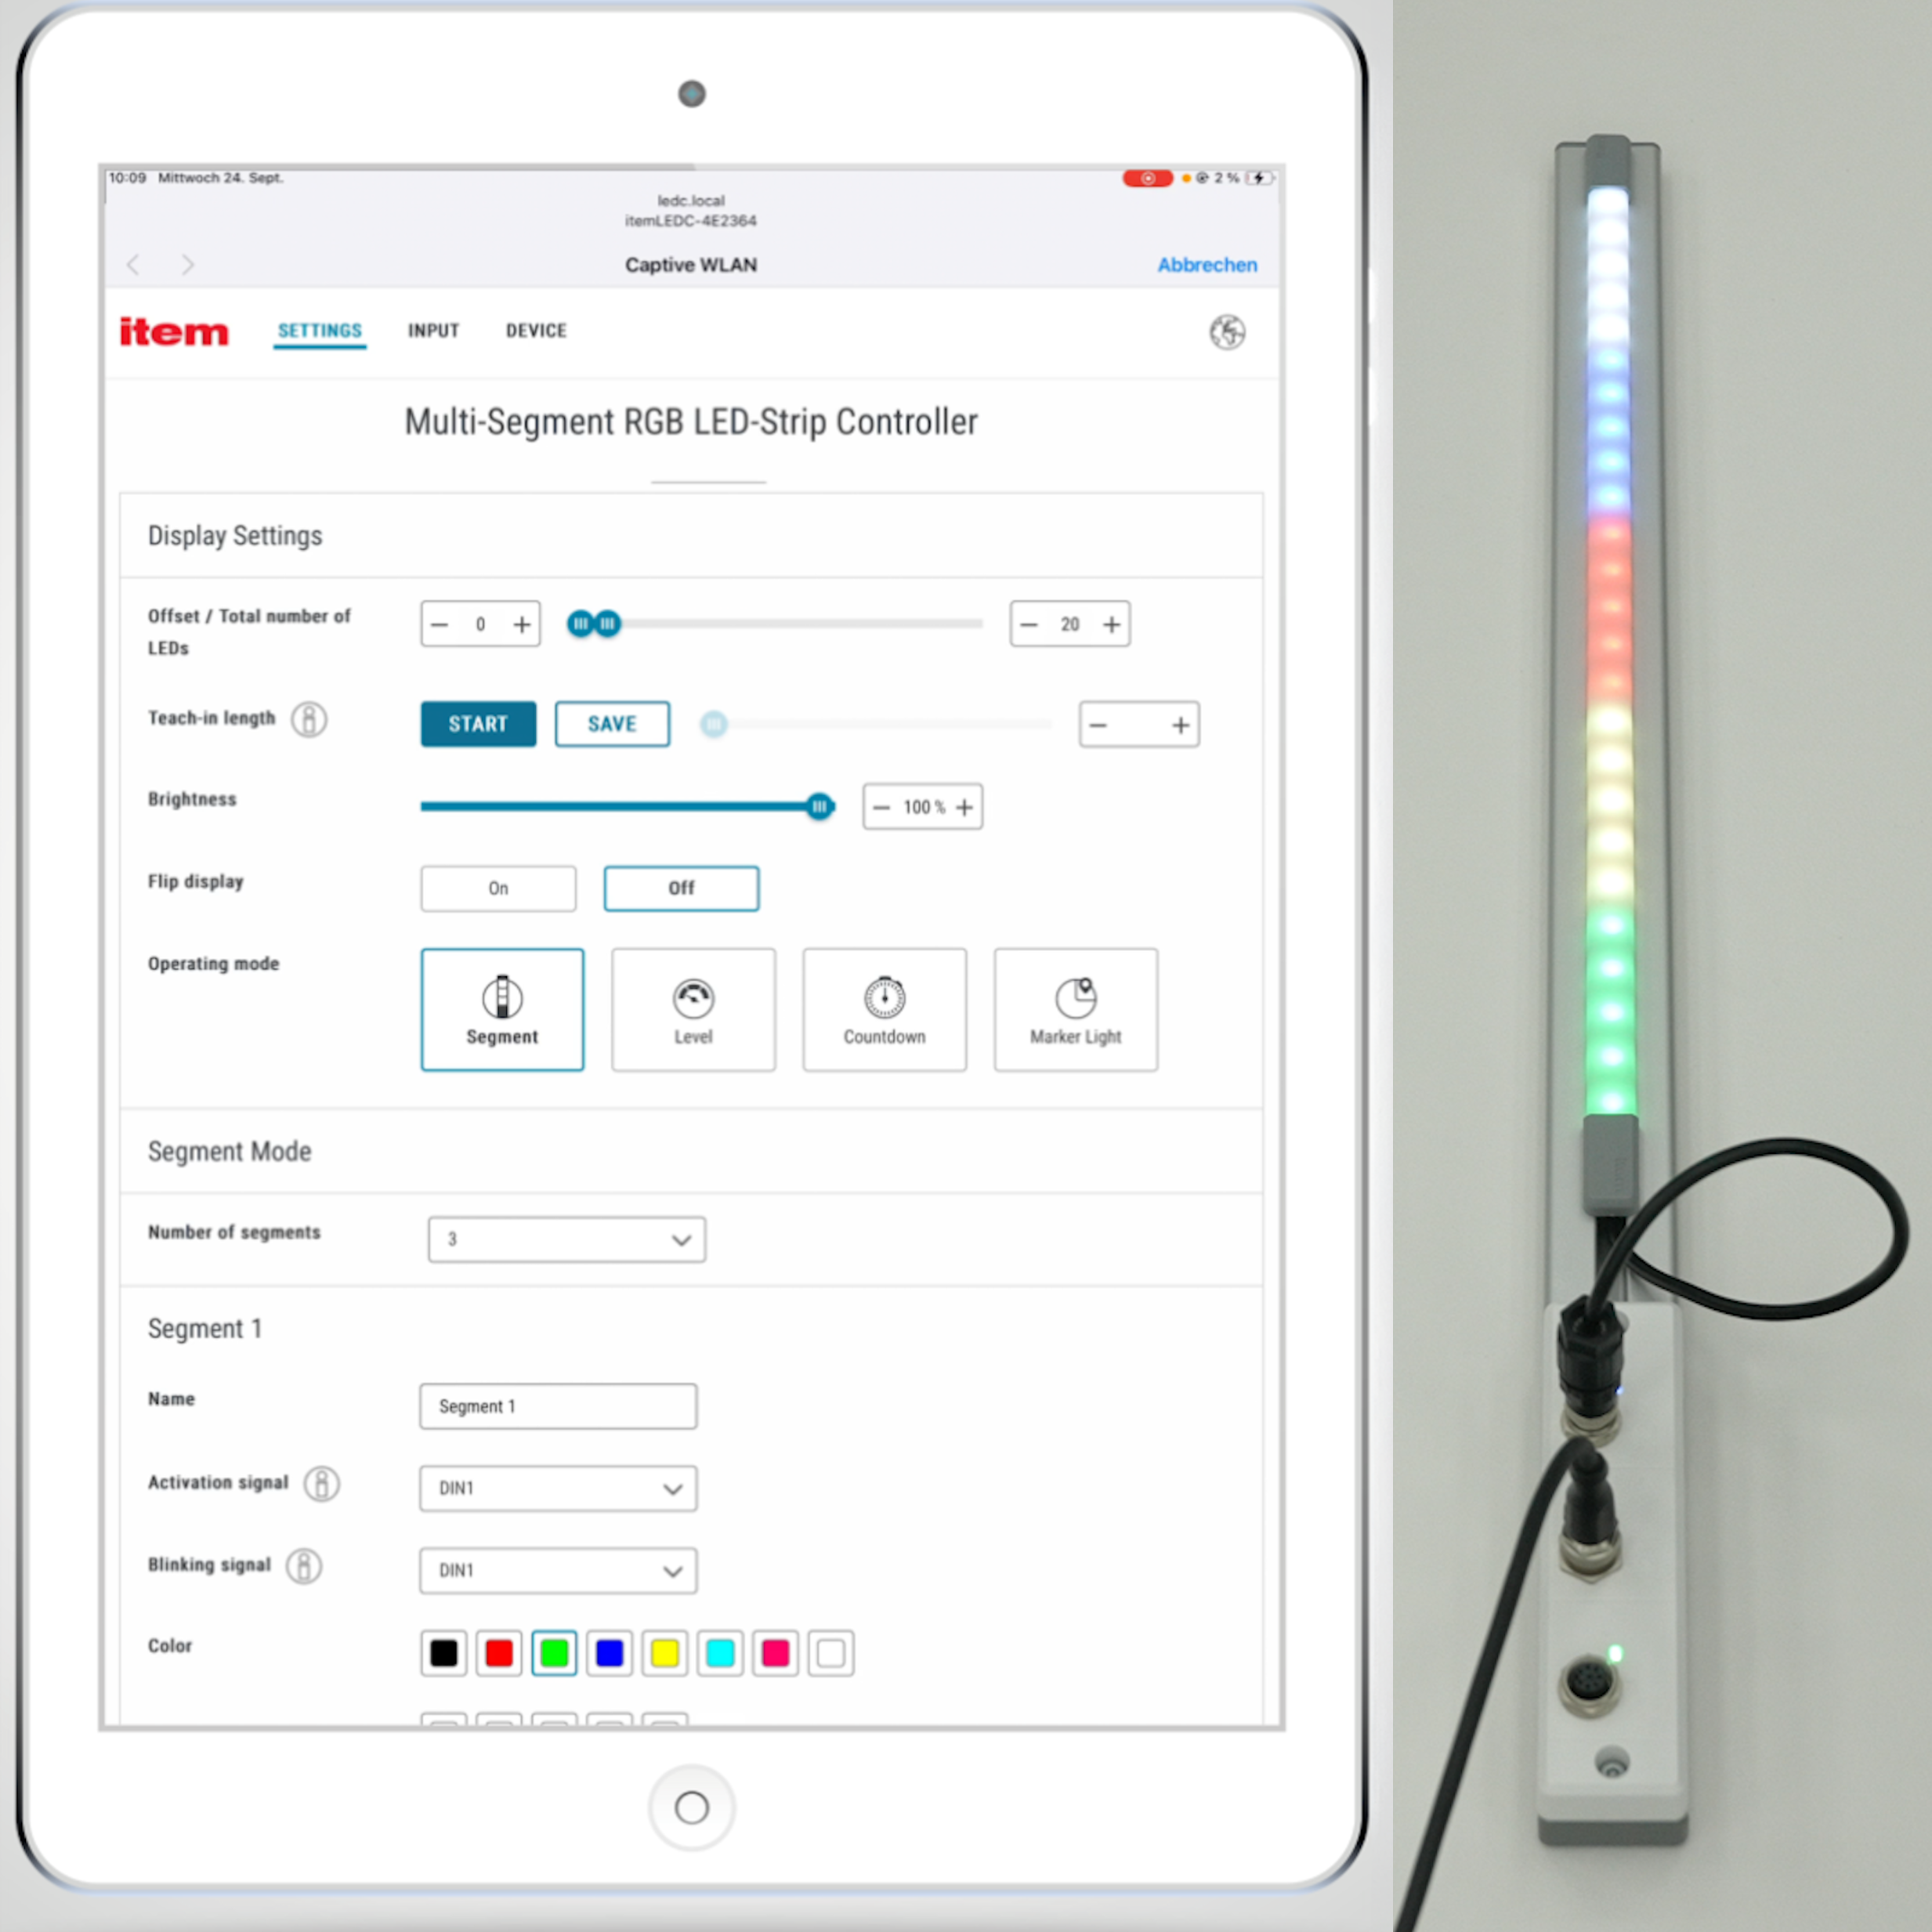
How do I configure the segment mode for the Multi-Segment RGB LED Strip Controller DIN/AIN 24VDC in the web interface? This module shows you how.
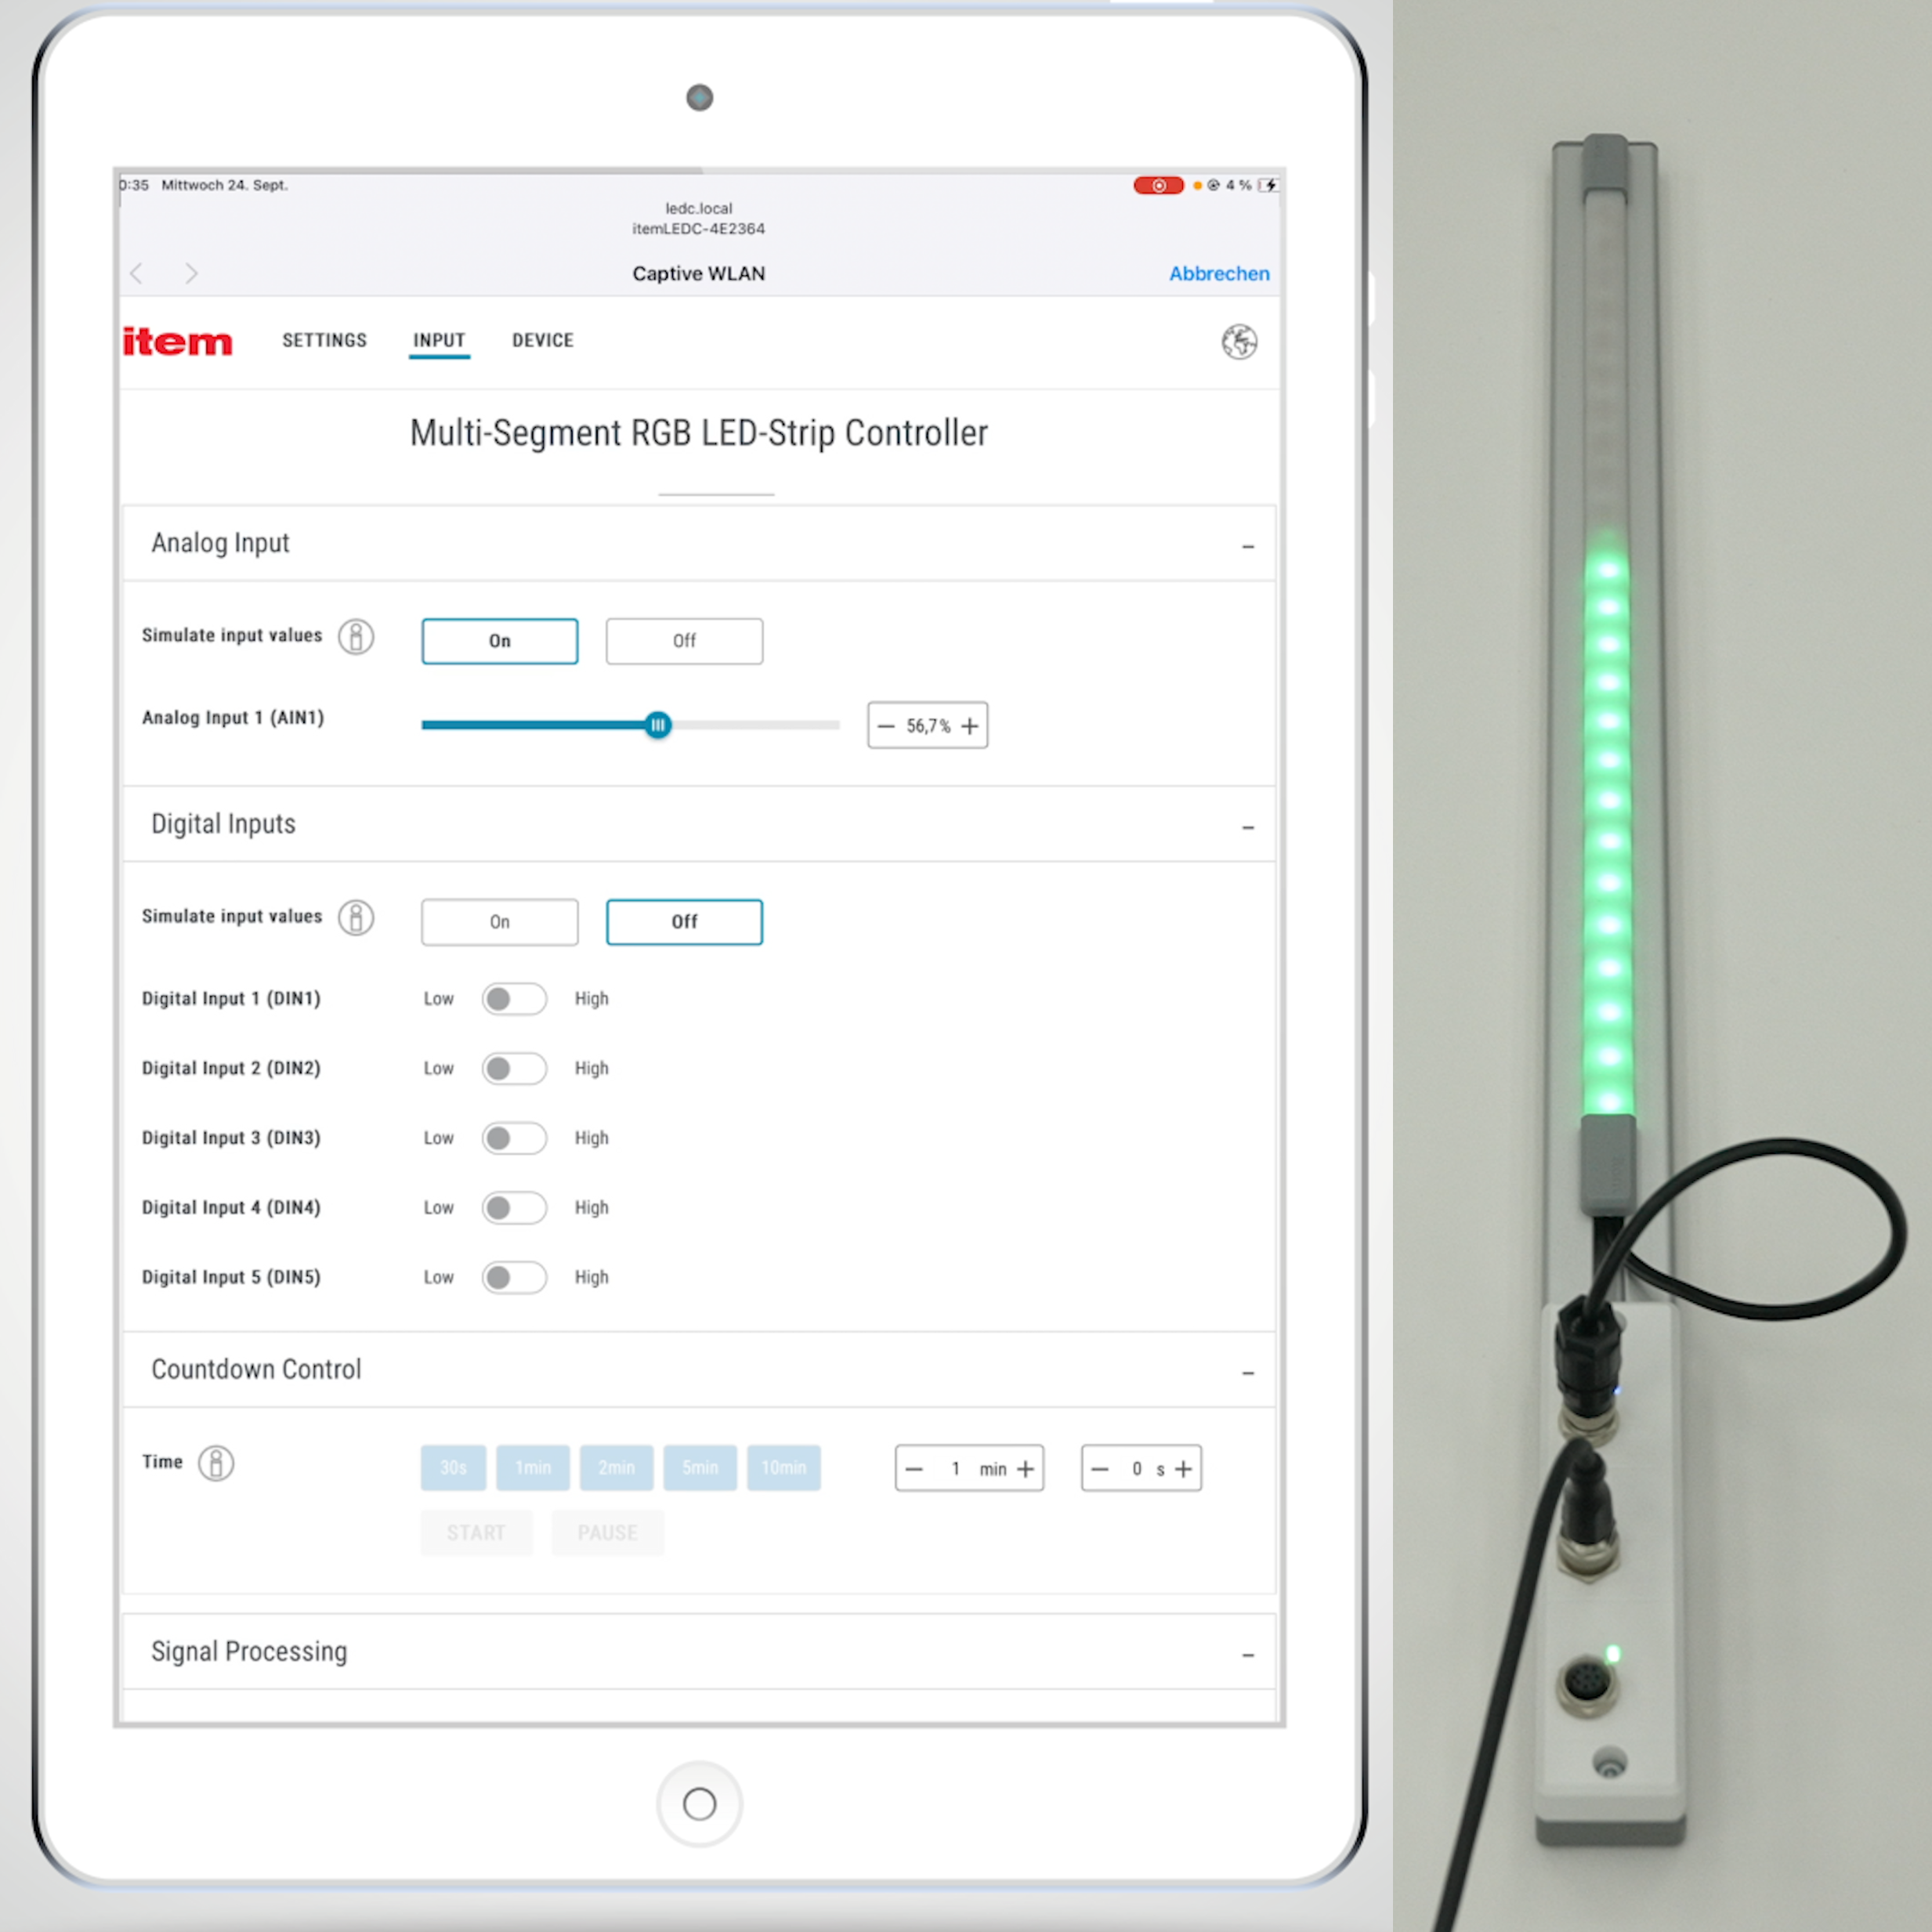
How do I configure the level mode for the Multi-Segment RGB LED Strip Controller DIN/AIN 24VDC in the web interface? This module shows you how.
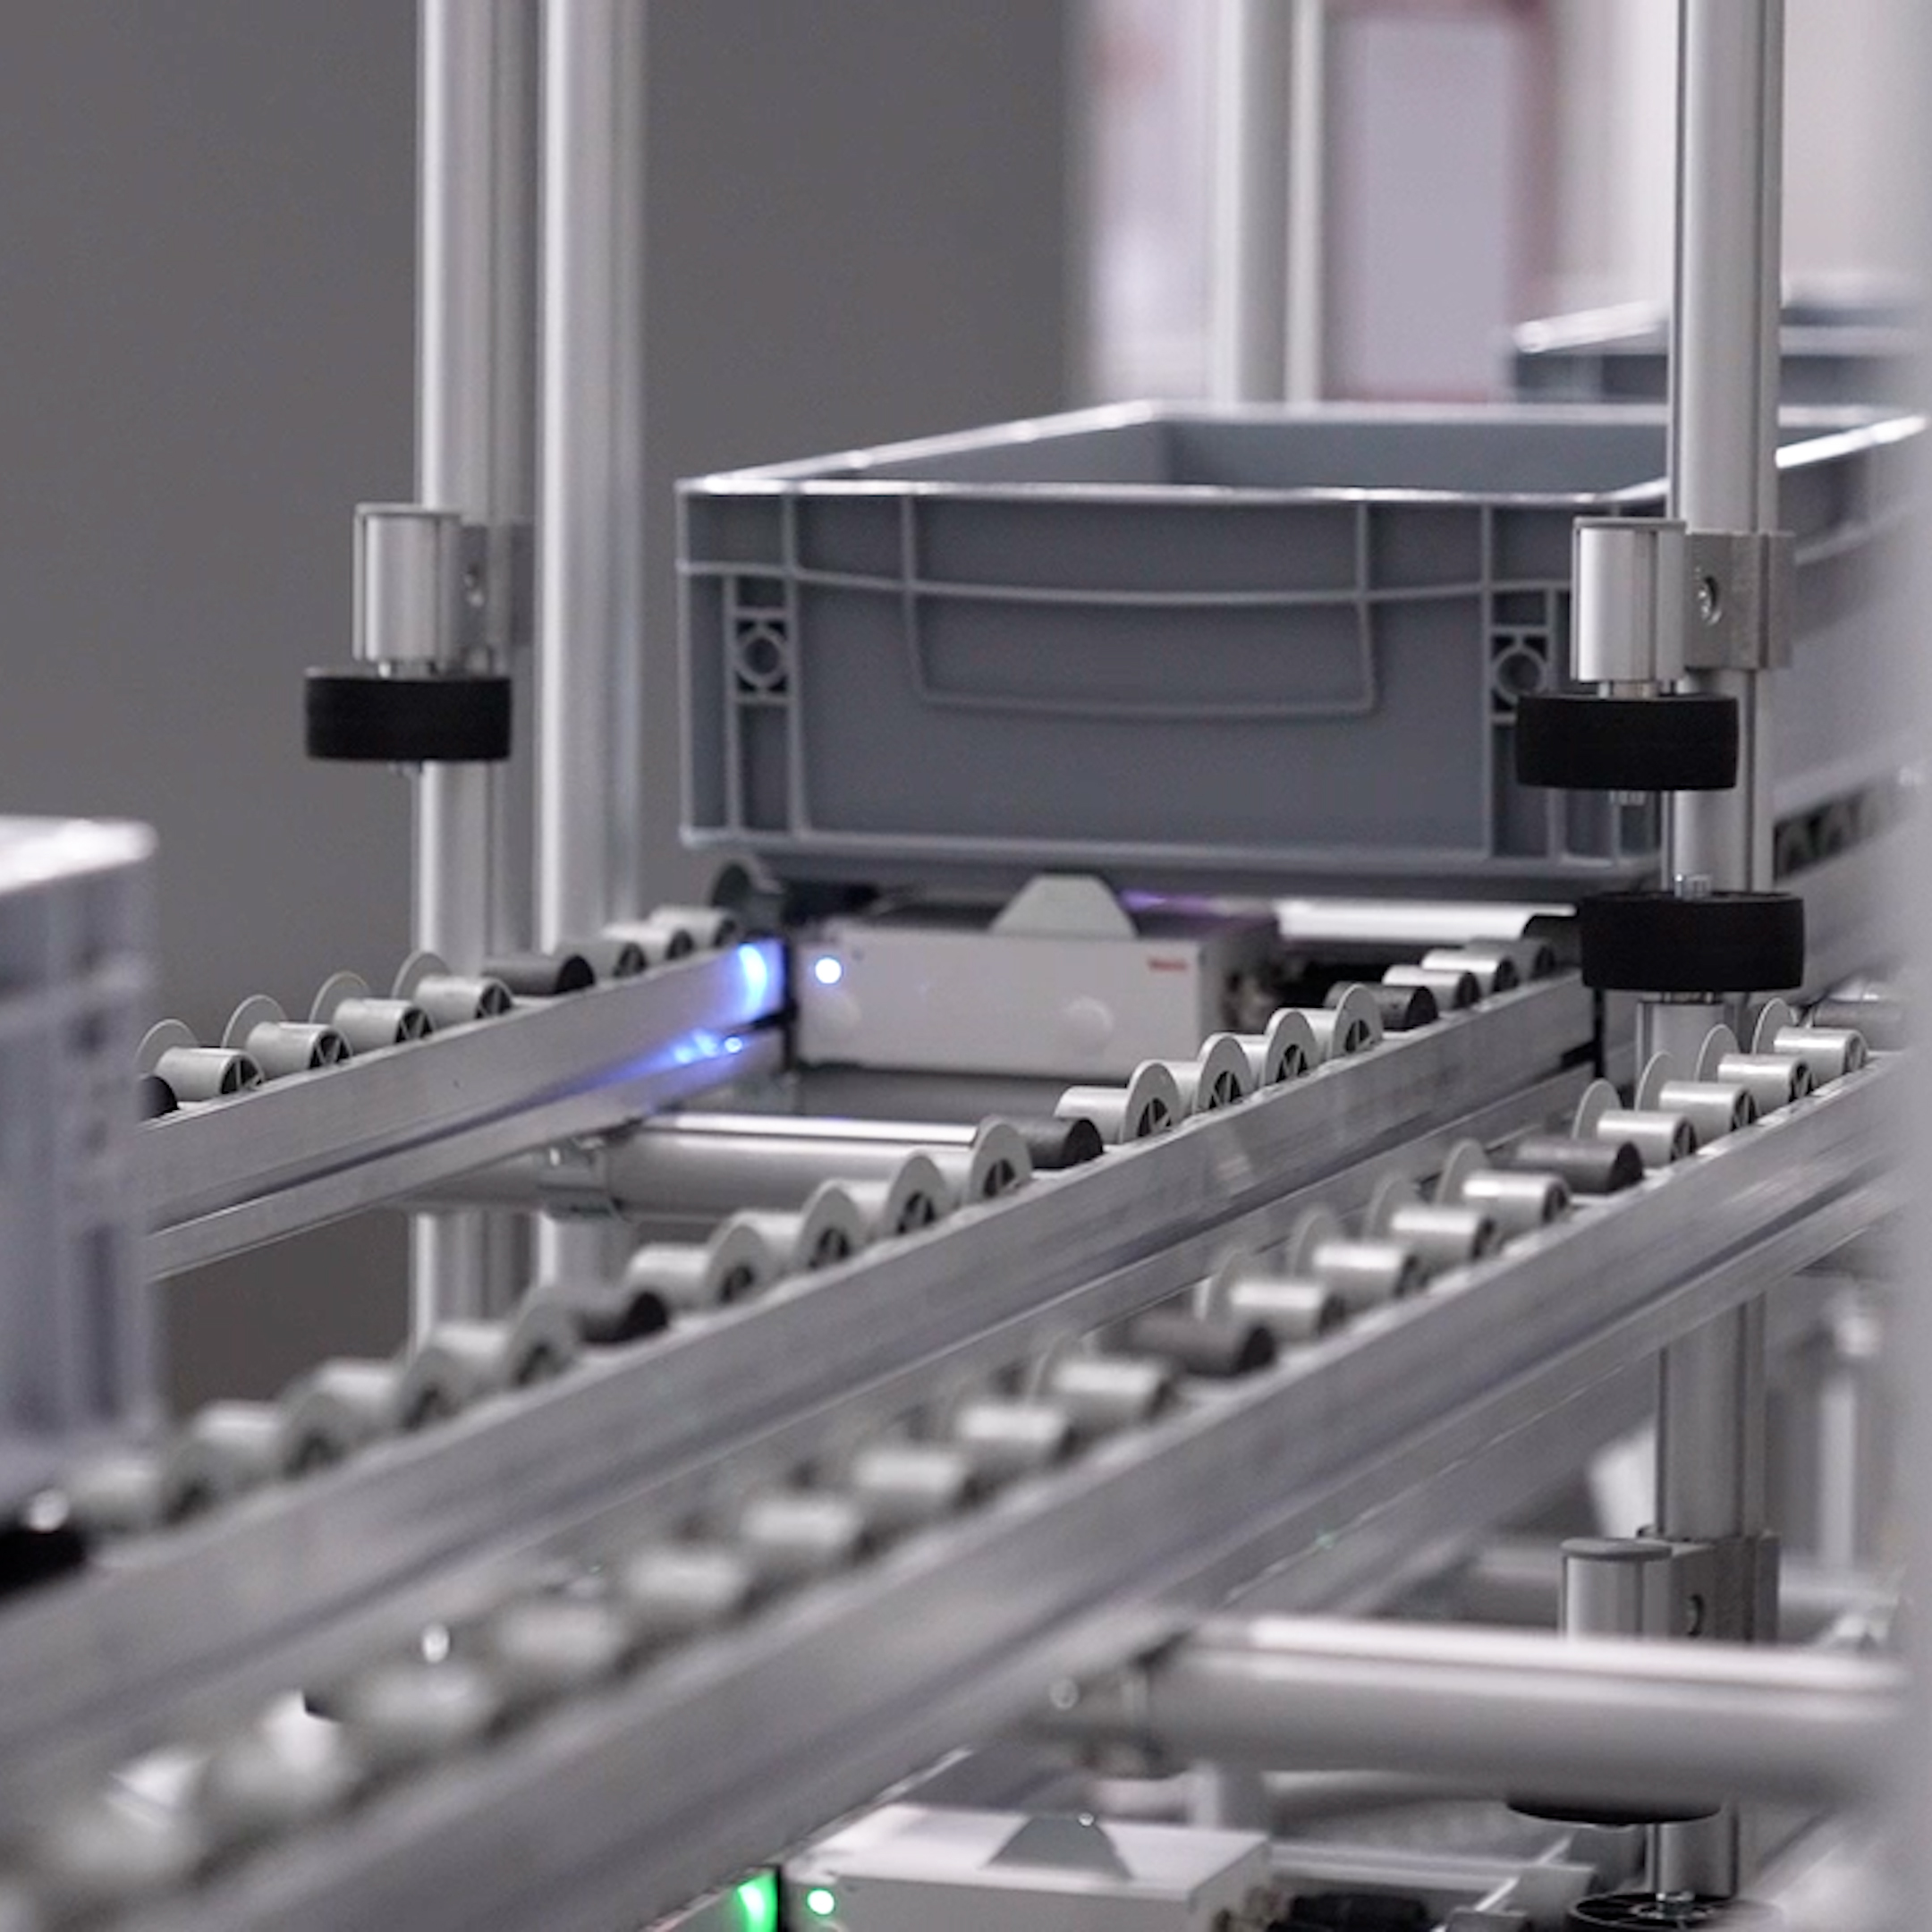
How do I install the electronic Release Unit DIN/DOUT 24V? This module shows you how.